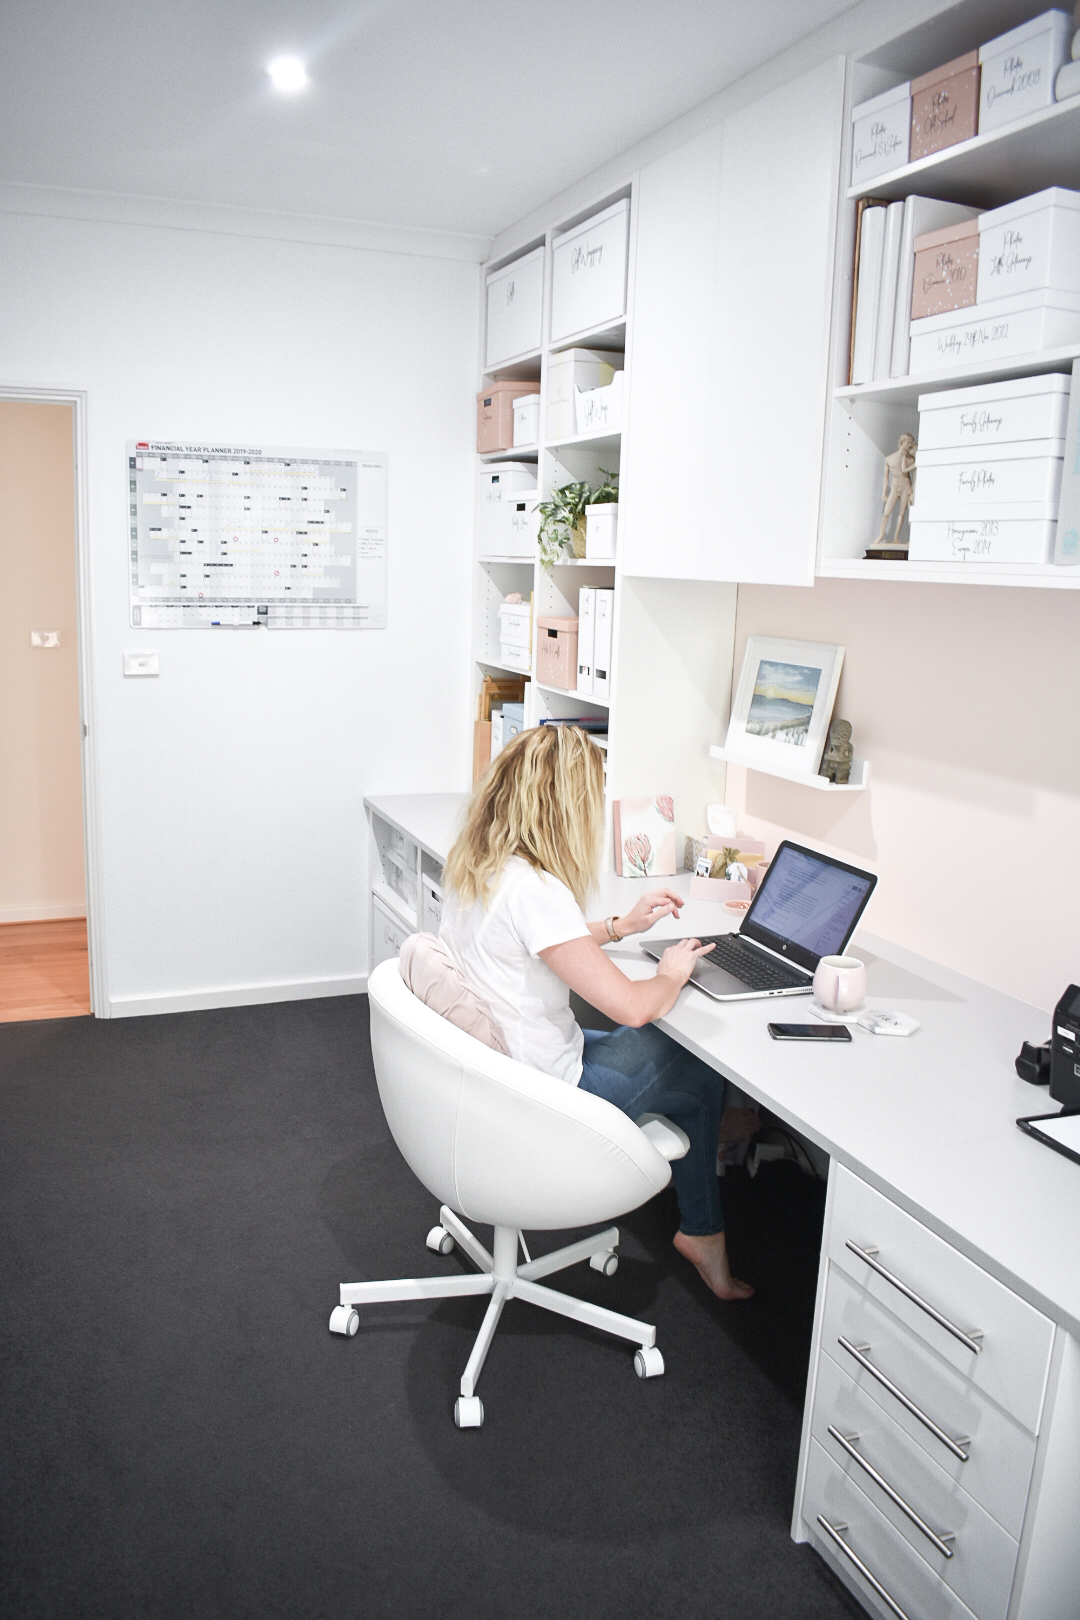
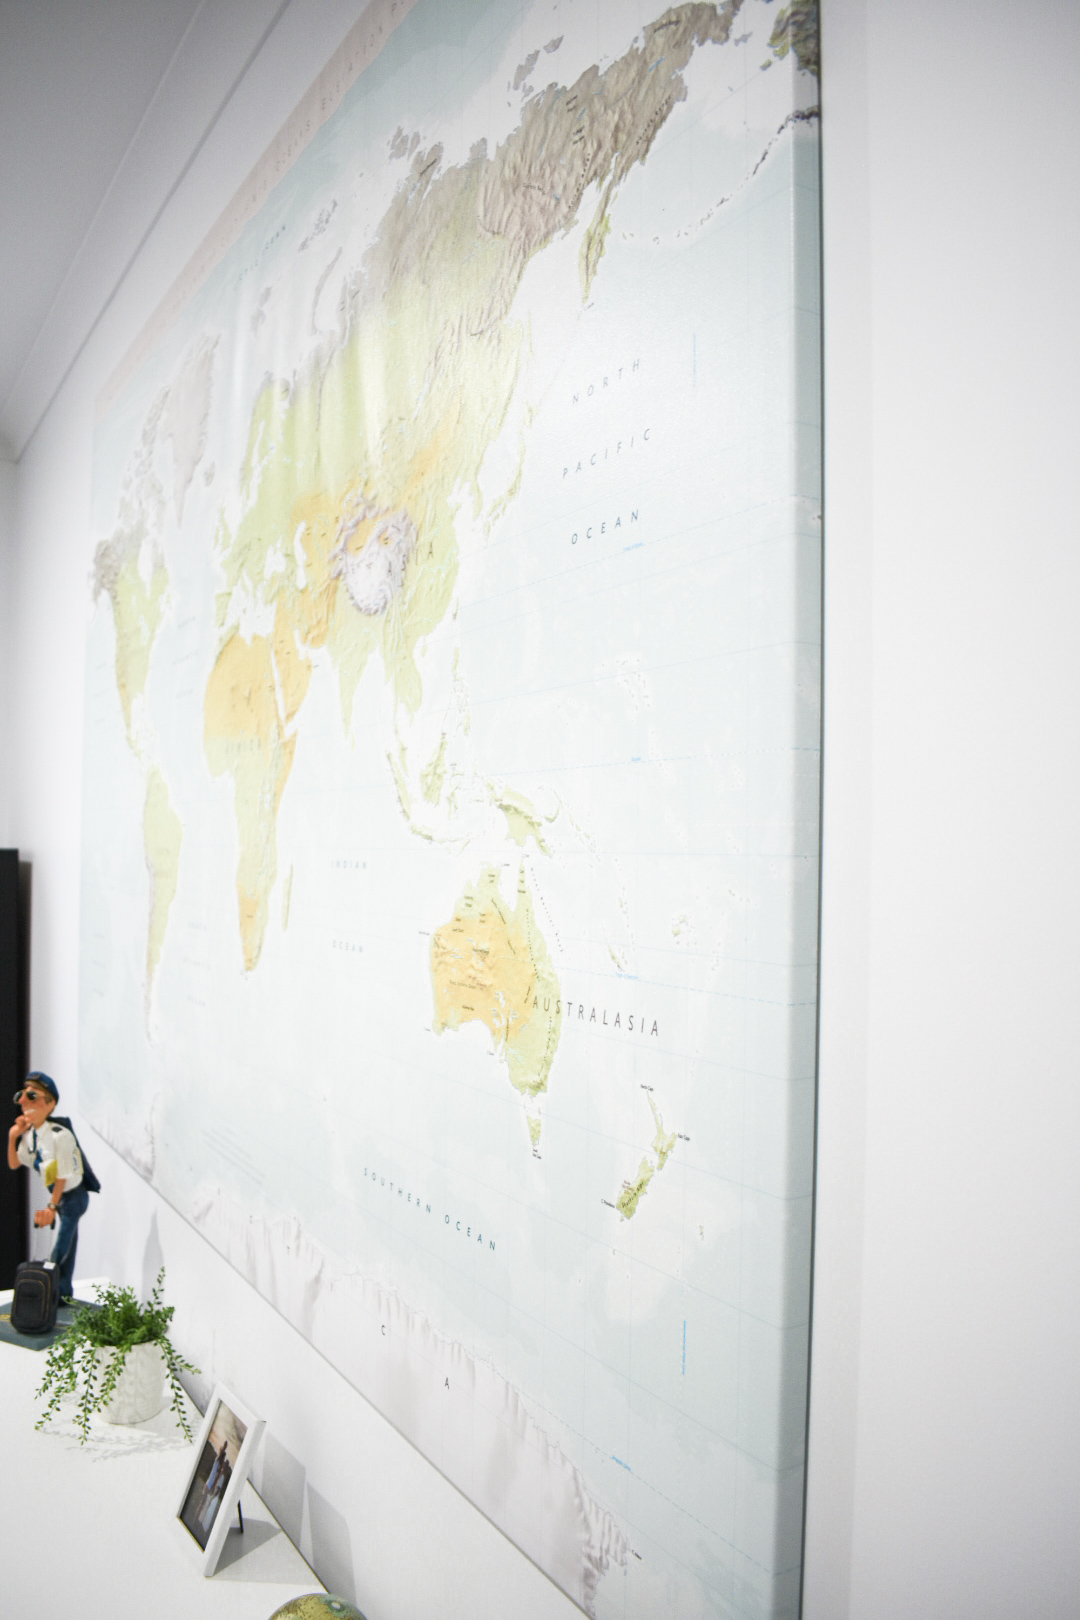
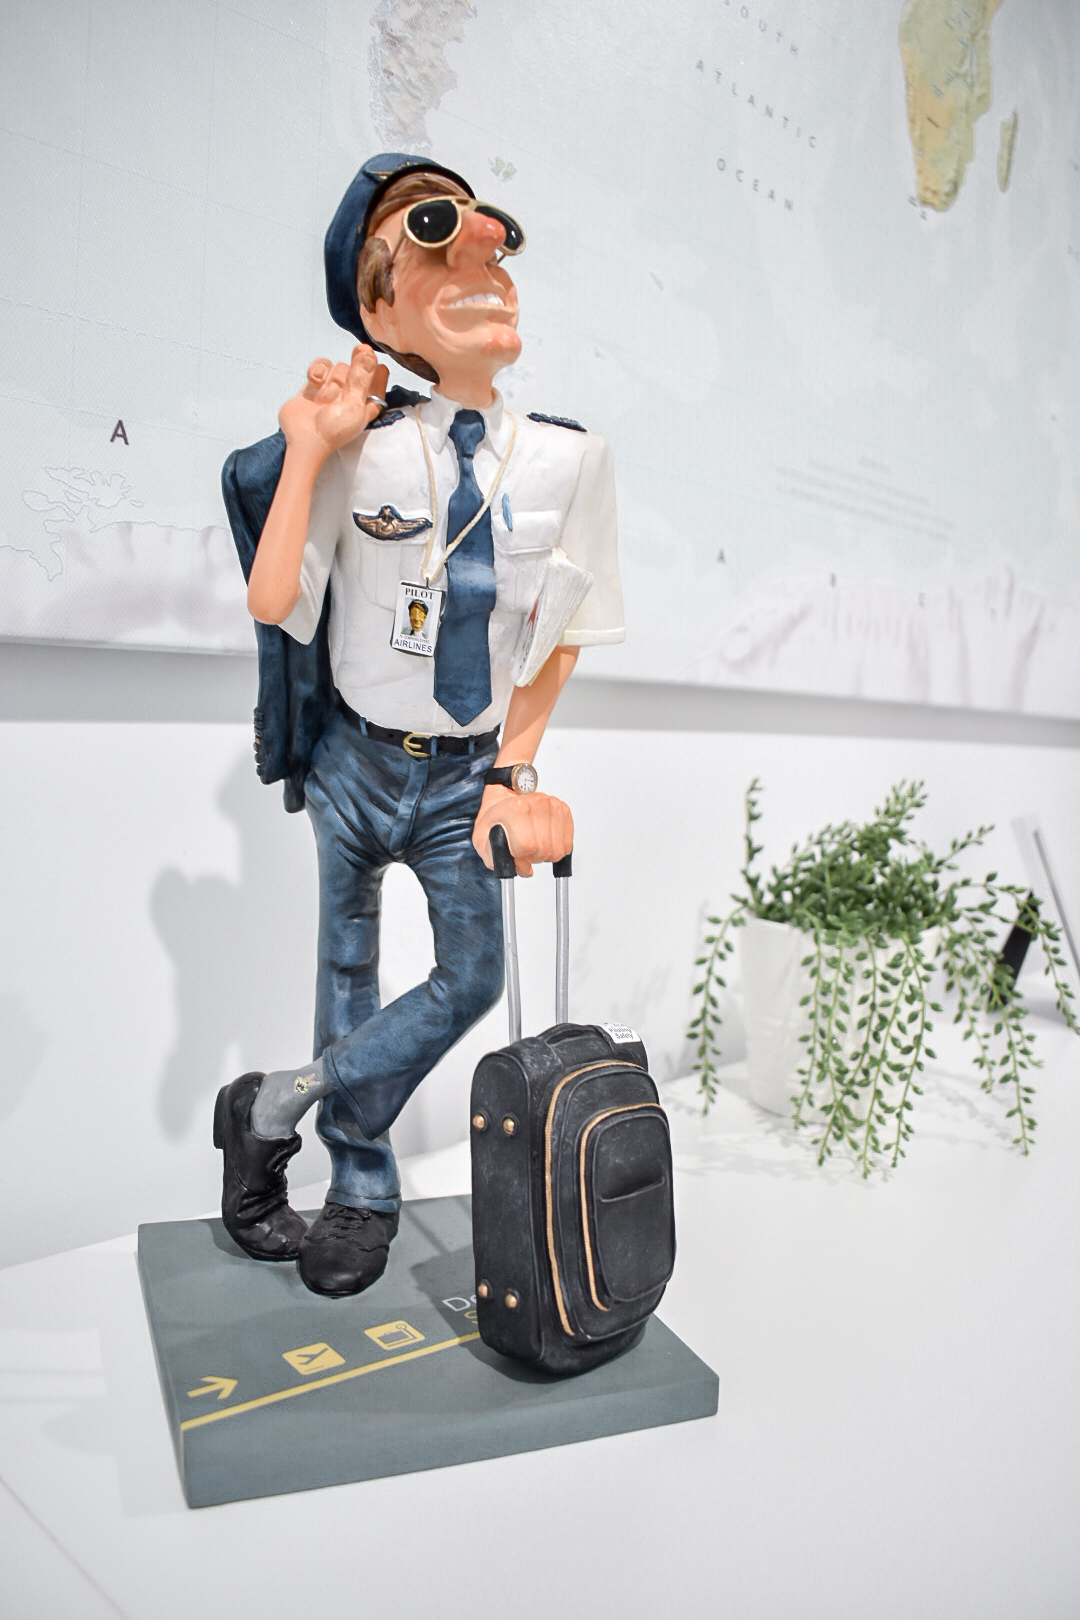
When we built this house we put a lot of thought into designing our office. Hubby is a pilot and spends a lot of time in the office, and now with me writing this is where most of my time is spent when not doing the mum thing! We wanted a functional space as well as a calm, inviting and a happy place to enter into. Somehow other things got prioritized and this room just kept getting filled with junk to the point you could actually not see the floor or even open the door wide open. It was far from being the calm and inviting place we imagined.
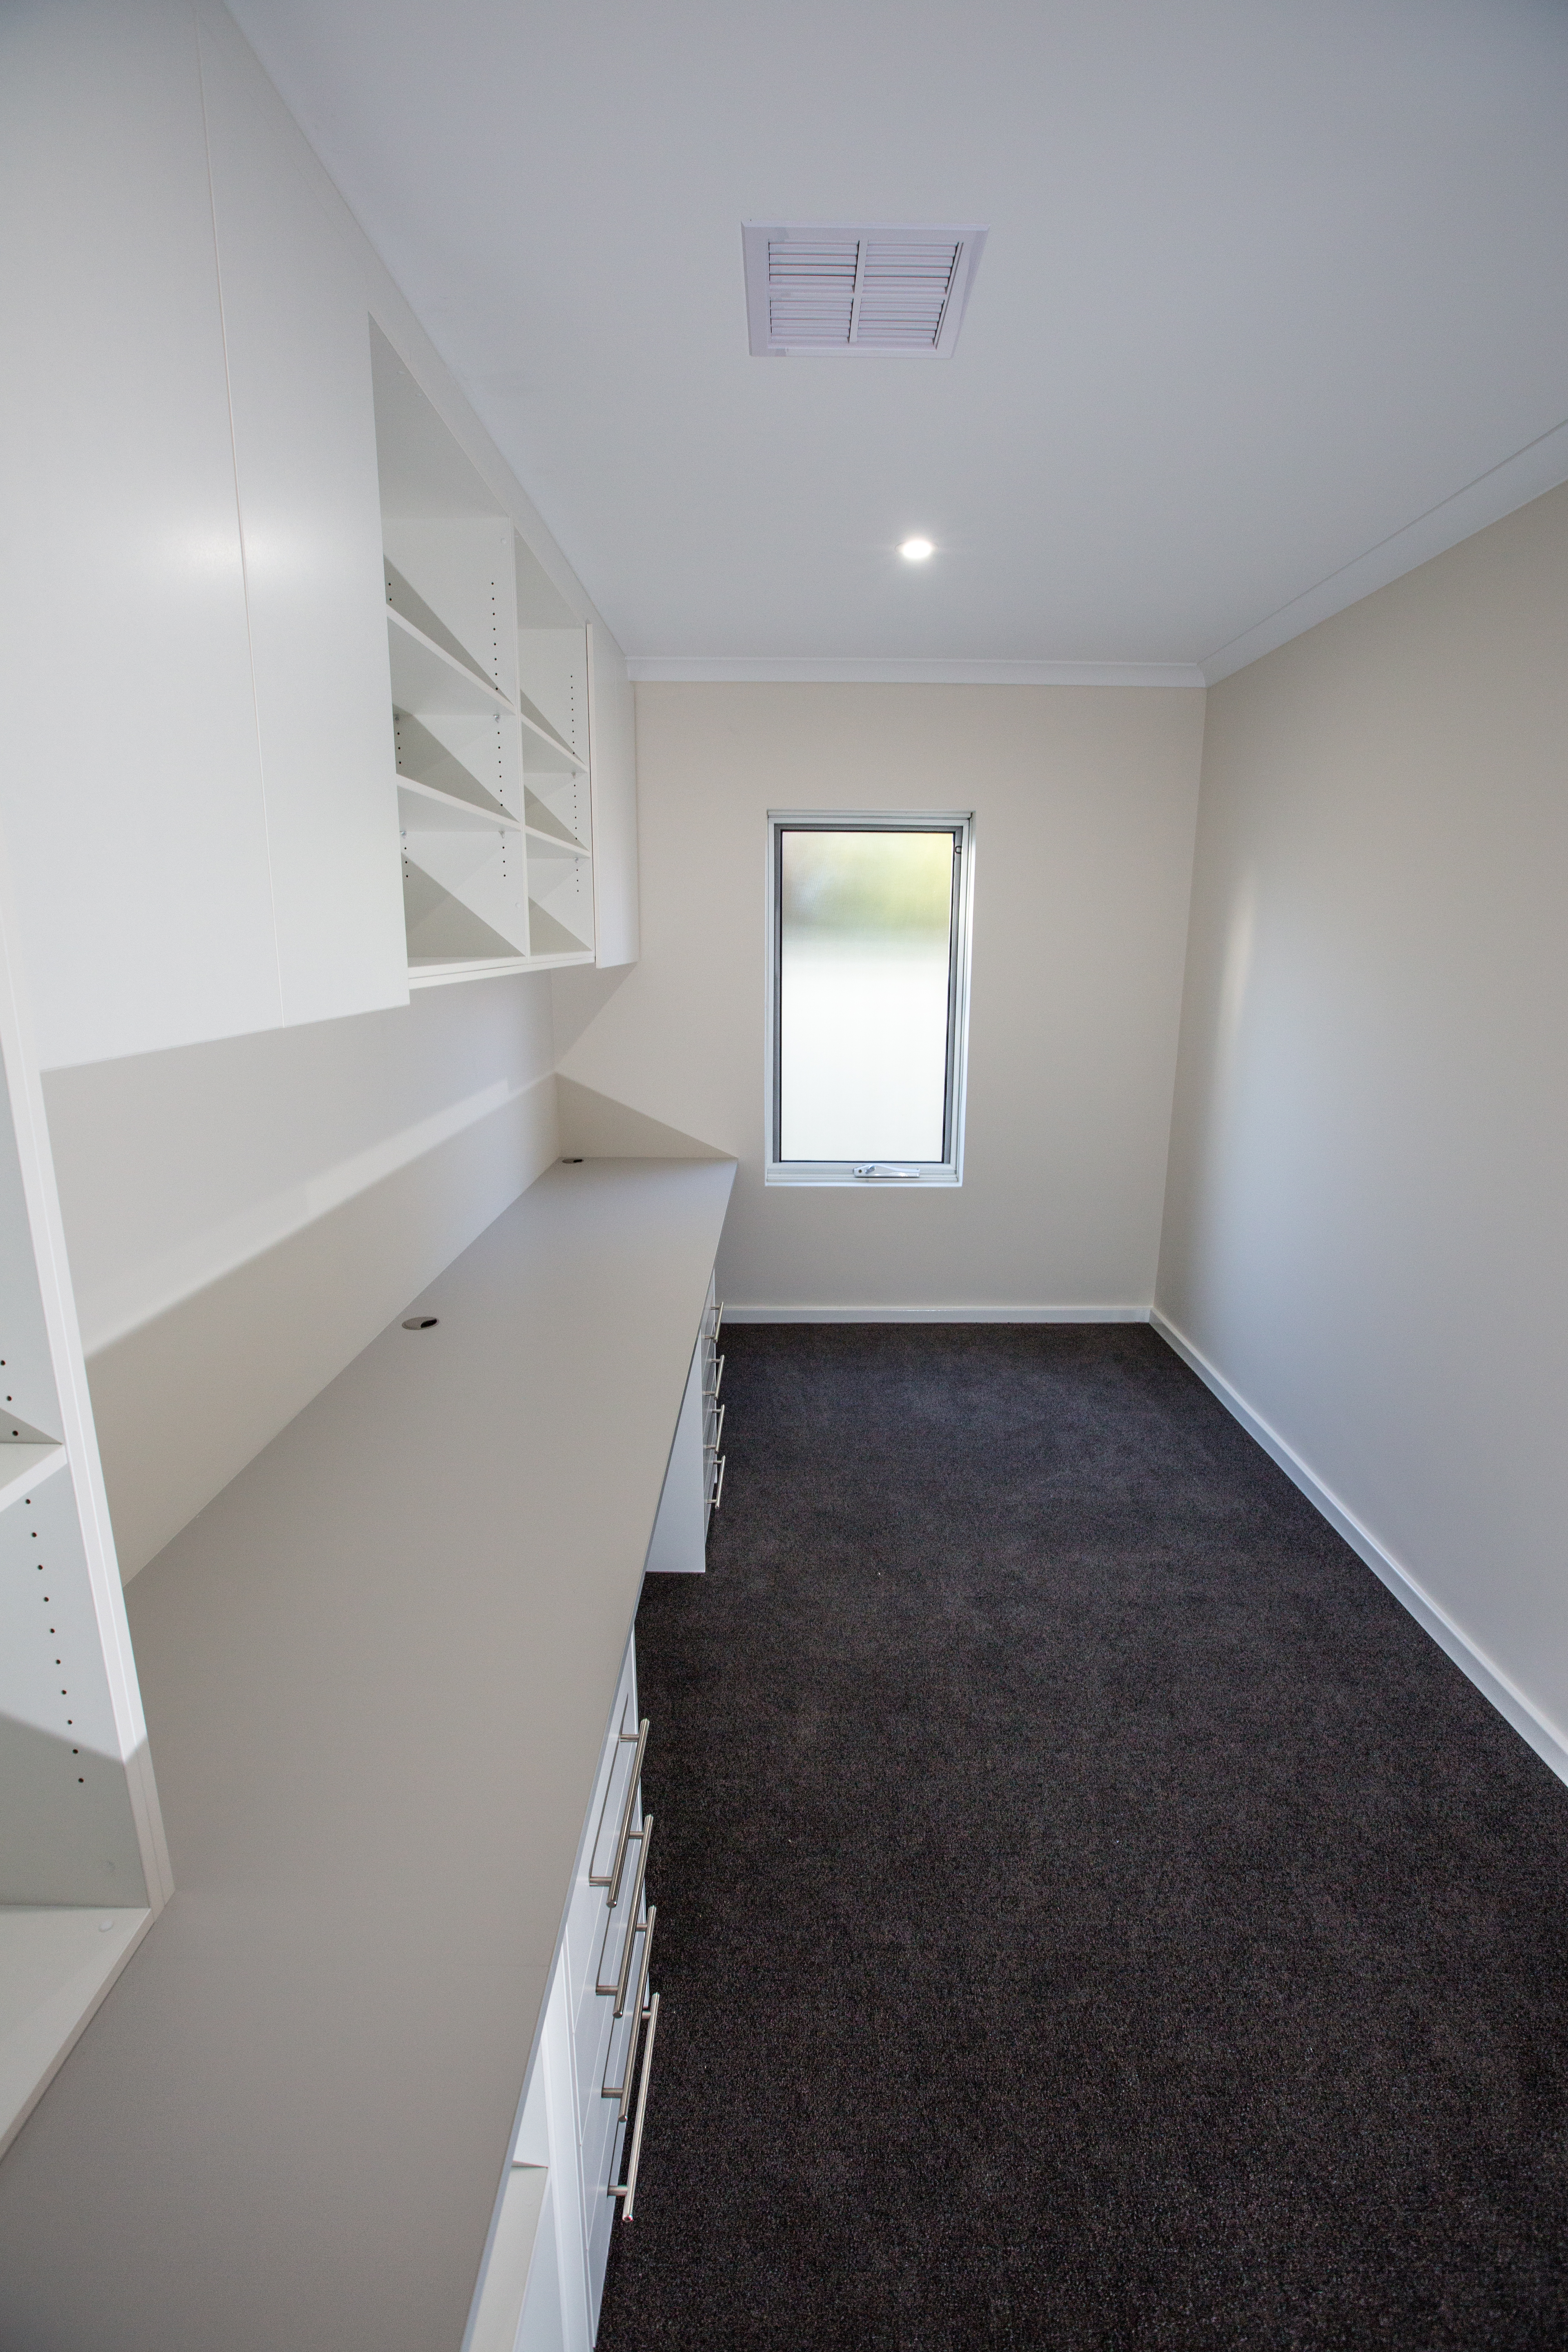
How good did it look when we moved in! 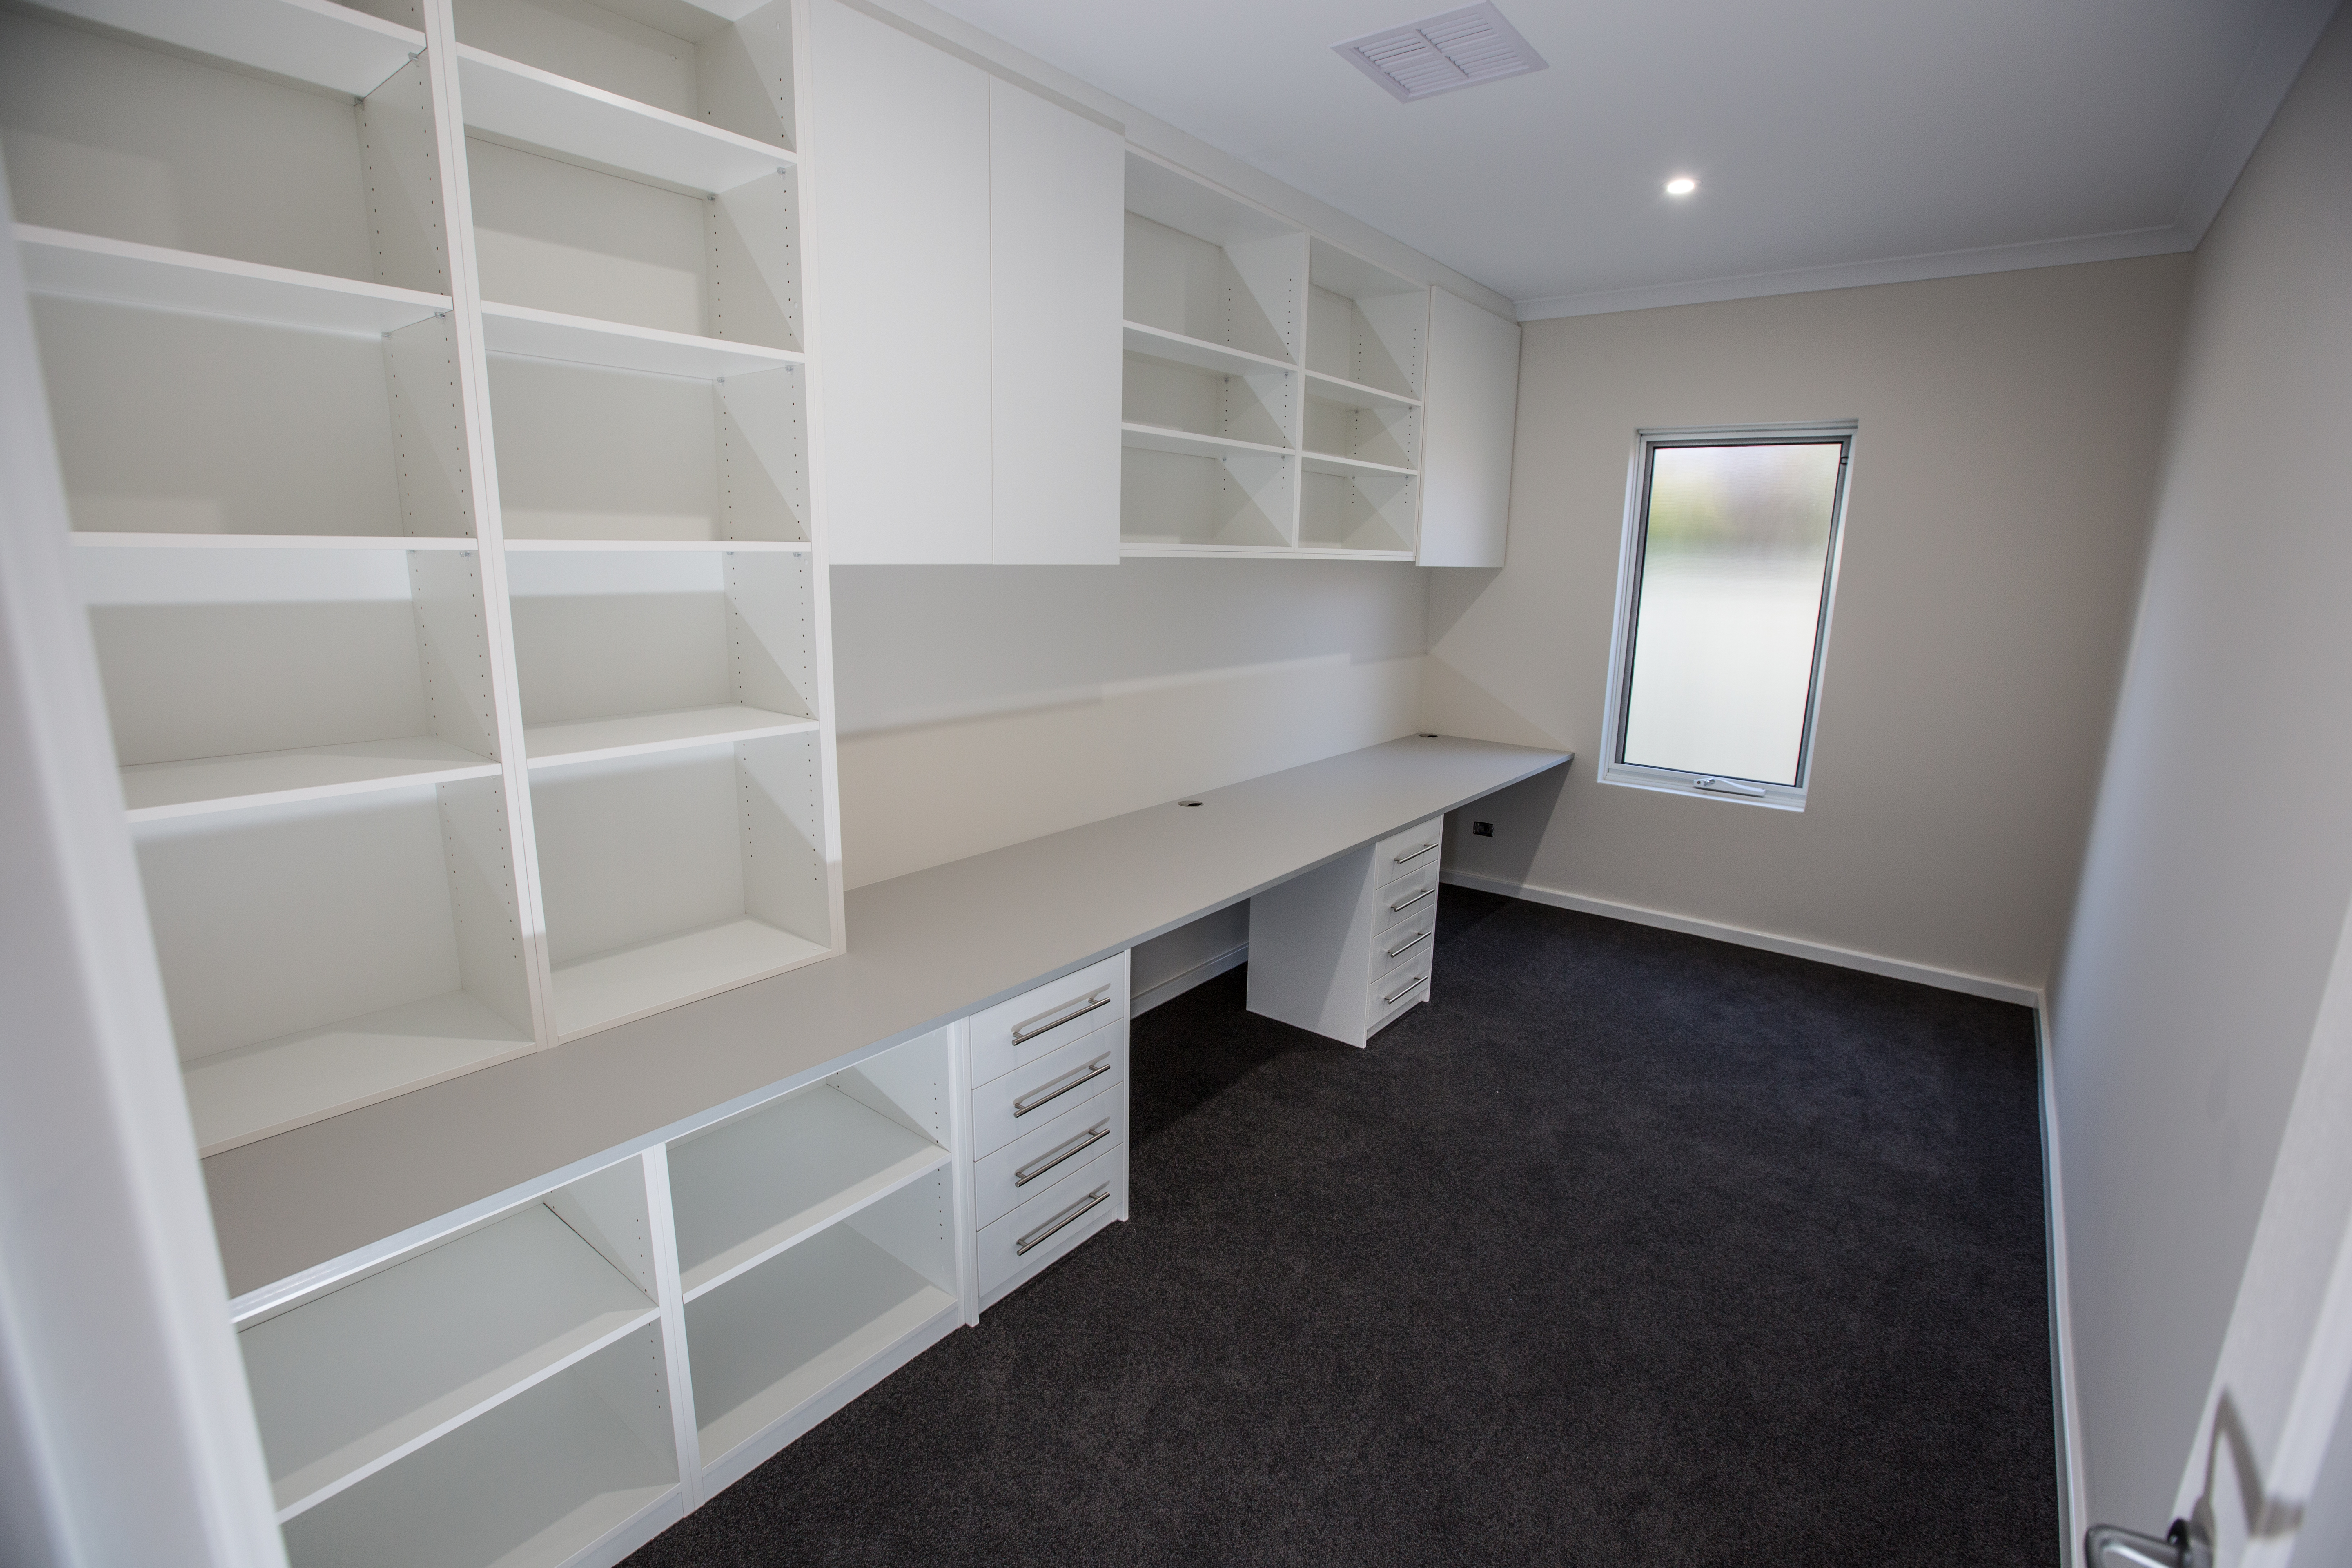
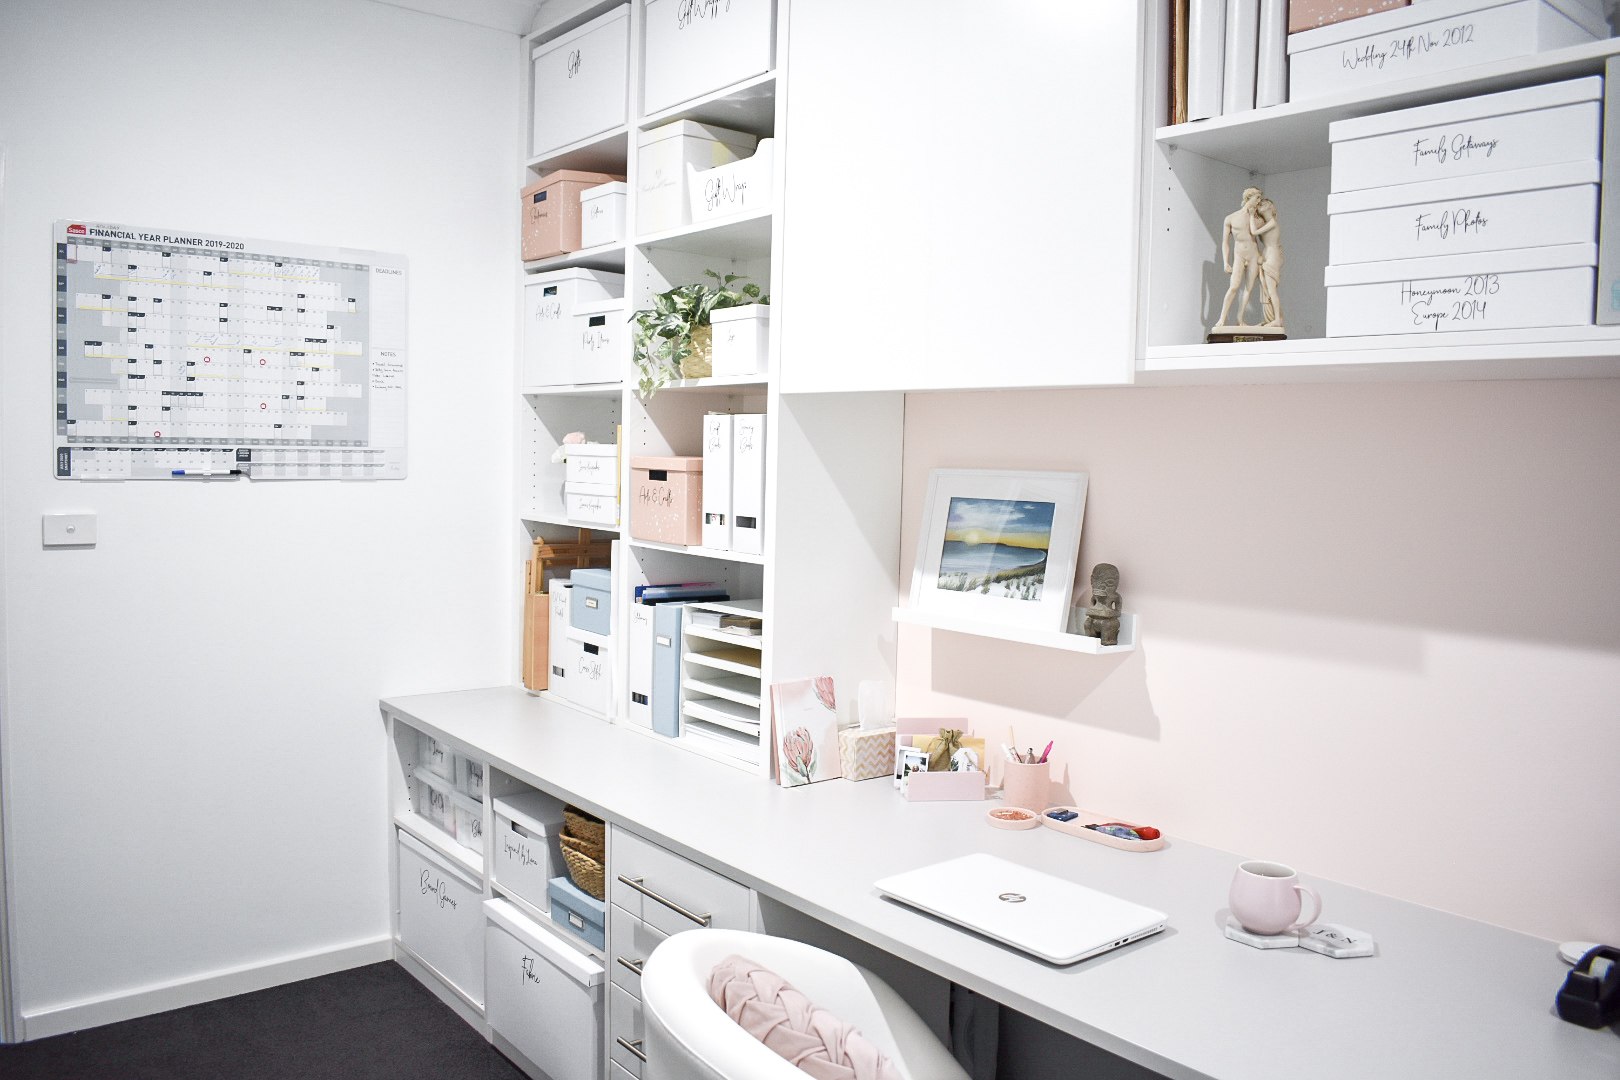
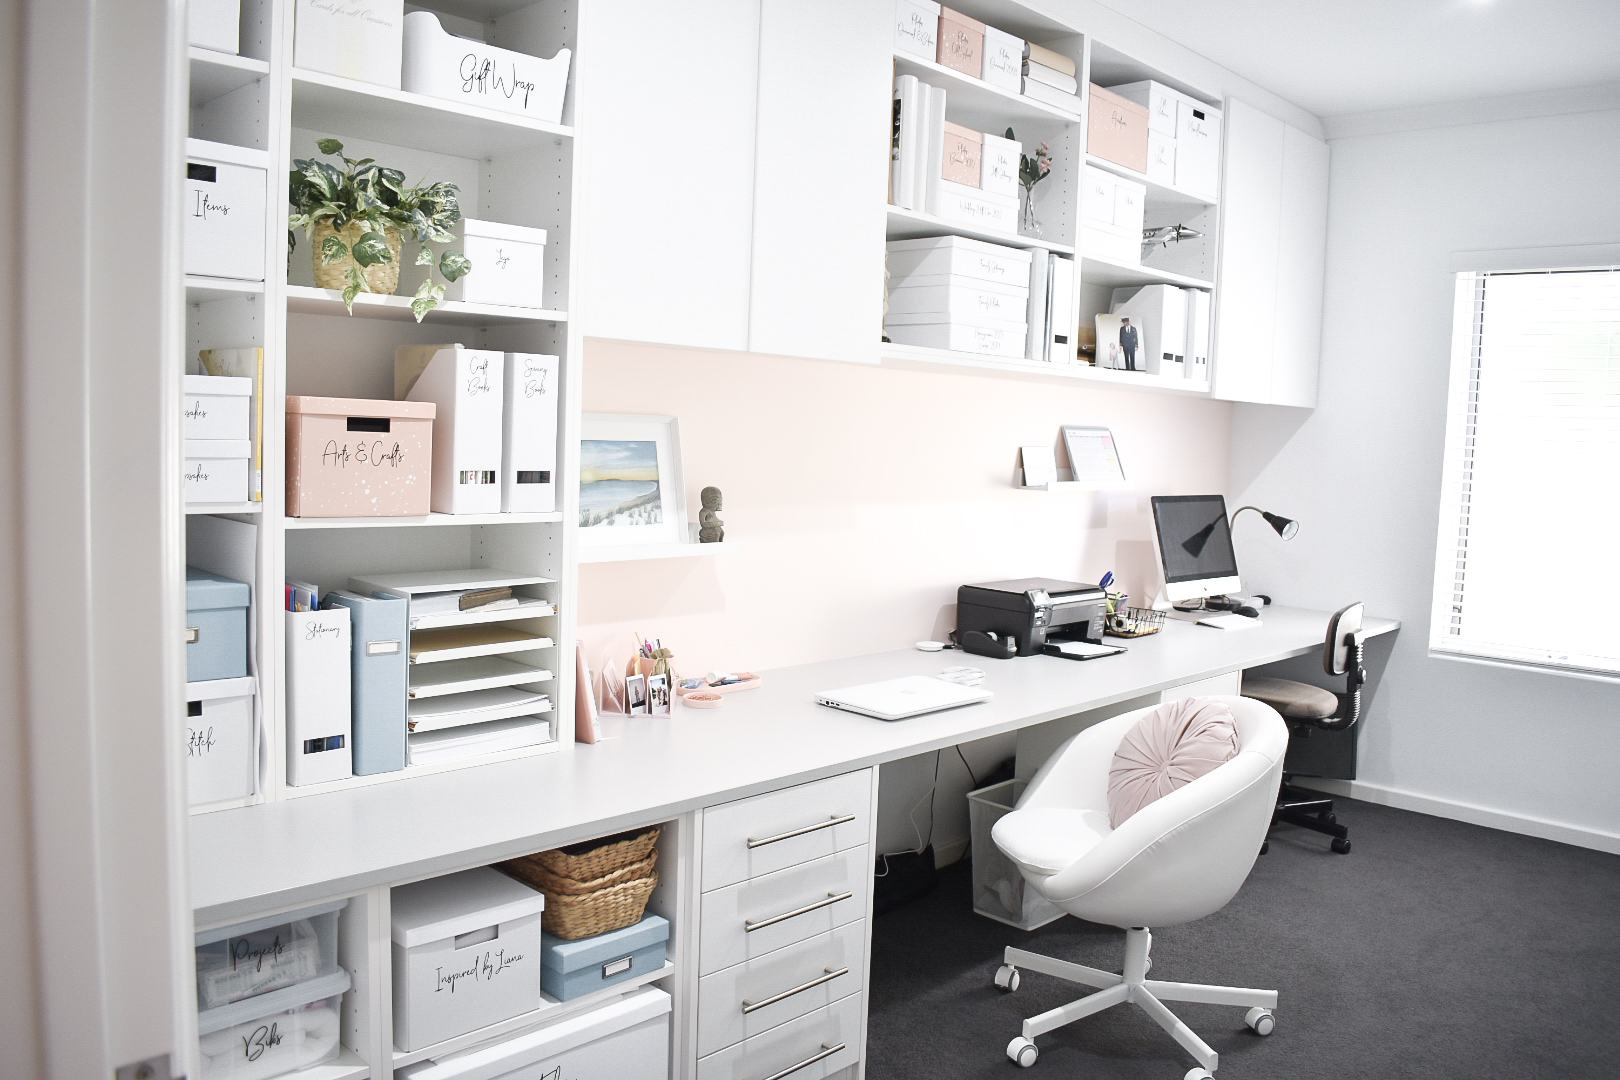
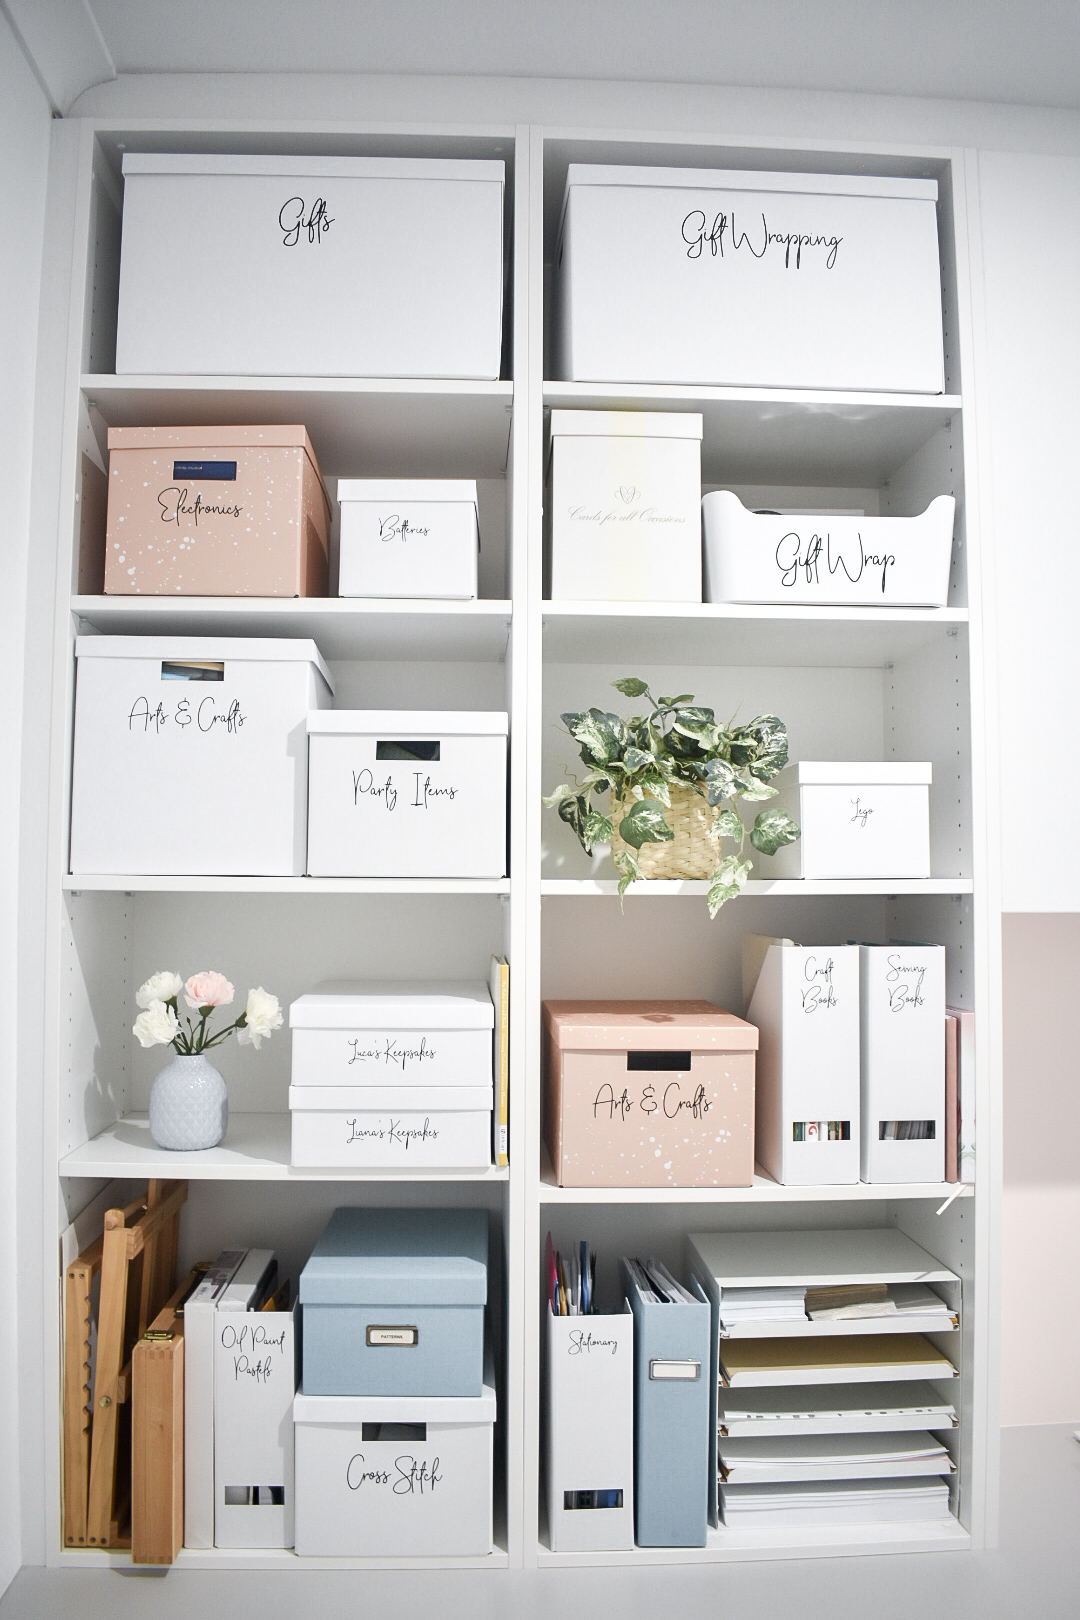
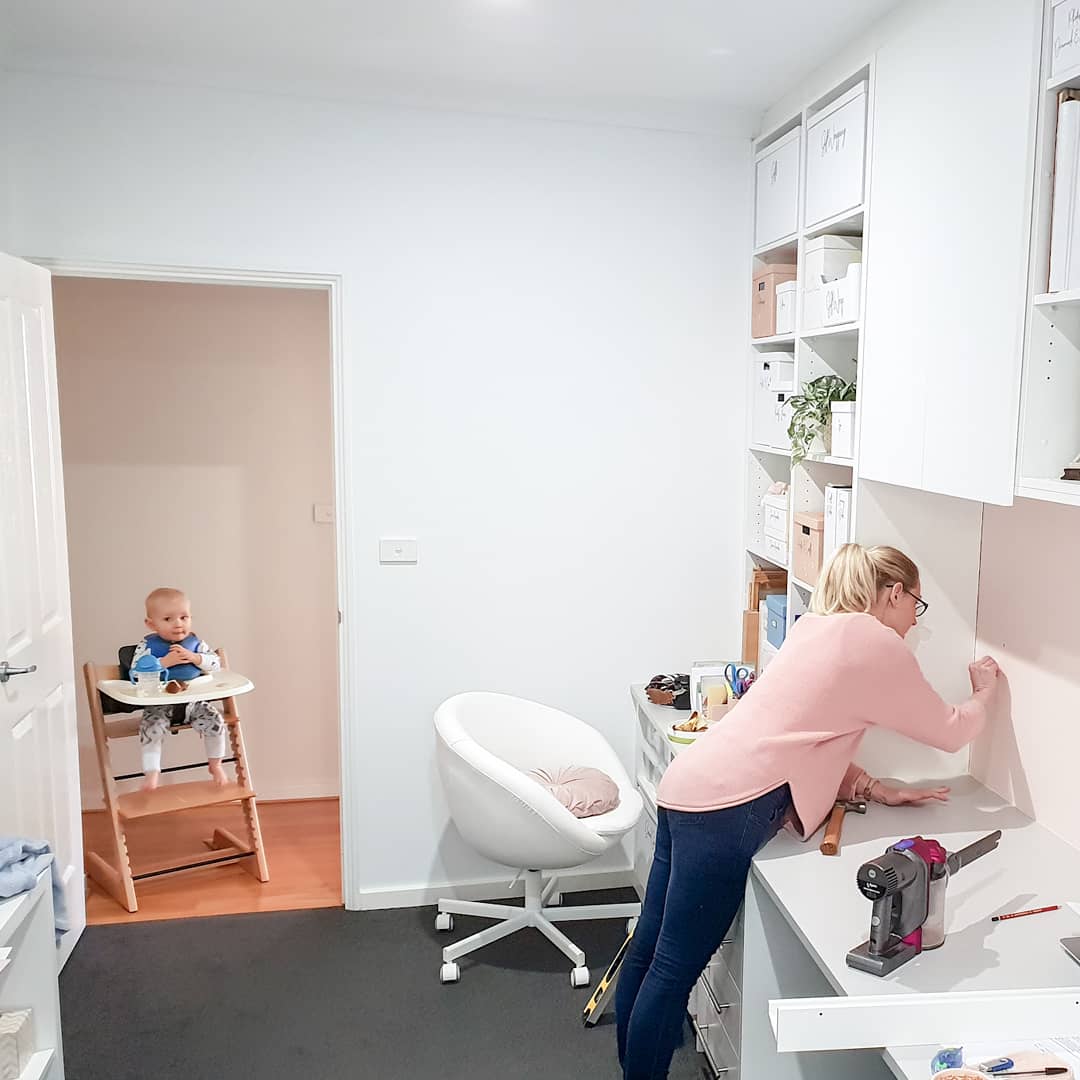
Custom shelving by Alliance Robes
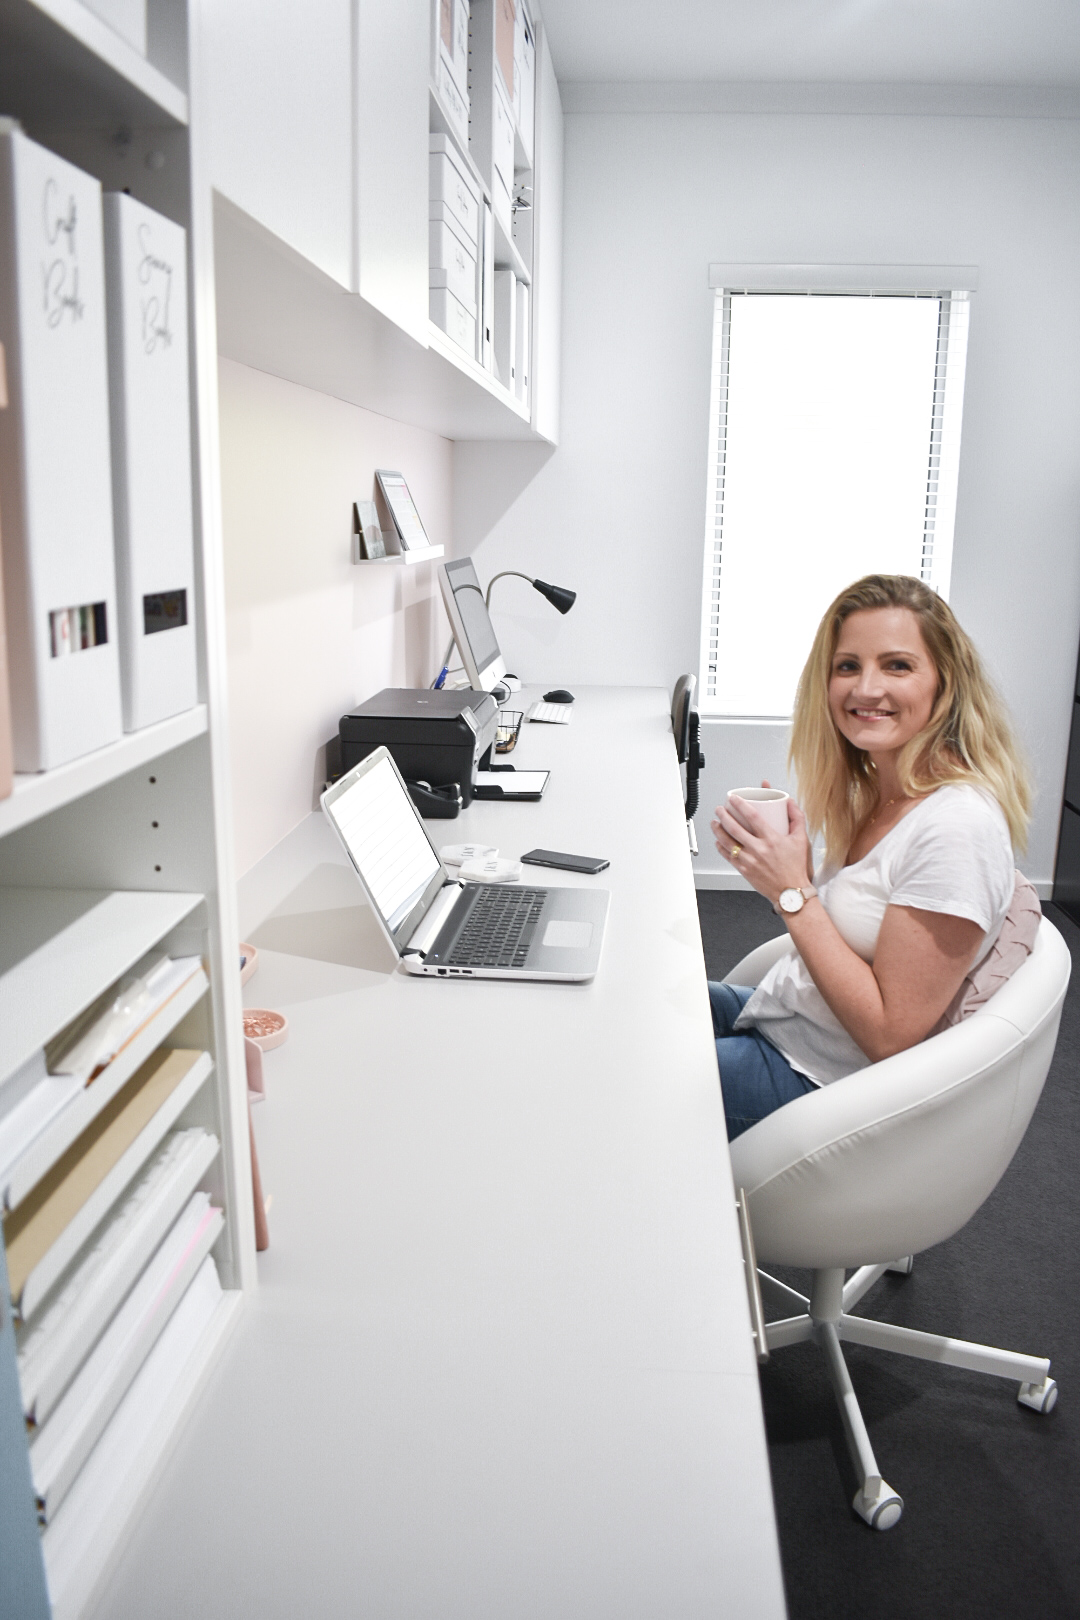
Every house has that one room that is the junk room, that room which is always messy, that room you always put the ‘I don’t know where to put that’. Well our office was that room. After many days, months even years walking past this room in our home, we were so embarrassed to leave the door open in case someone would see inside. It’s been on our to do list for a long time now and we can finally leave the door wide open and feel so proud to show it off to all, including you.
I’ve done a blog on this not only because I am proud AF but to inspire you to do something that has been on your to do list for a long time, to finally get that motivation because once you do, you will feel great and wishing you had done it a long time ago. It won’t happen overnight especially if you are anything like me who only has 2 hours a day to work on something like this while the little one sleeps and the other is at school. Lets just say lots of nights were spent de-cluttering!
I’ll share with you some organisation ideas for the office, I’ve also linked where all our products are from as you read through my blog.
So, as embarrassing as it is below are the before photos.
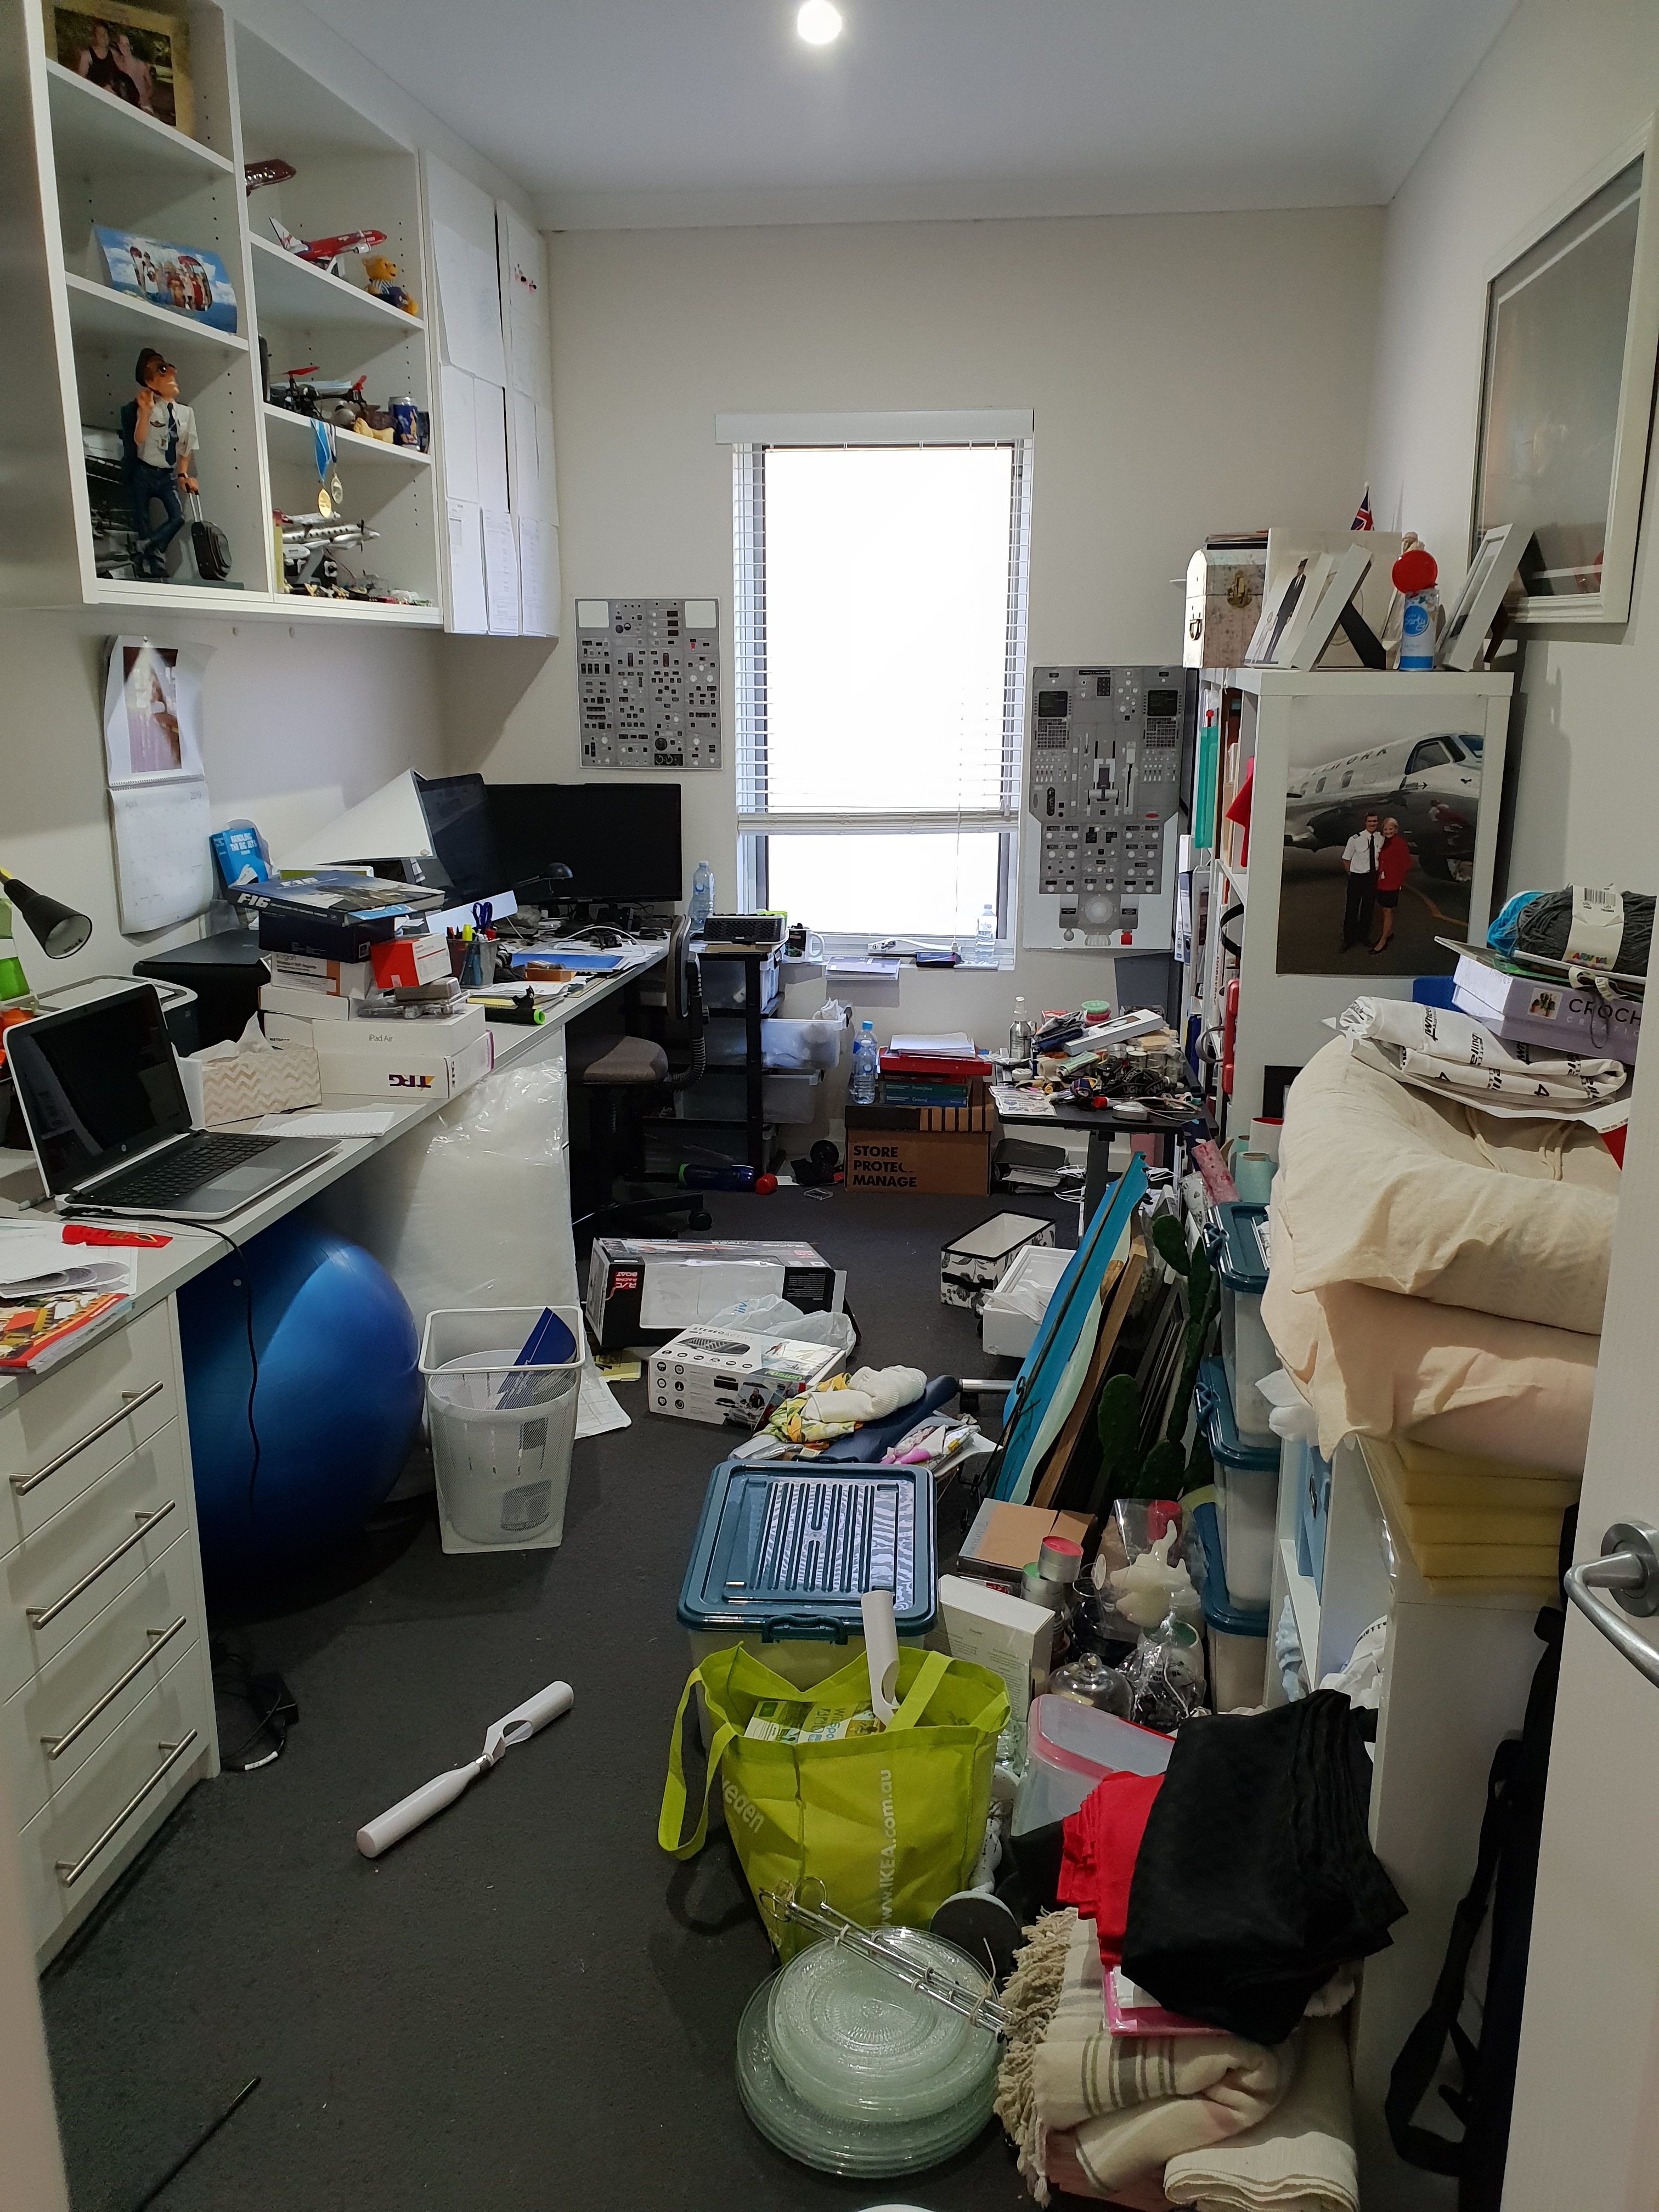
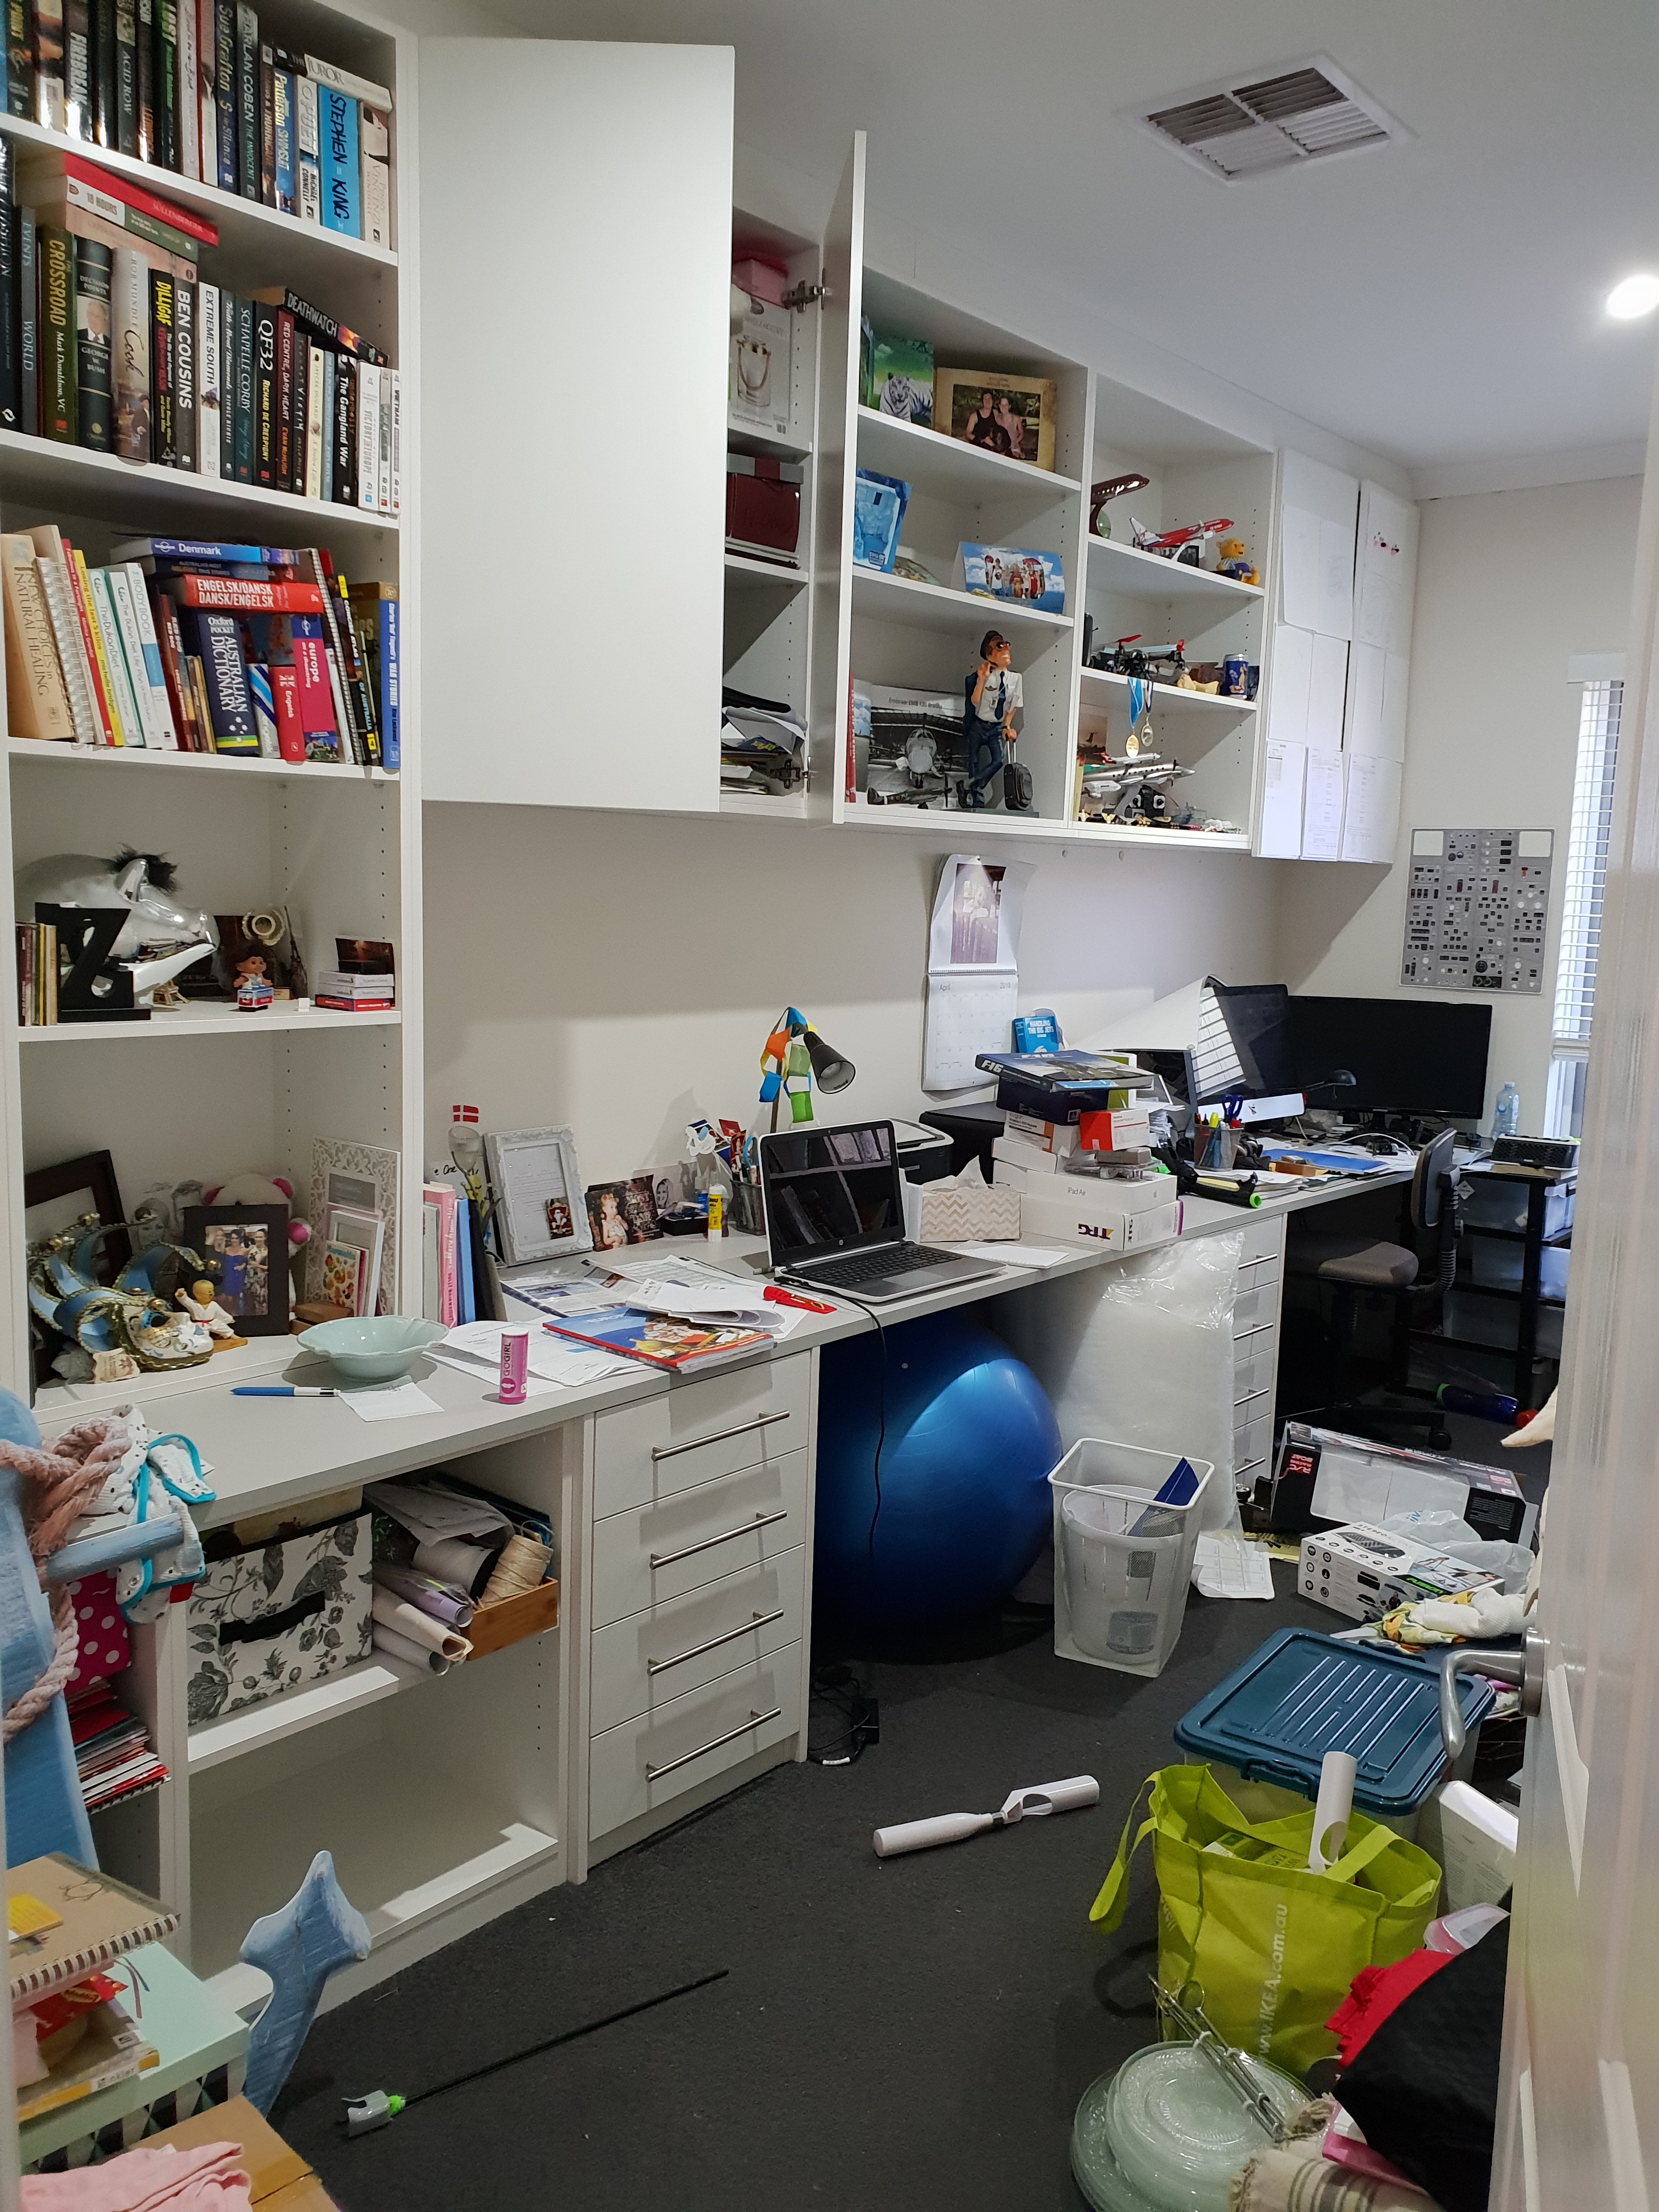
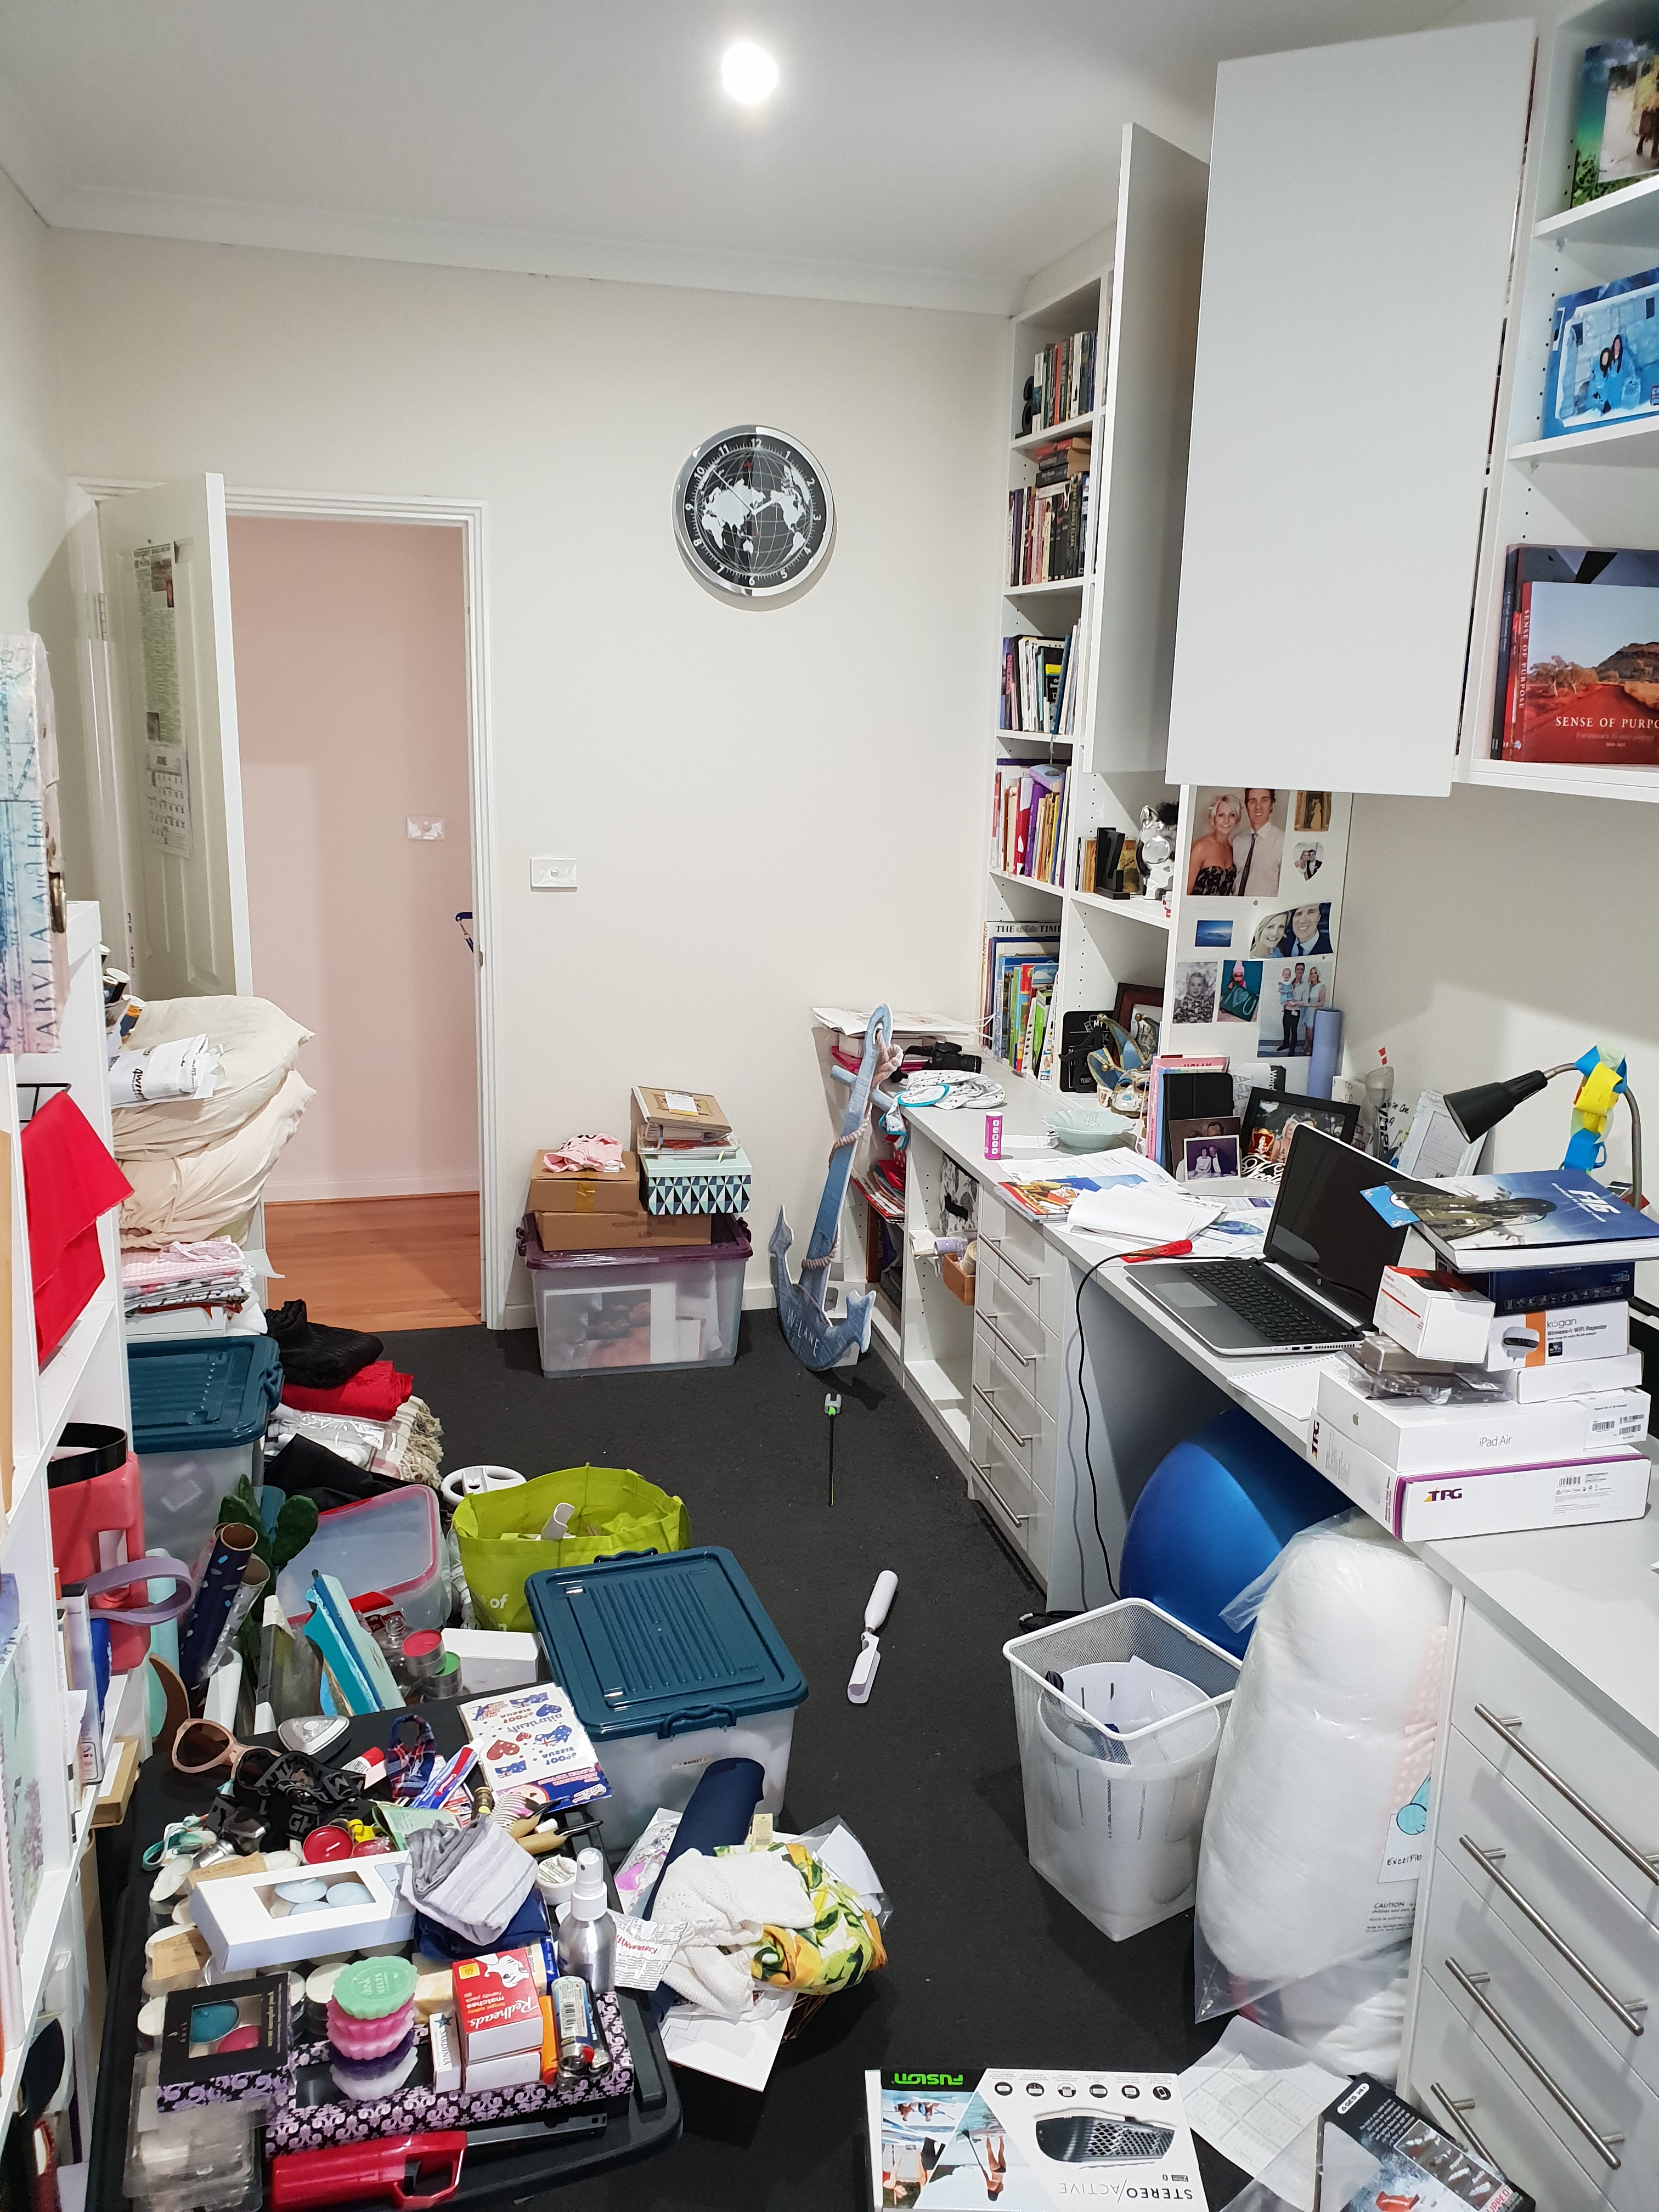
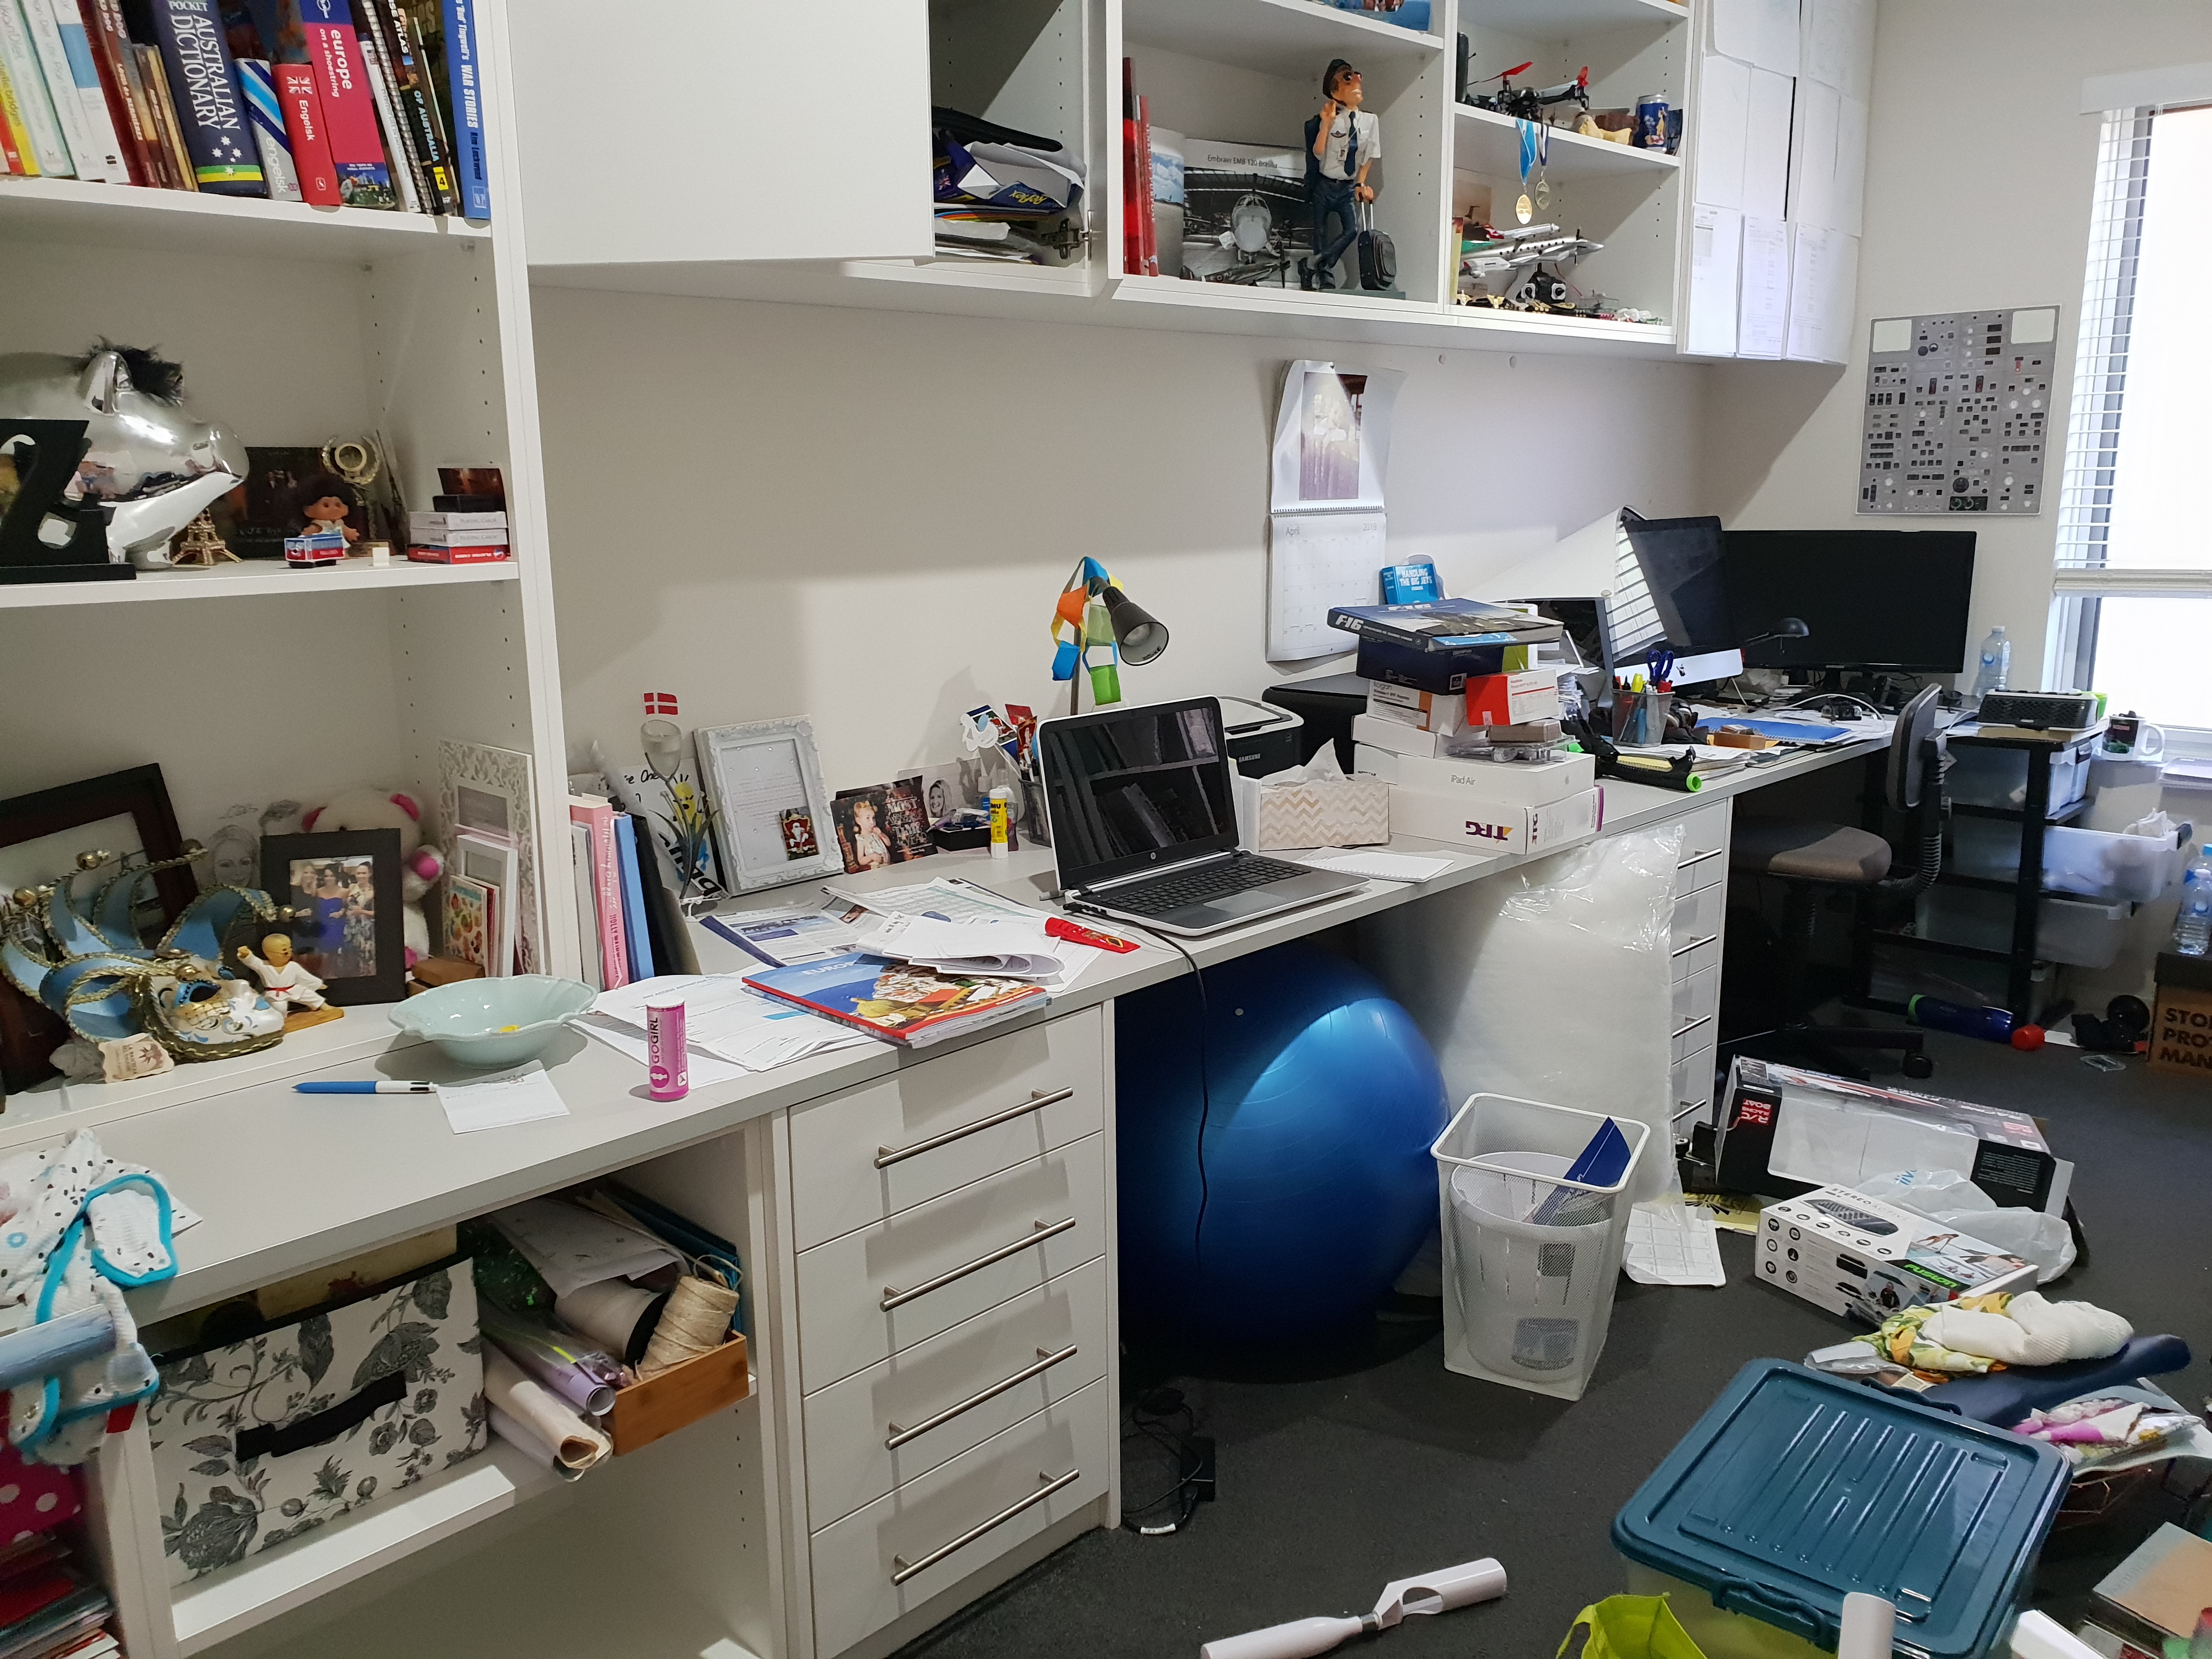
Well that was embarrassing……. Back to how it looks now!

De-cluttering
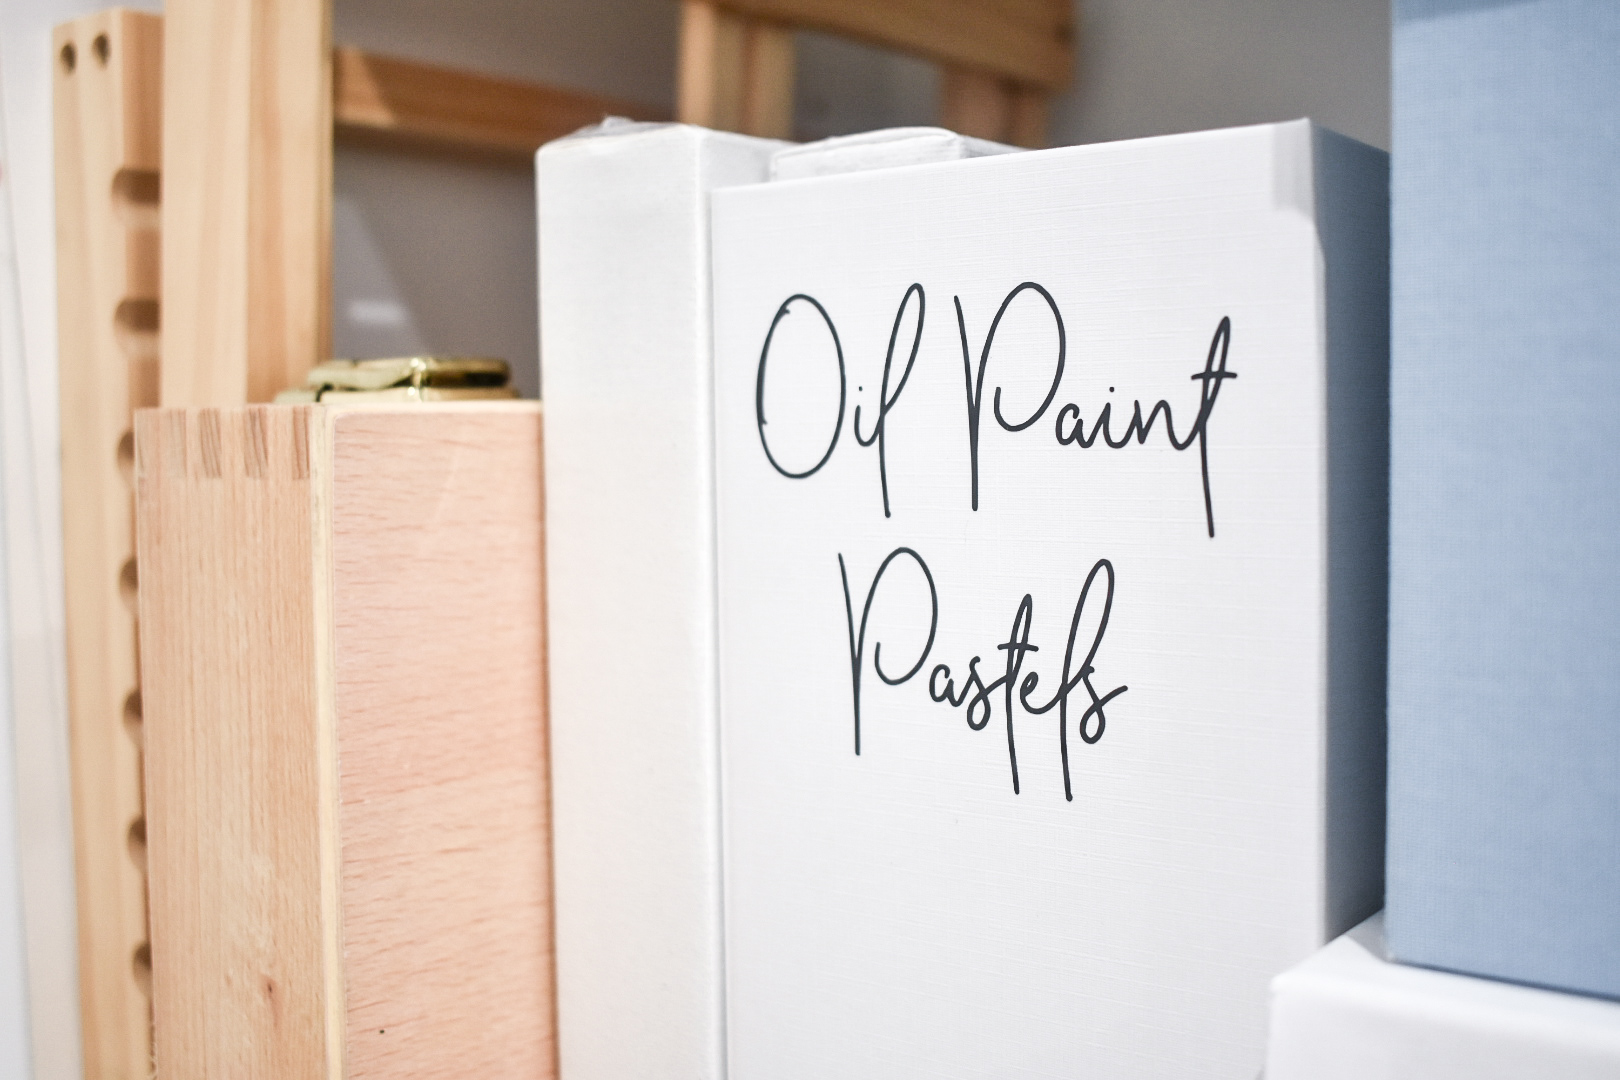
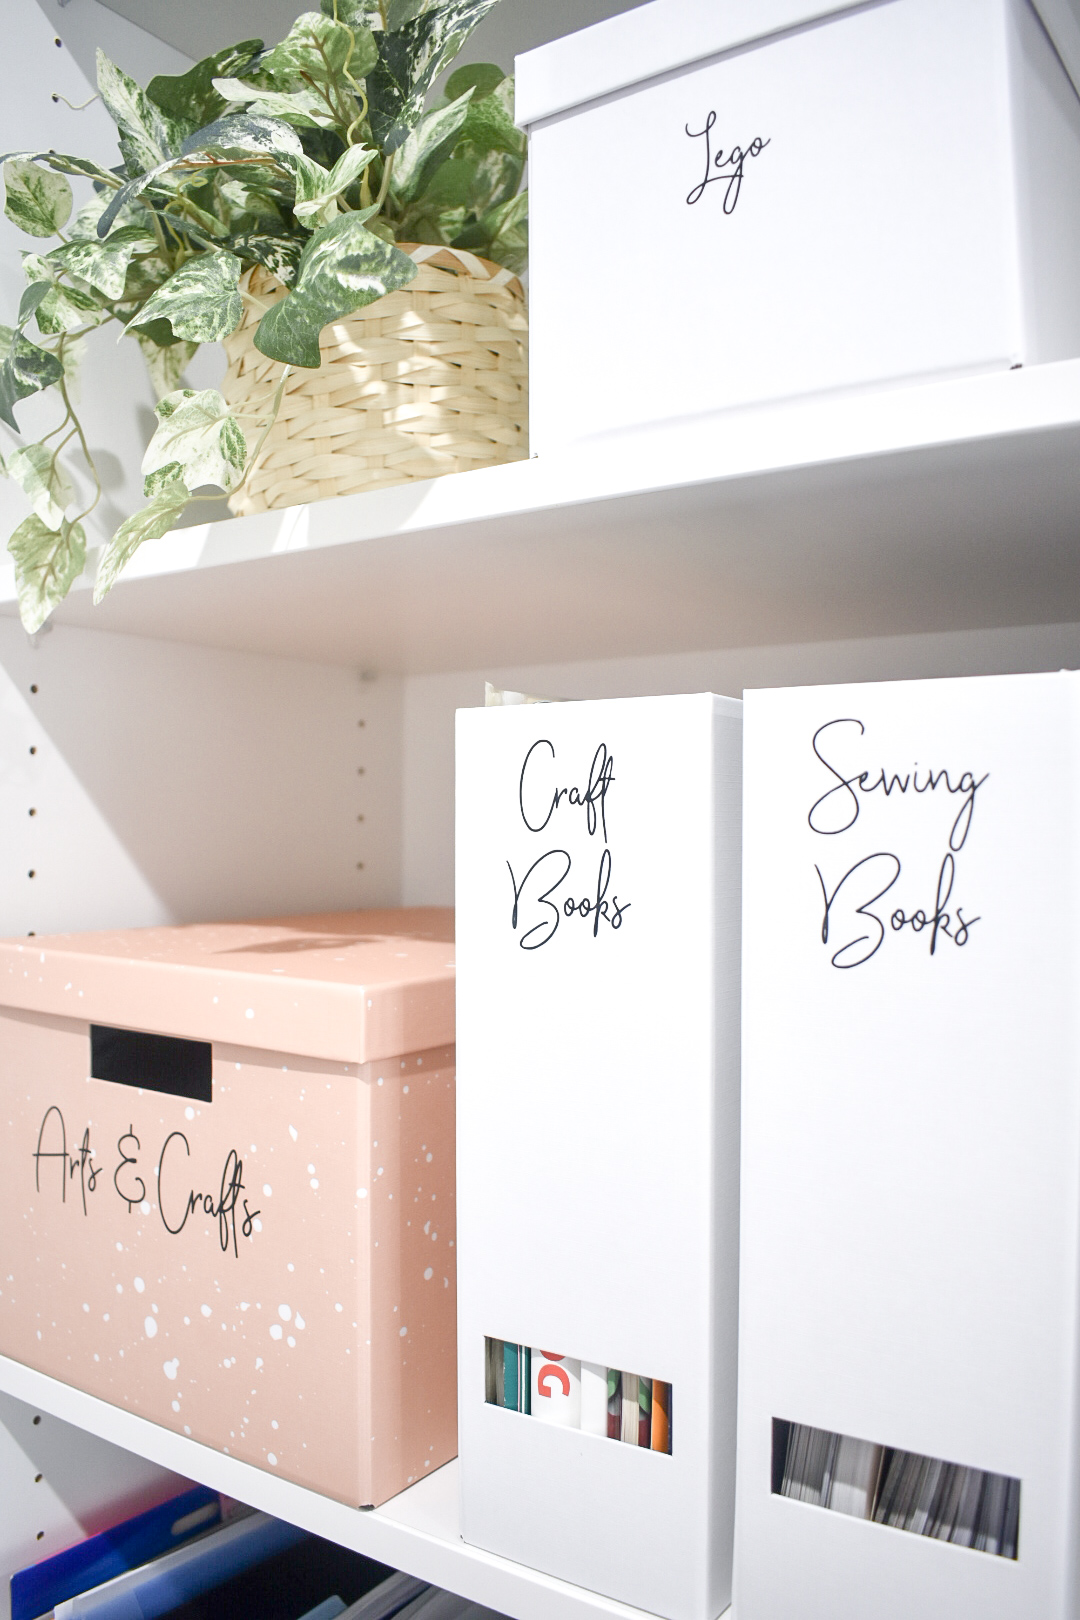
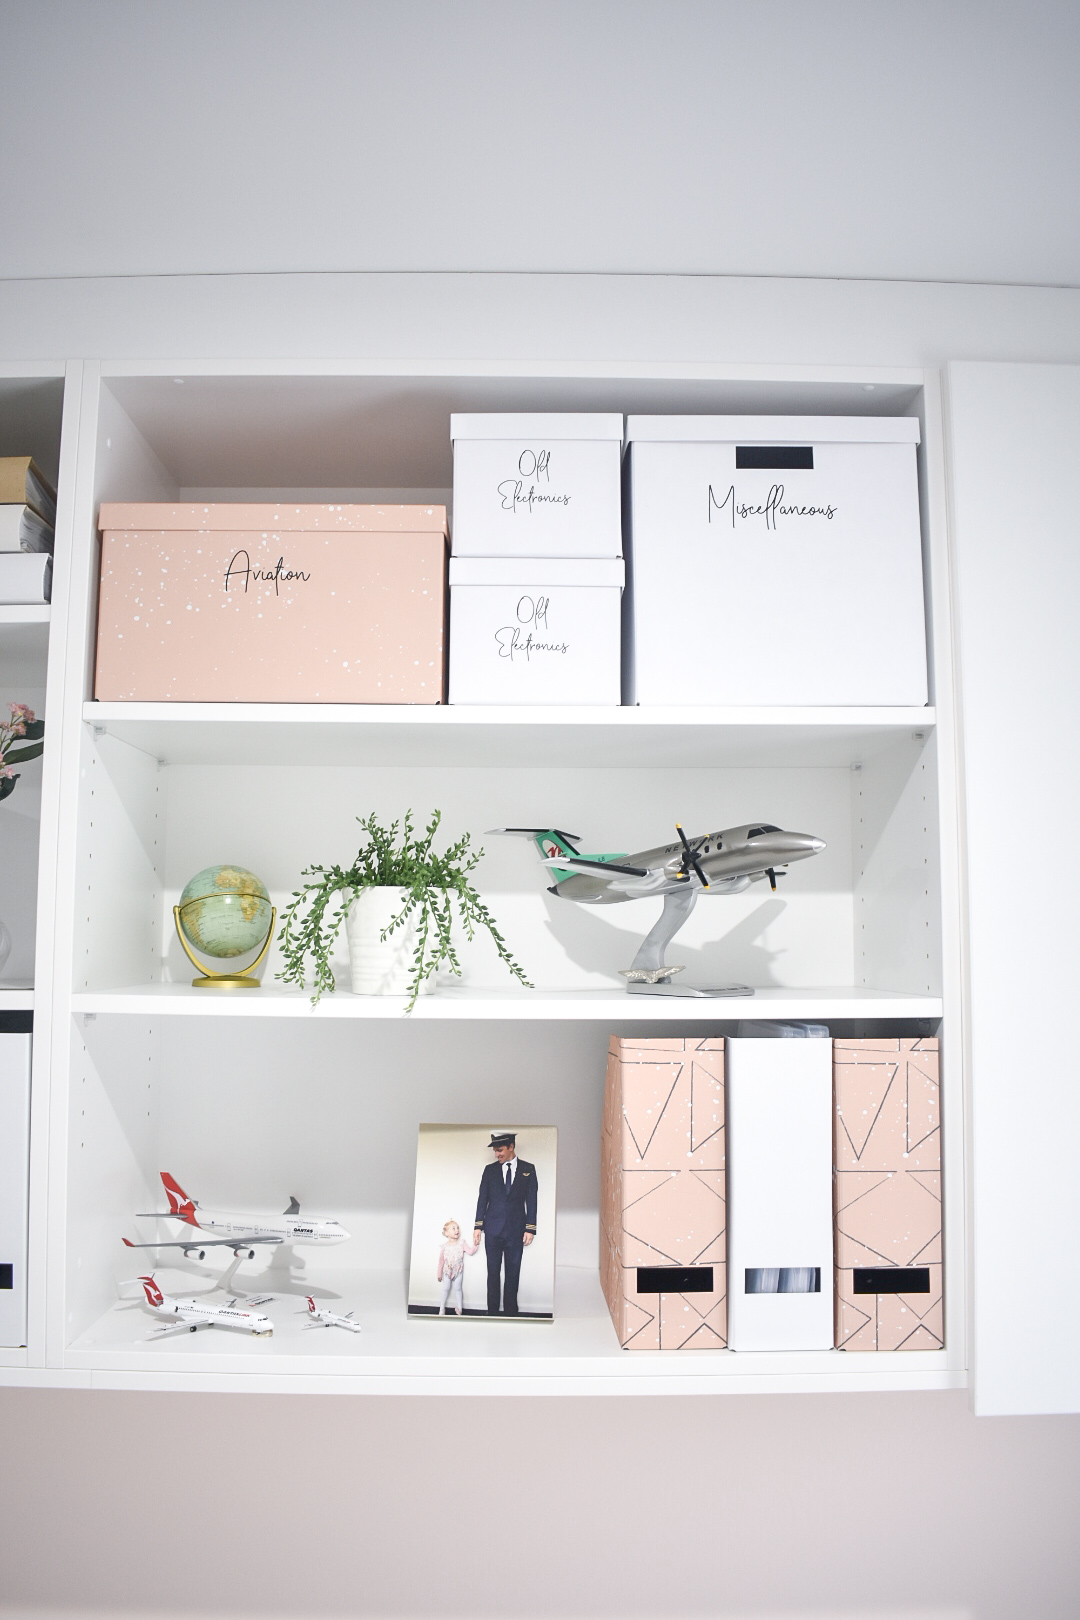
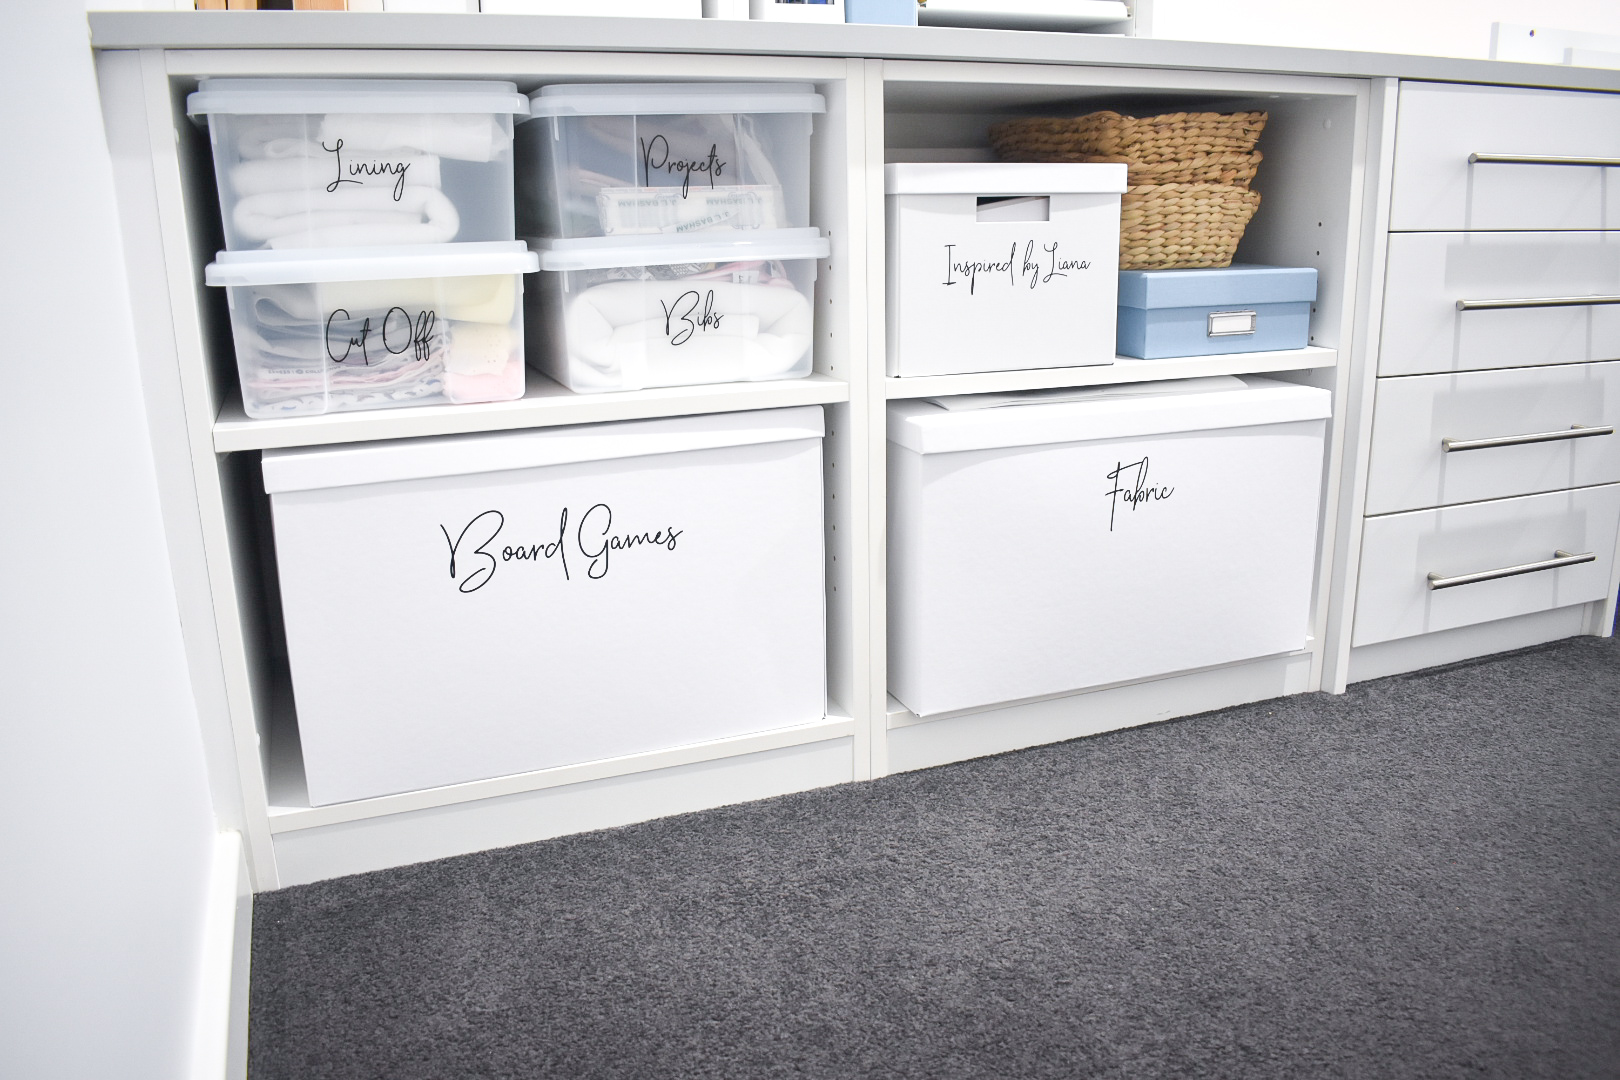
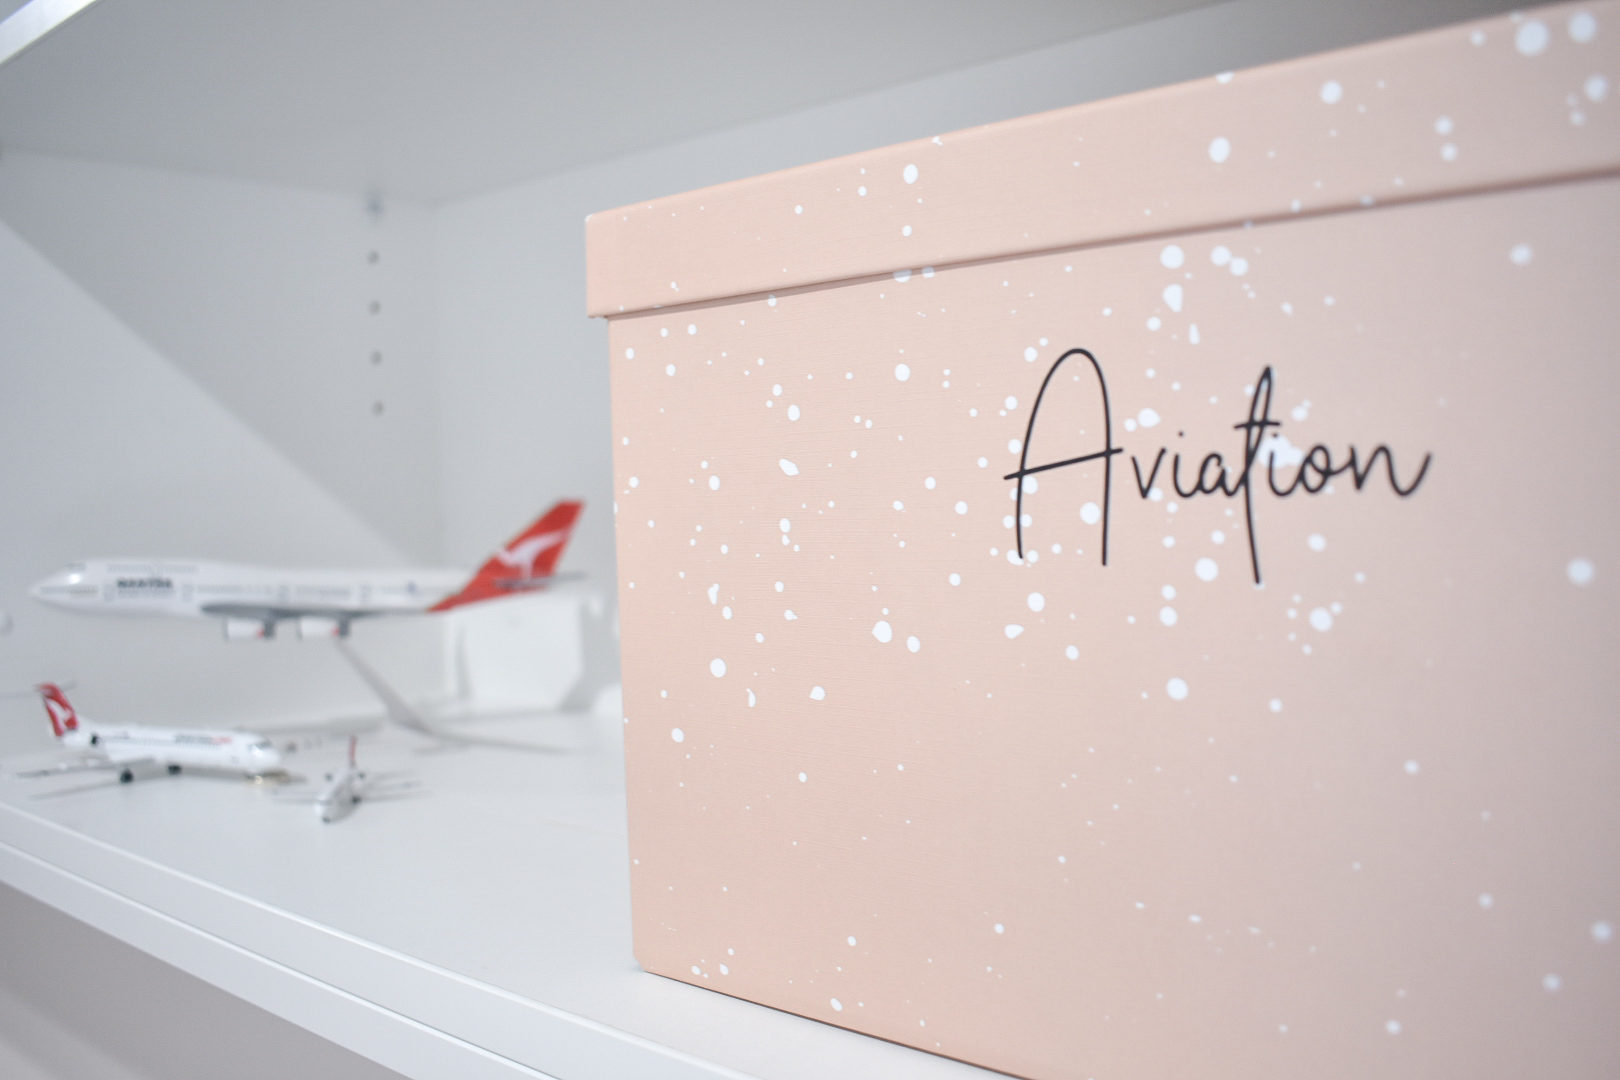
So we obviously did a major de-clutter. Went through EVERYTHING and what was not being used was either thrown out, given to Salvos or sold on Gumtree. I then started putting everything into groups, this way I had an idea of the sizes of storage boxes needed. I bought a heap of storage boxes from Ikea. I chose the TJENA range of boxes mainly as they were extremely cheap starting at $2.99, I needed heaps and didn’t want to spend a fortune so this was the best option for me and they look amazing especially with Mint To Be Designs labels on.
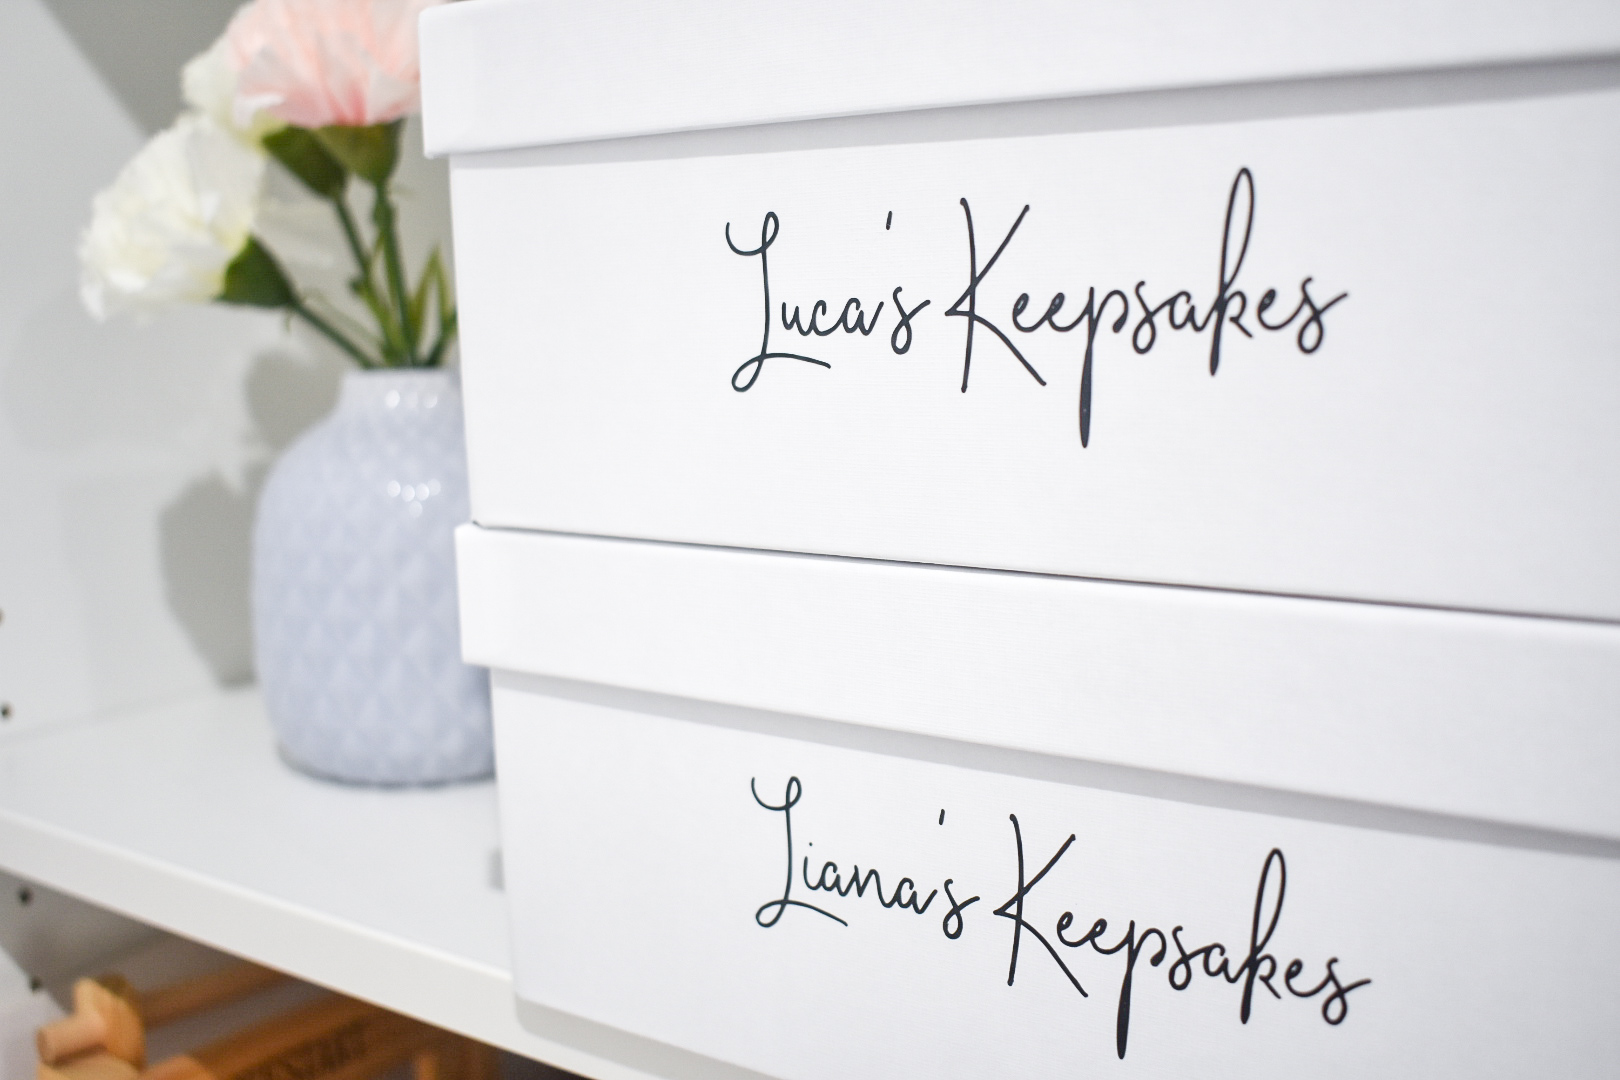
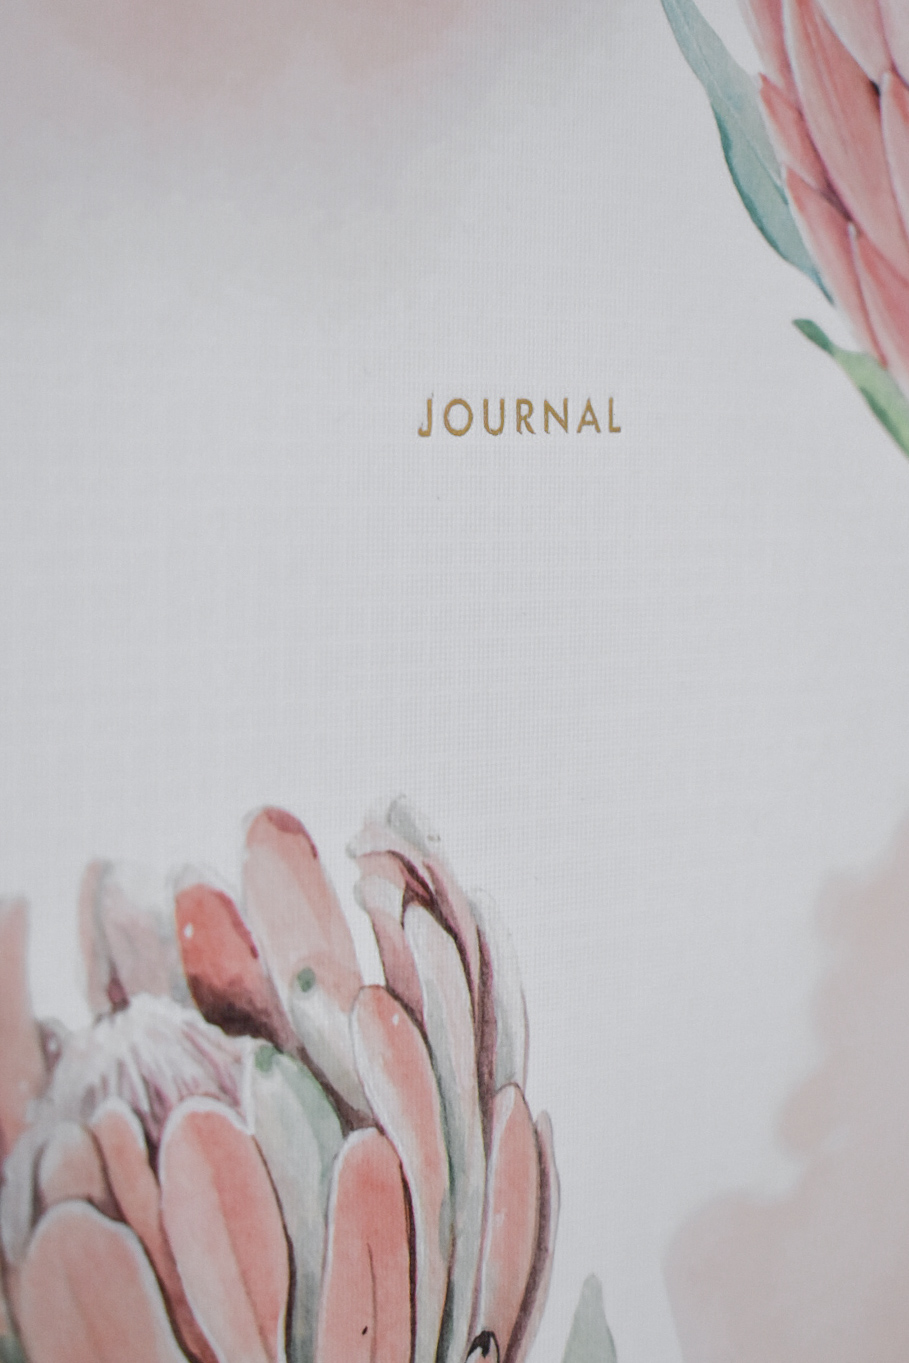
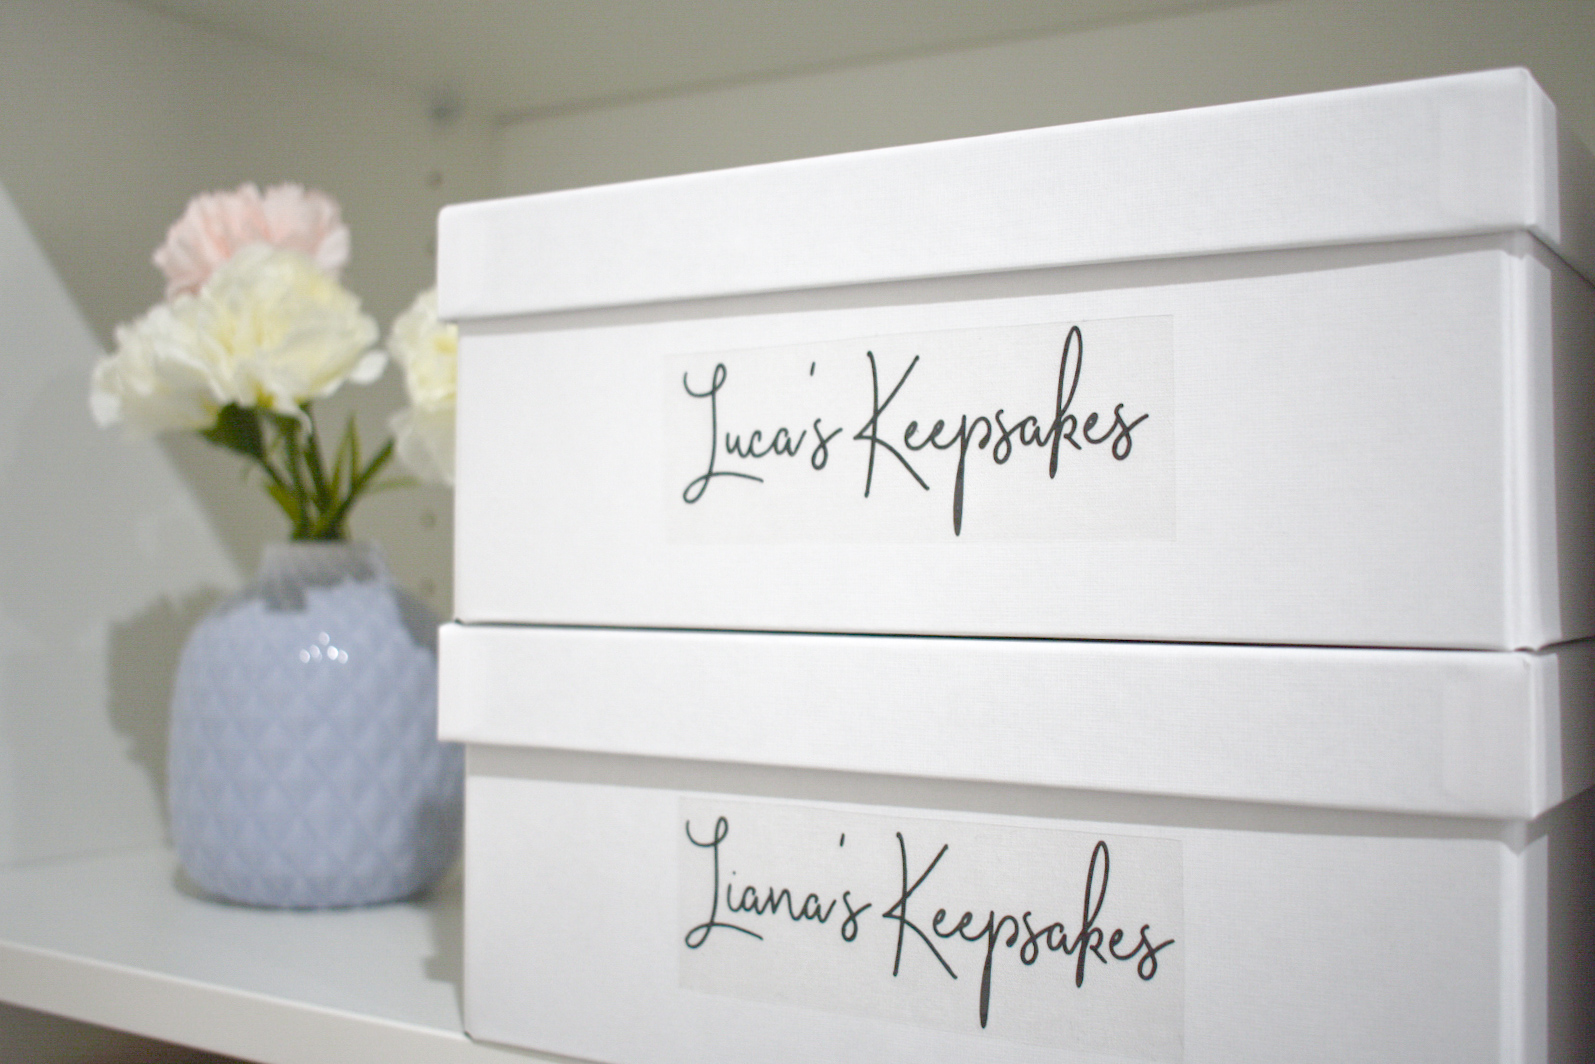
I placed all grouped items into boxes and placed a post it note with what was in them. I found this was the best way as we got further through the clean up more things were found and some of the boxes had to be reshuffled around to fit. Some examples of group items were batteries, arts & crafts, Gift wrapping, Electrical cords, both the kids keepsakes boxes ect. (I have a small box for each child with things that I update regularly like photo books/journal etc and then a large box for each stored away.
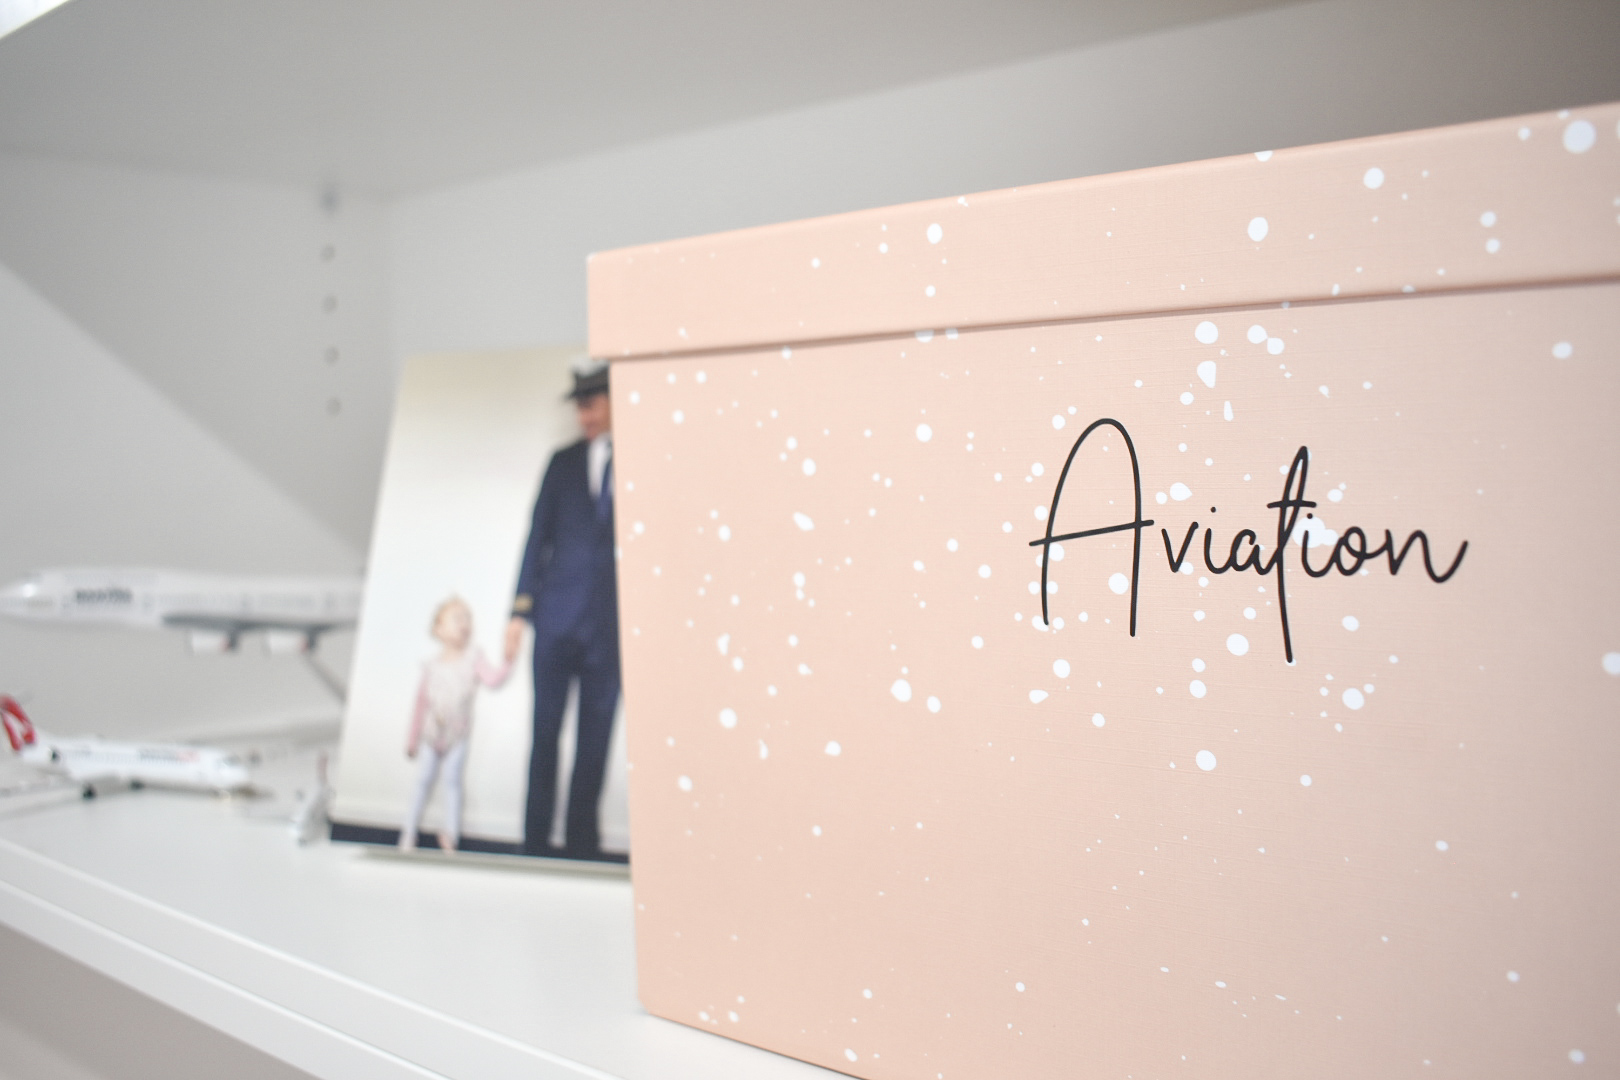
As you can see I also got some of the peach colour tjena boxes to break up the white.
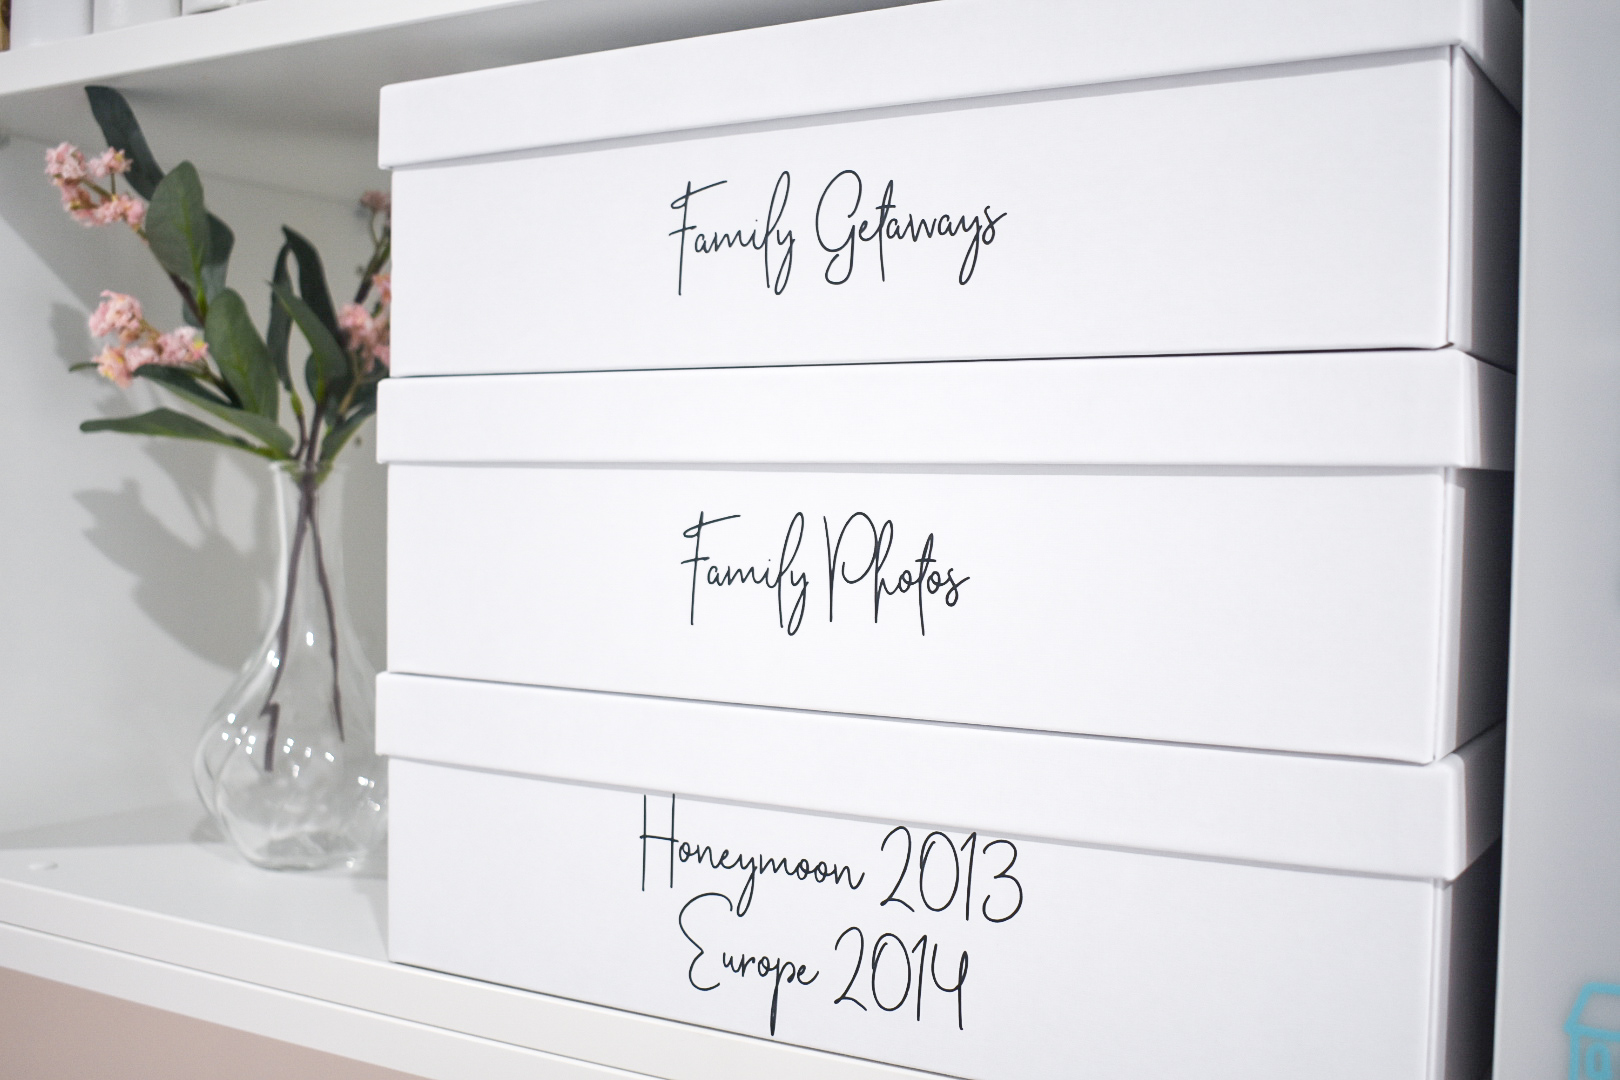
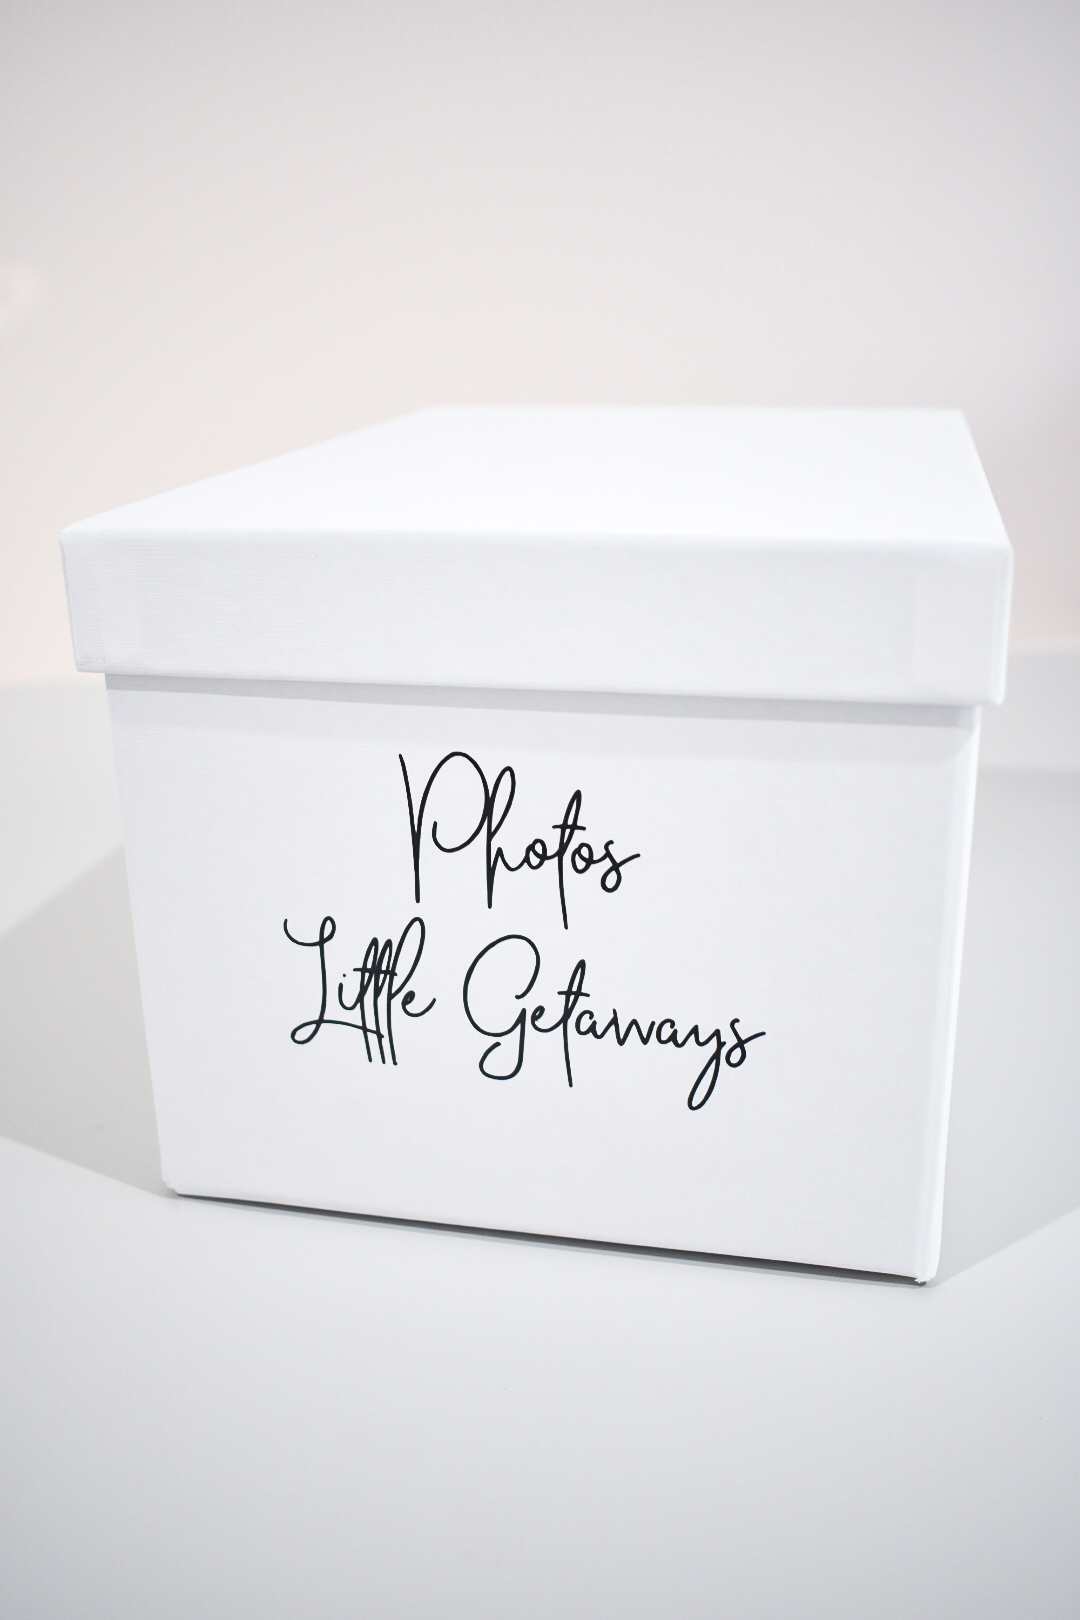
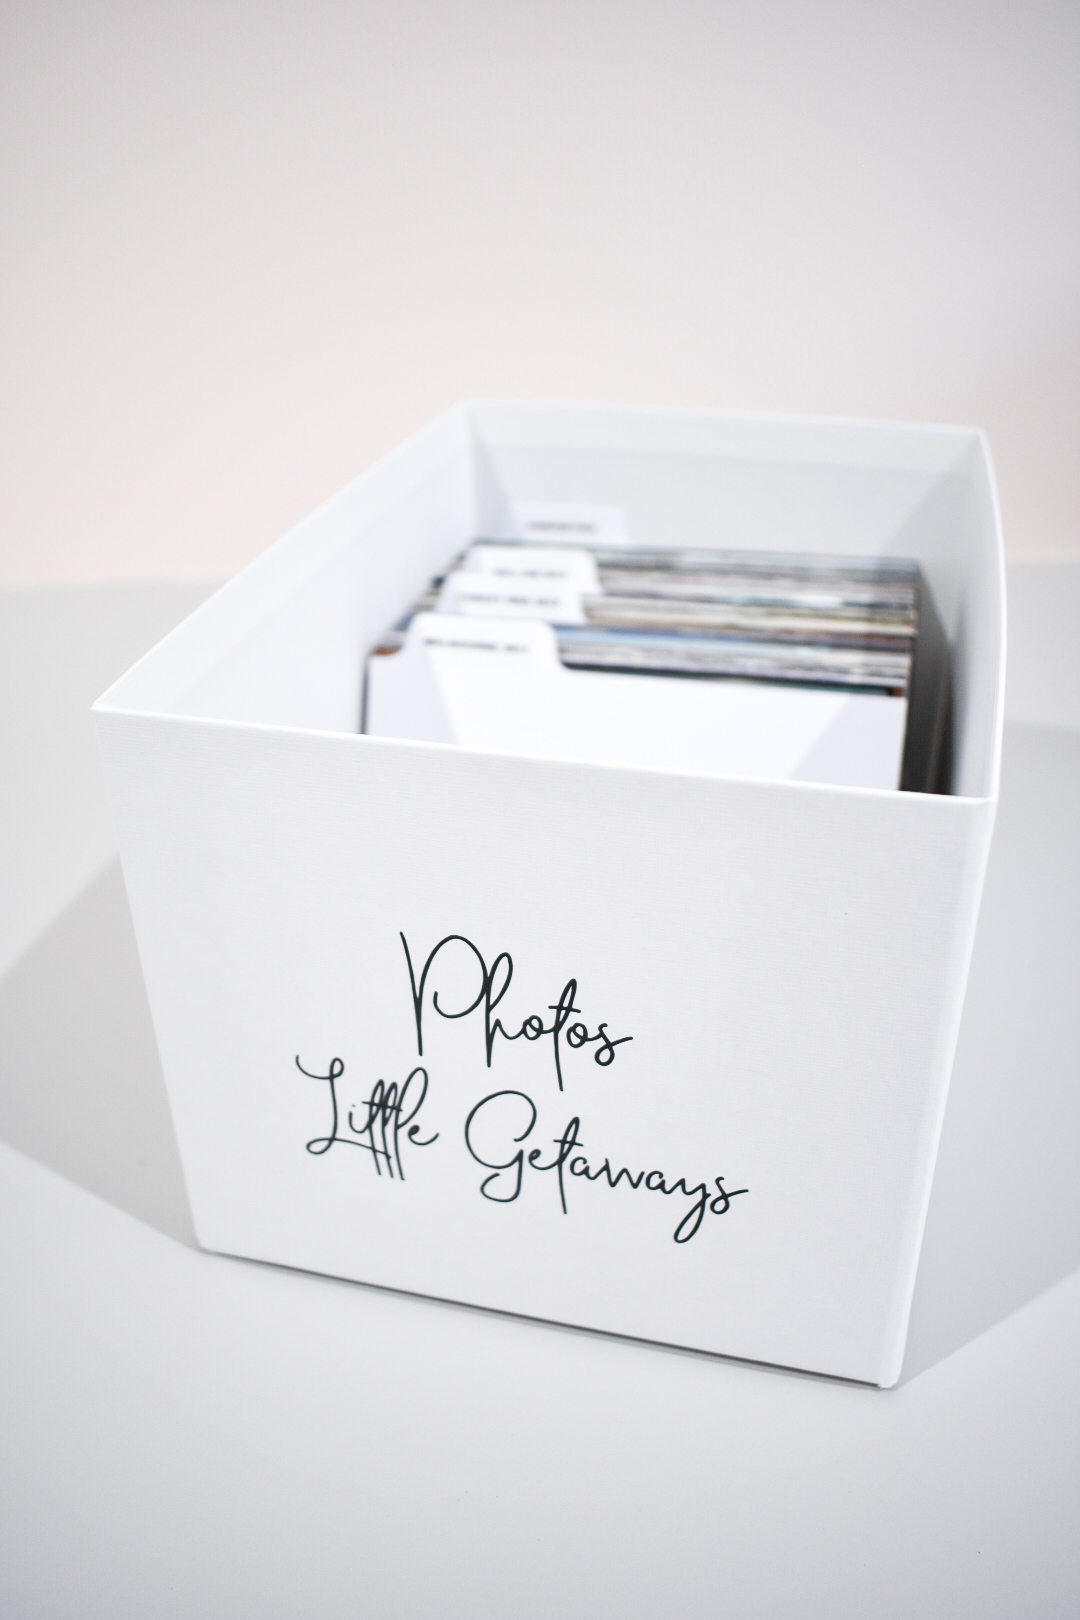
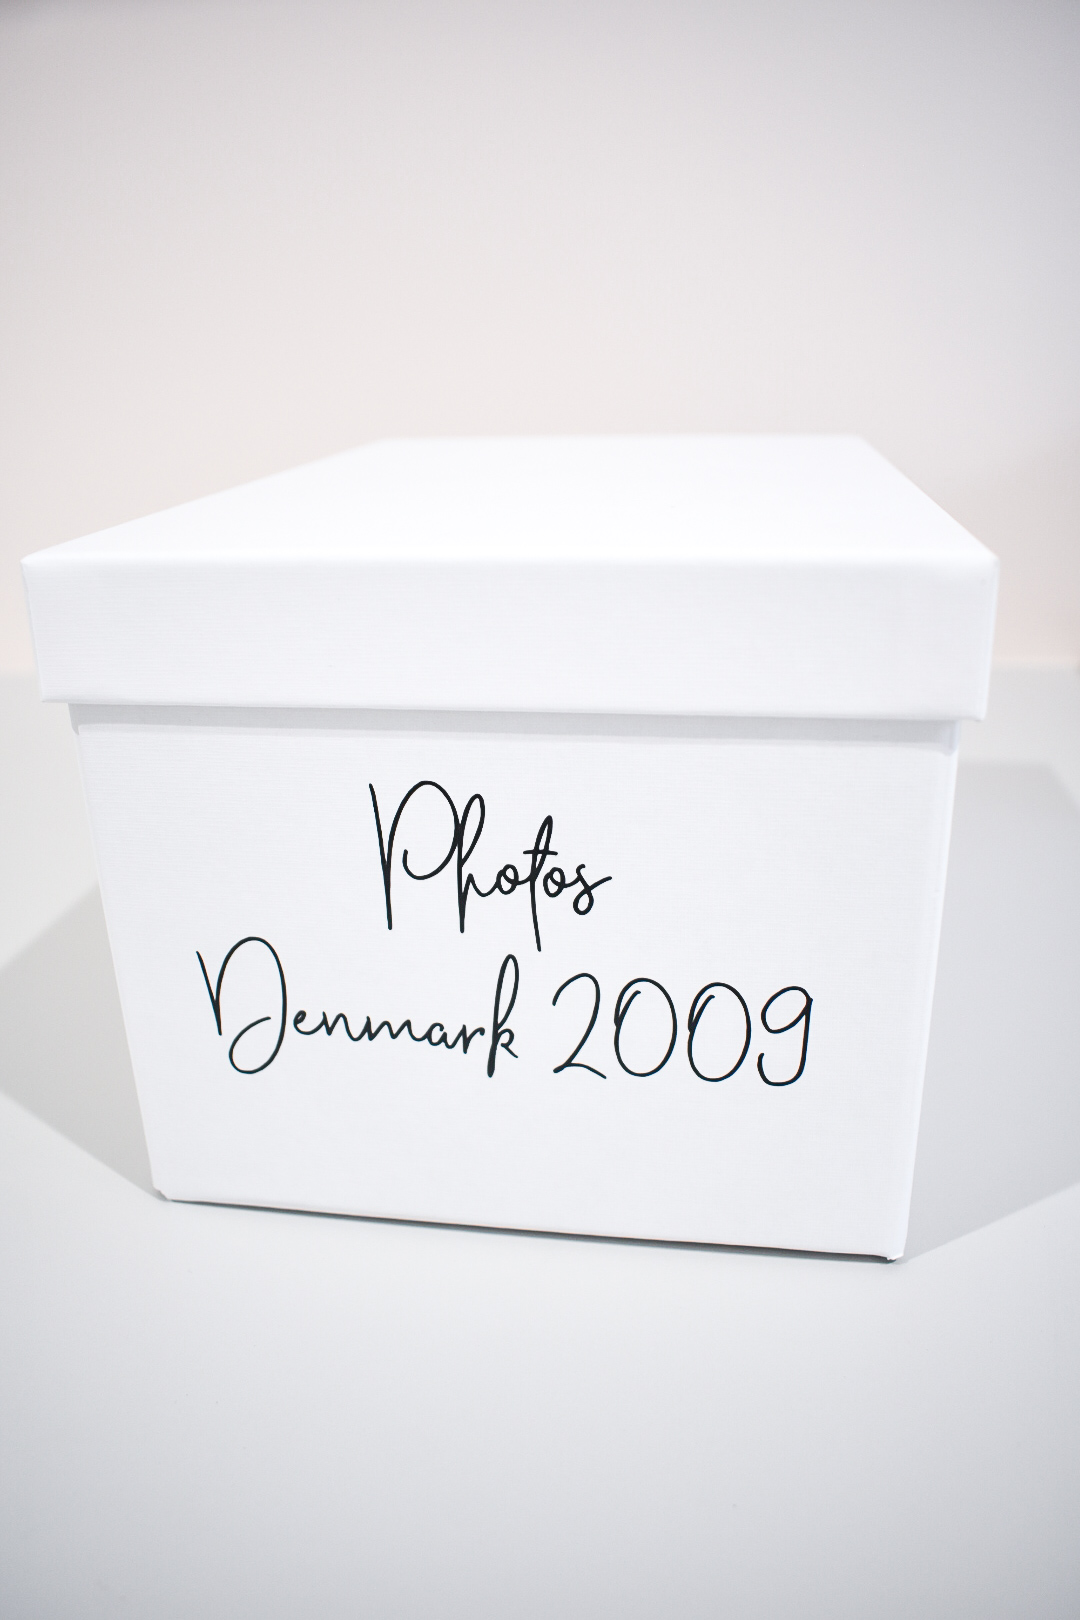
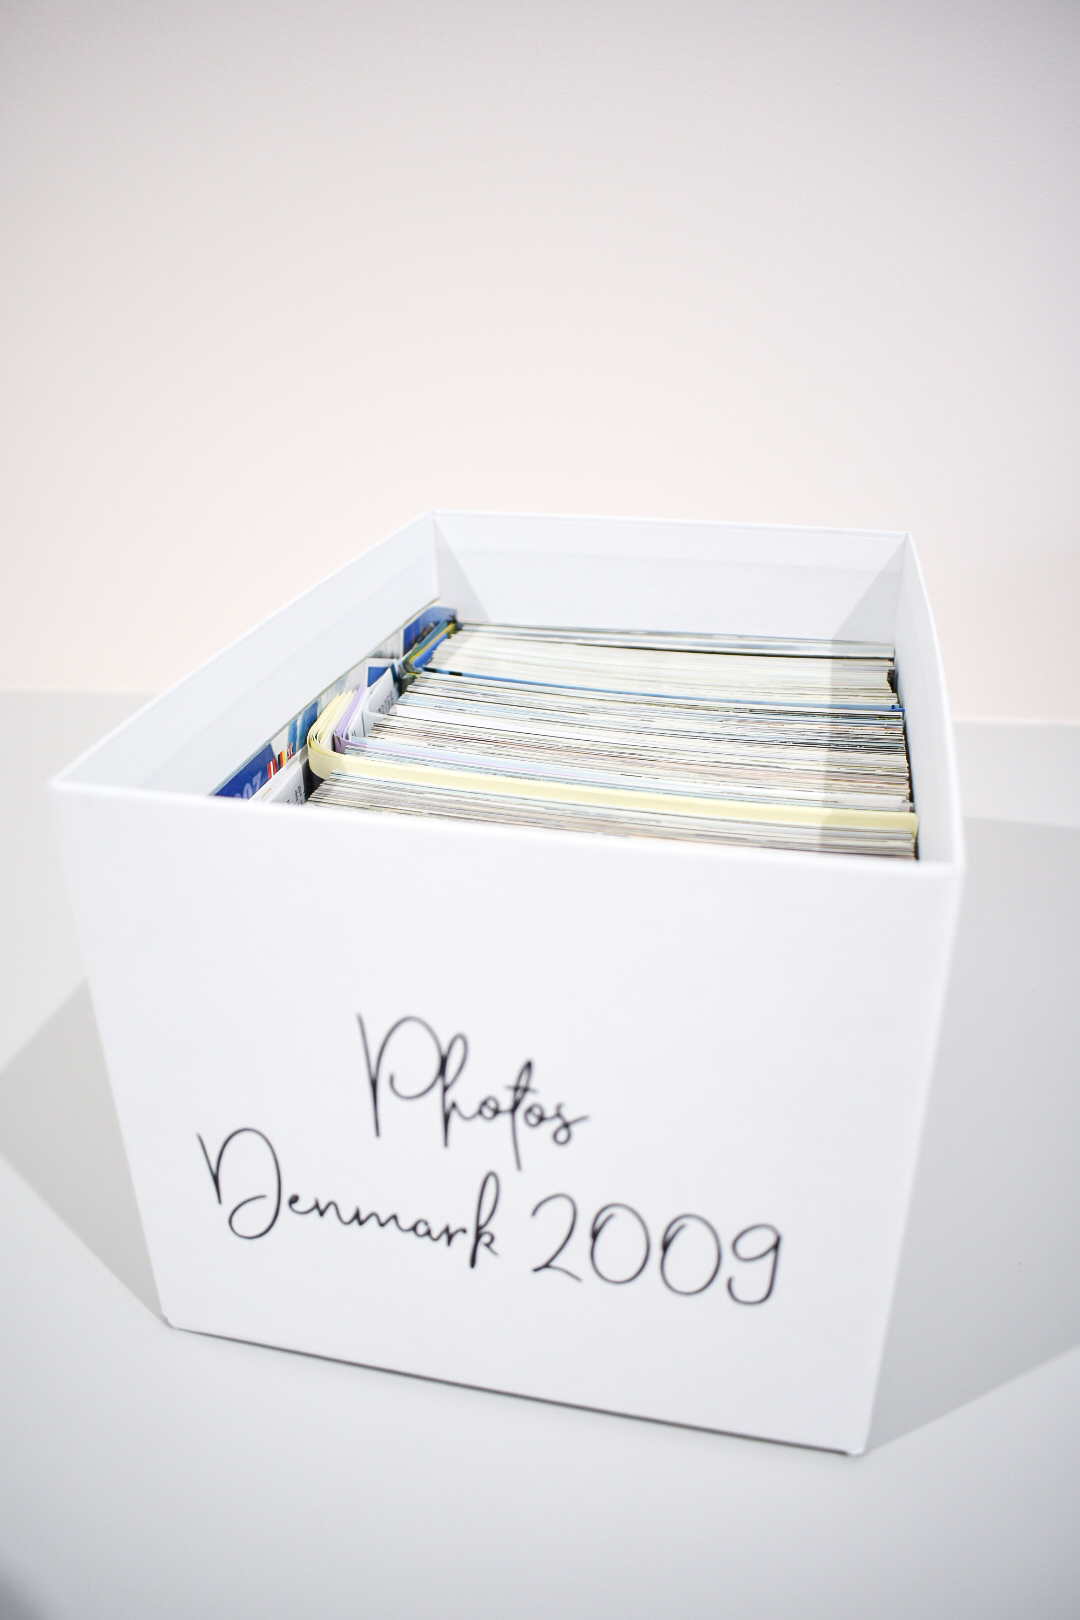
Storing photos
I personally was getting tired of the old photo albums, we had such a mismatch collection and never looked through them they just became dust collectors.
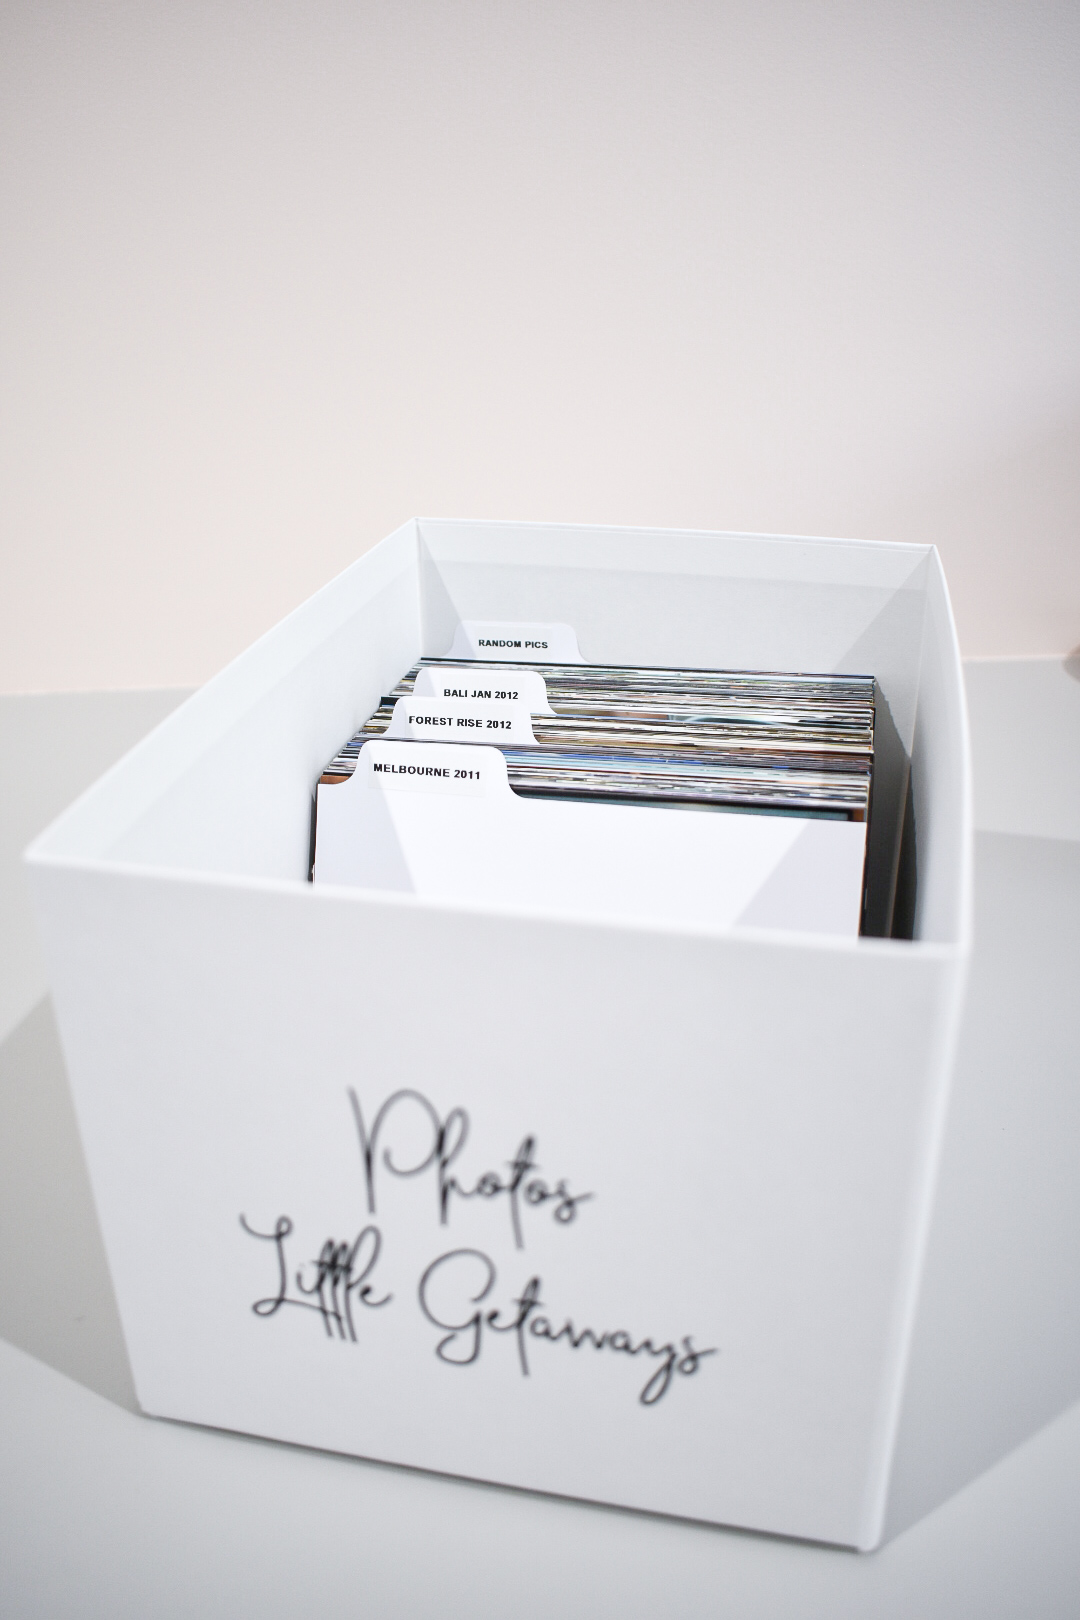
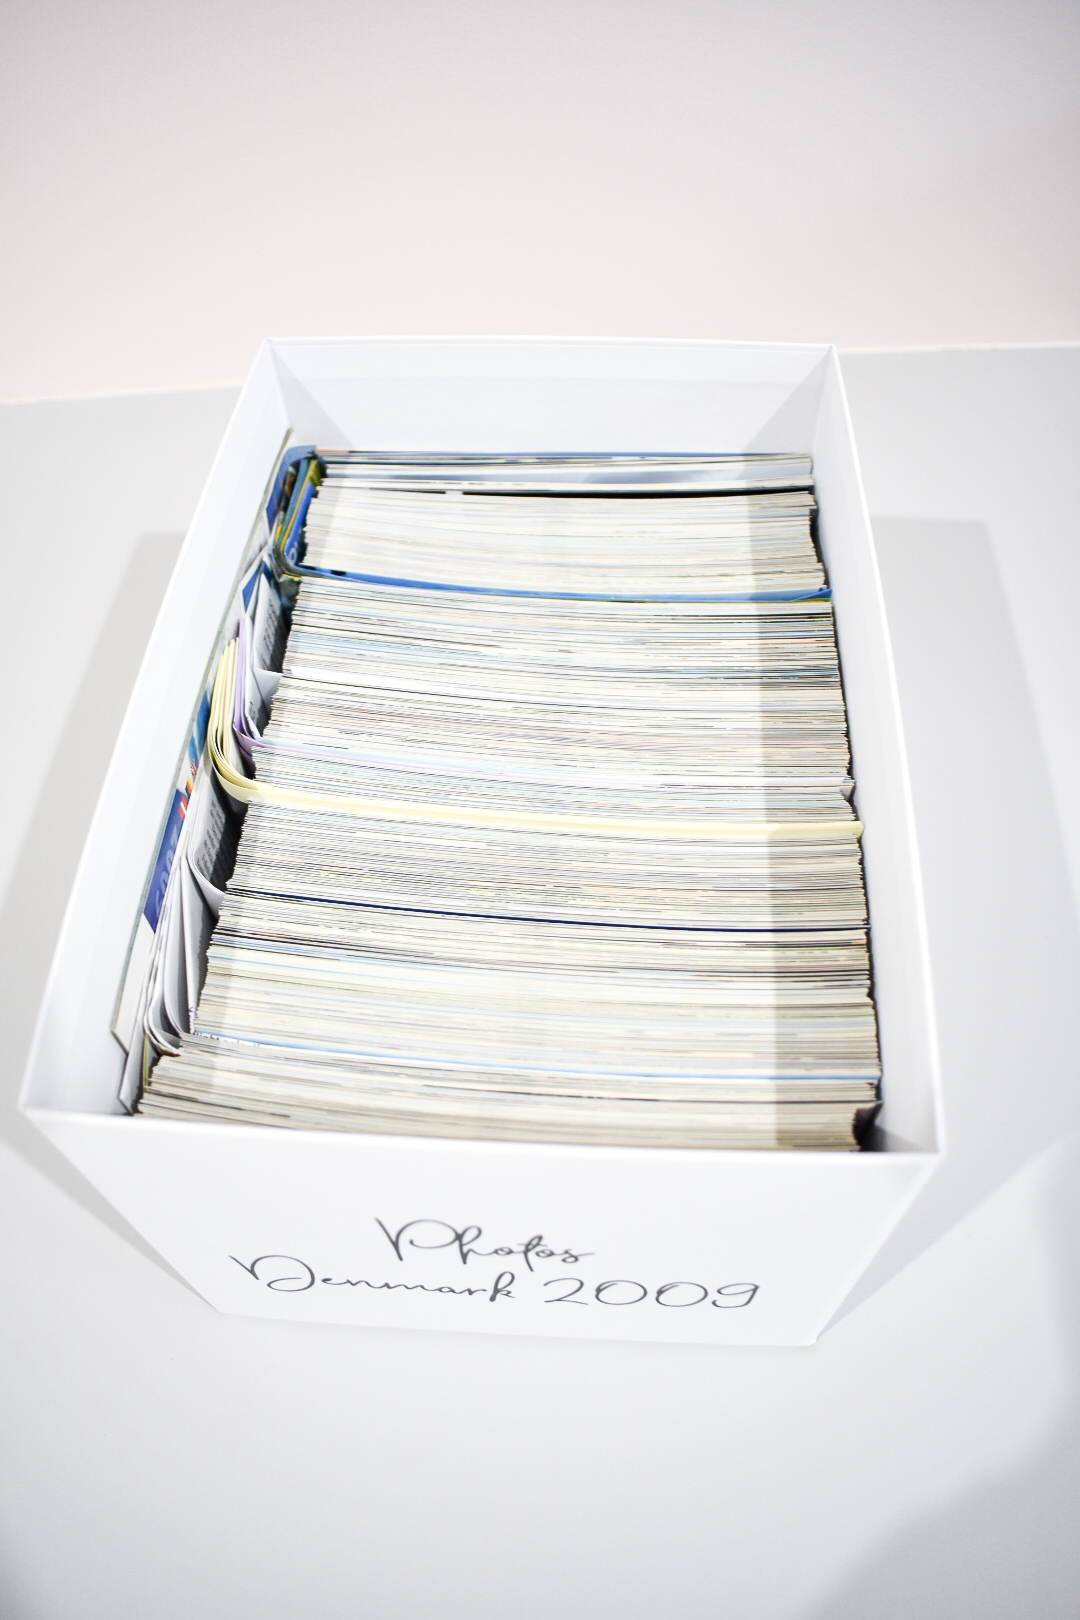
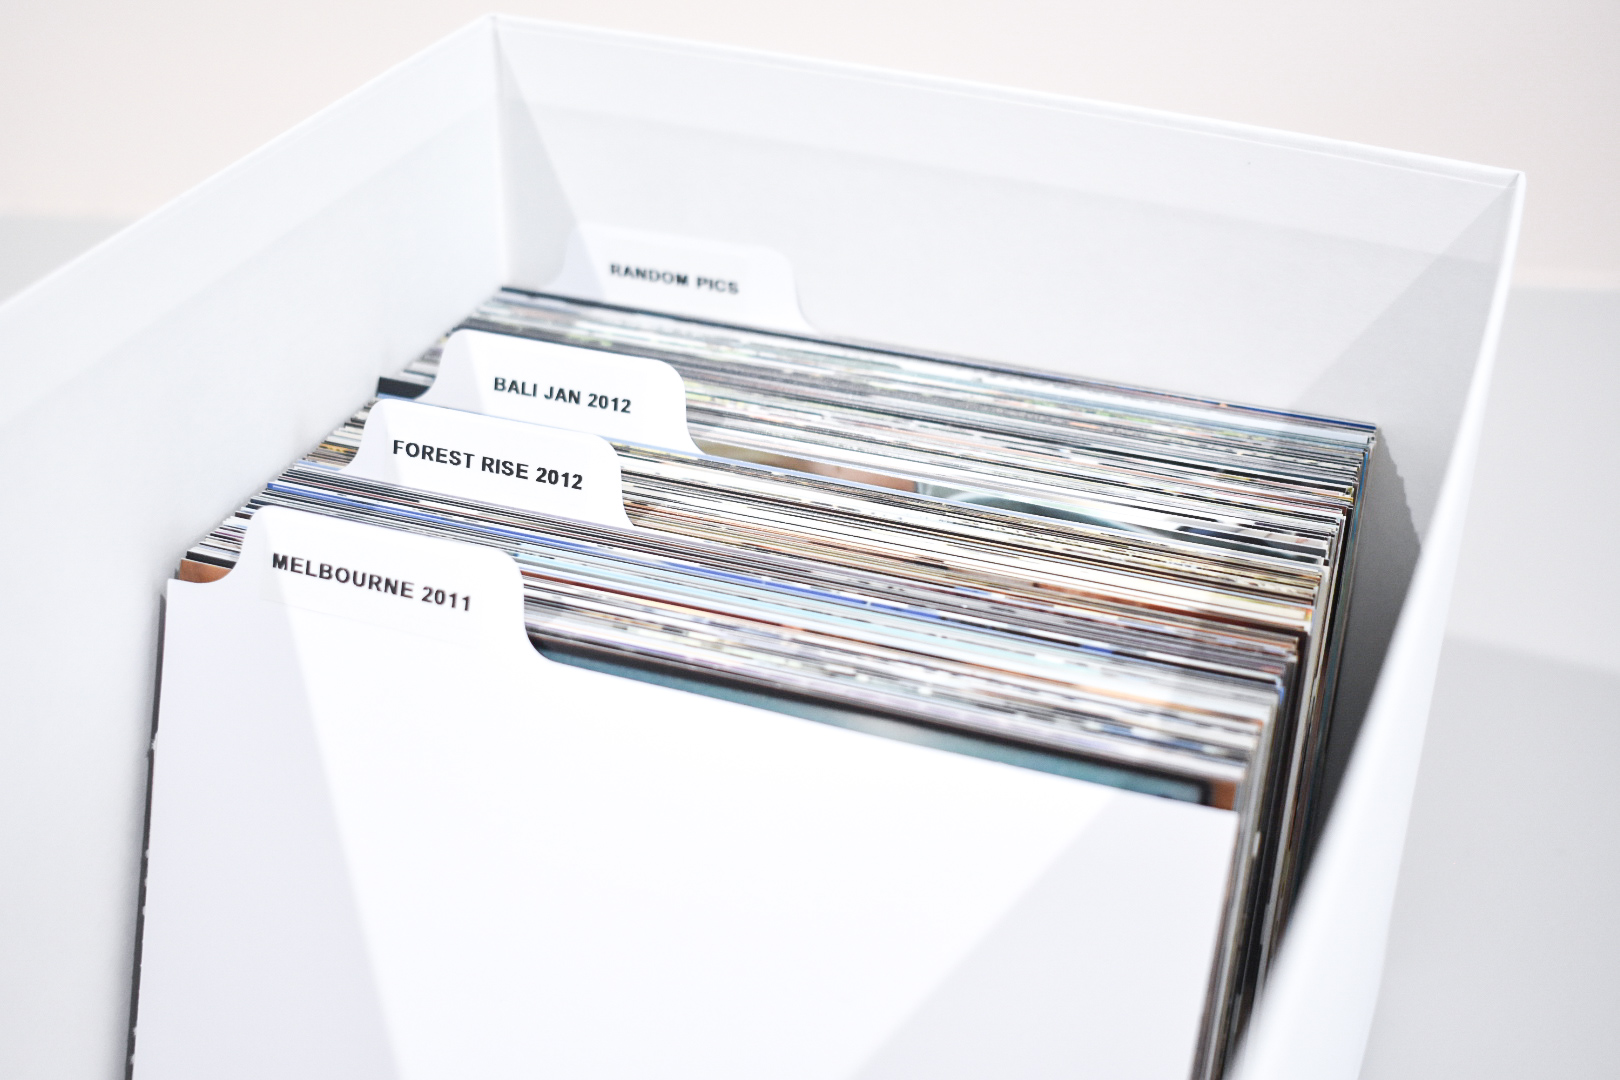
So I bought the smallest tjena boxes which fit 4×6 photographs perfectly, I also ordered some 4×6 dividers off eBay. The dividers I used to separate each event the photos were taken from. This way I just get down a box go to that event and all the pics are there. I did still keep some photo albums from recent times that us and the kids like to look through that I had made into scrapbooks if you like, but being honest these days I much more prefer a photo book that you can leave on the coffee table and then easily store away after. With the bigger photos and photos from a big trip where we’ve collected little bits and pieces from, I went with the tjena 25x35x10 storage box which fits A4 paper in perfectly.
For all those random photos that have come out of frames but still want to keep them I store them in the Kmart clear A4 carry case and because it’s a hard case does not damage the photos.
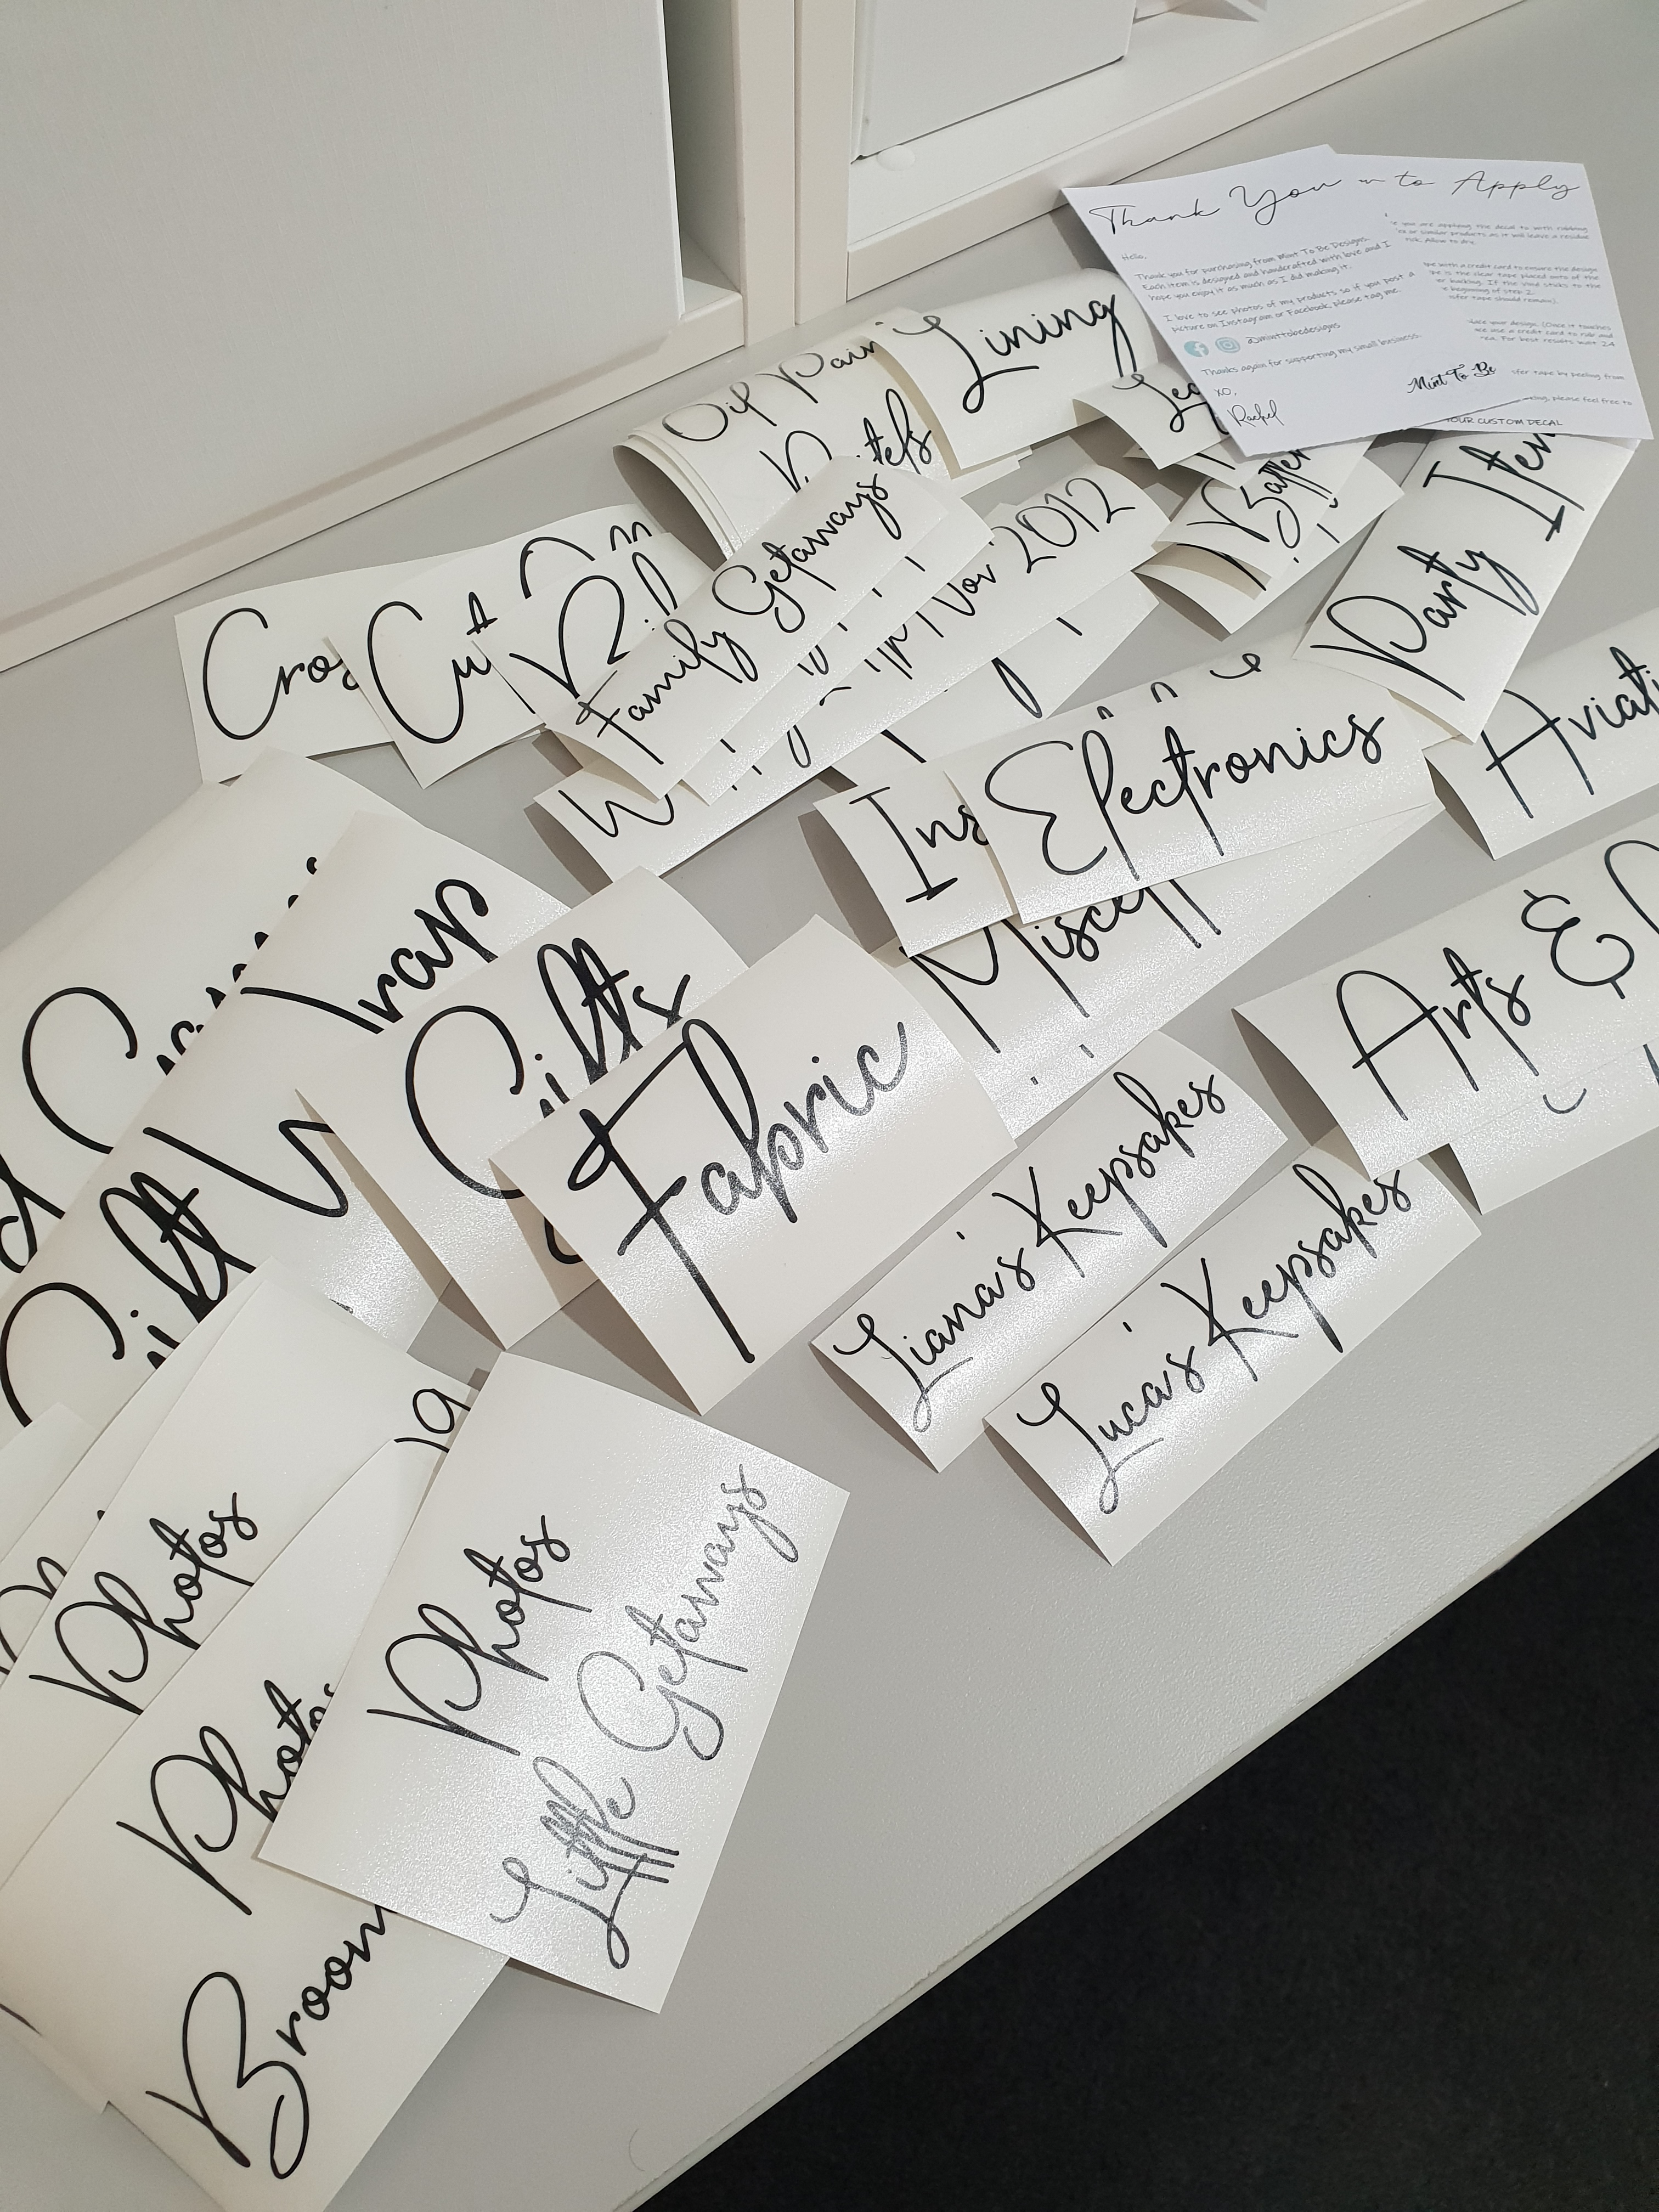
Labels
Leave the post it notes on all your boxes for a little while to make sure it all works, once you are happy with everything where it is, then do yourself a favor and order labels. Not only will you know what is in each box and not have to open them all to find what you are after, this honestly finishes it off so professionally and I promise you it will make you feel so freaken satisfied every time you look at them. If you can’t tell, I’m a little excited about these labels and I think I will have to label everything after the feeling I get every time I look at these!
Lovely Rachel from Mint To Be Designs was very helpful when I ordered my labels and was so quick shipping them to me as well. Rachel has been kind enough to offer any of my followers a 10% discount just make sure you mention me (Nicole Basham) when inquiring.
Painting the room
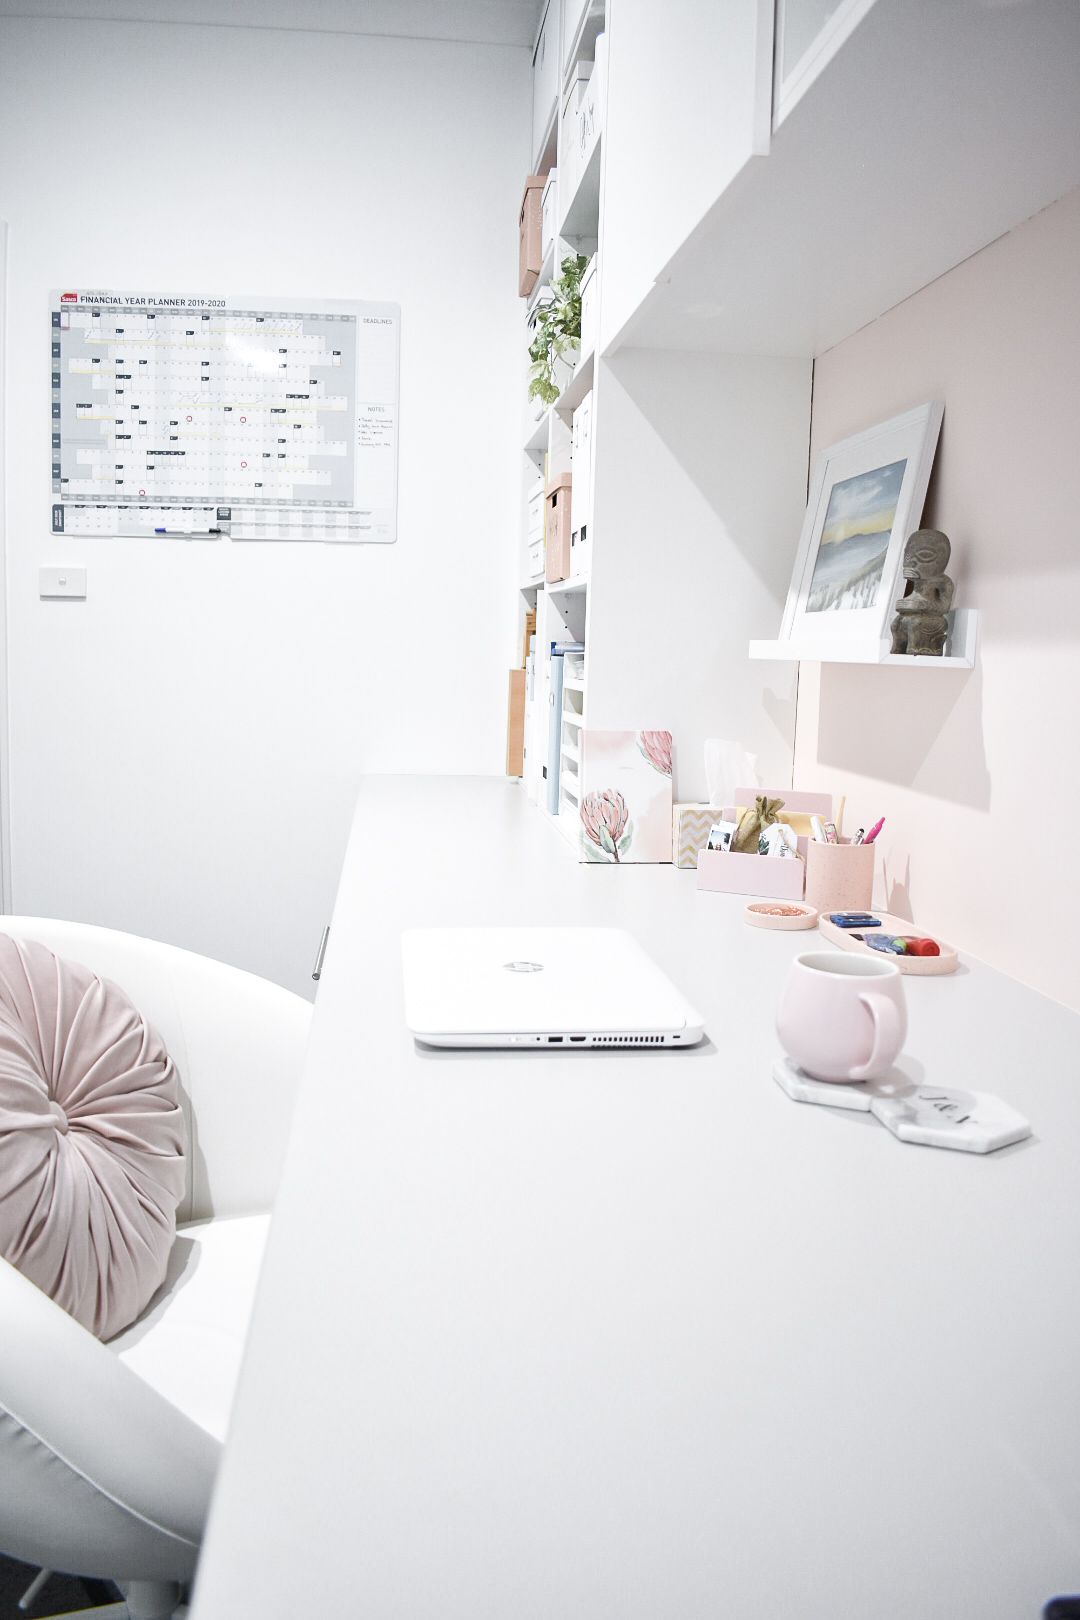
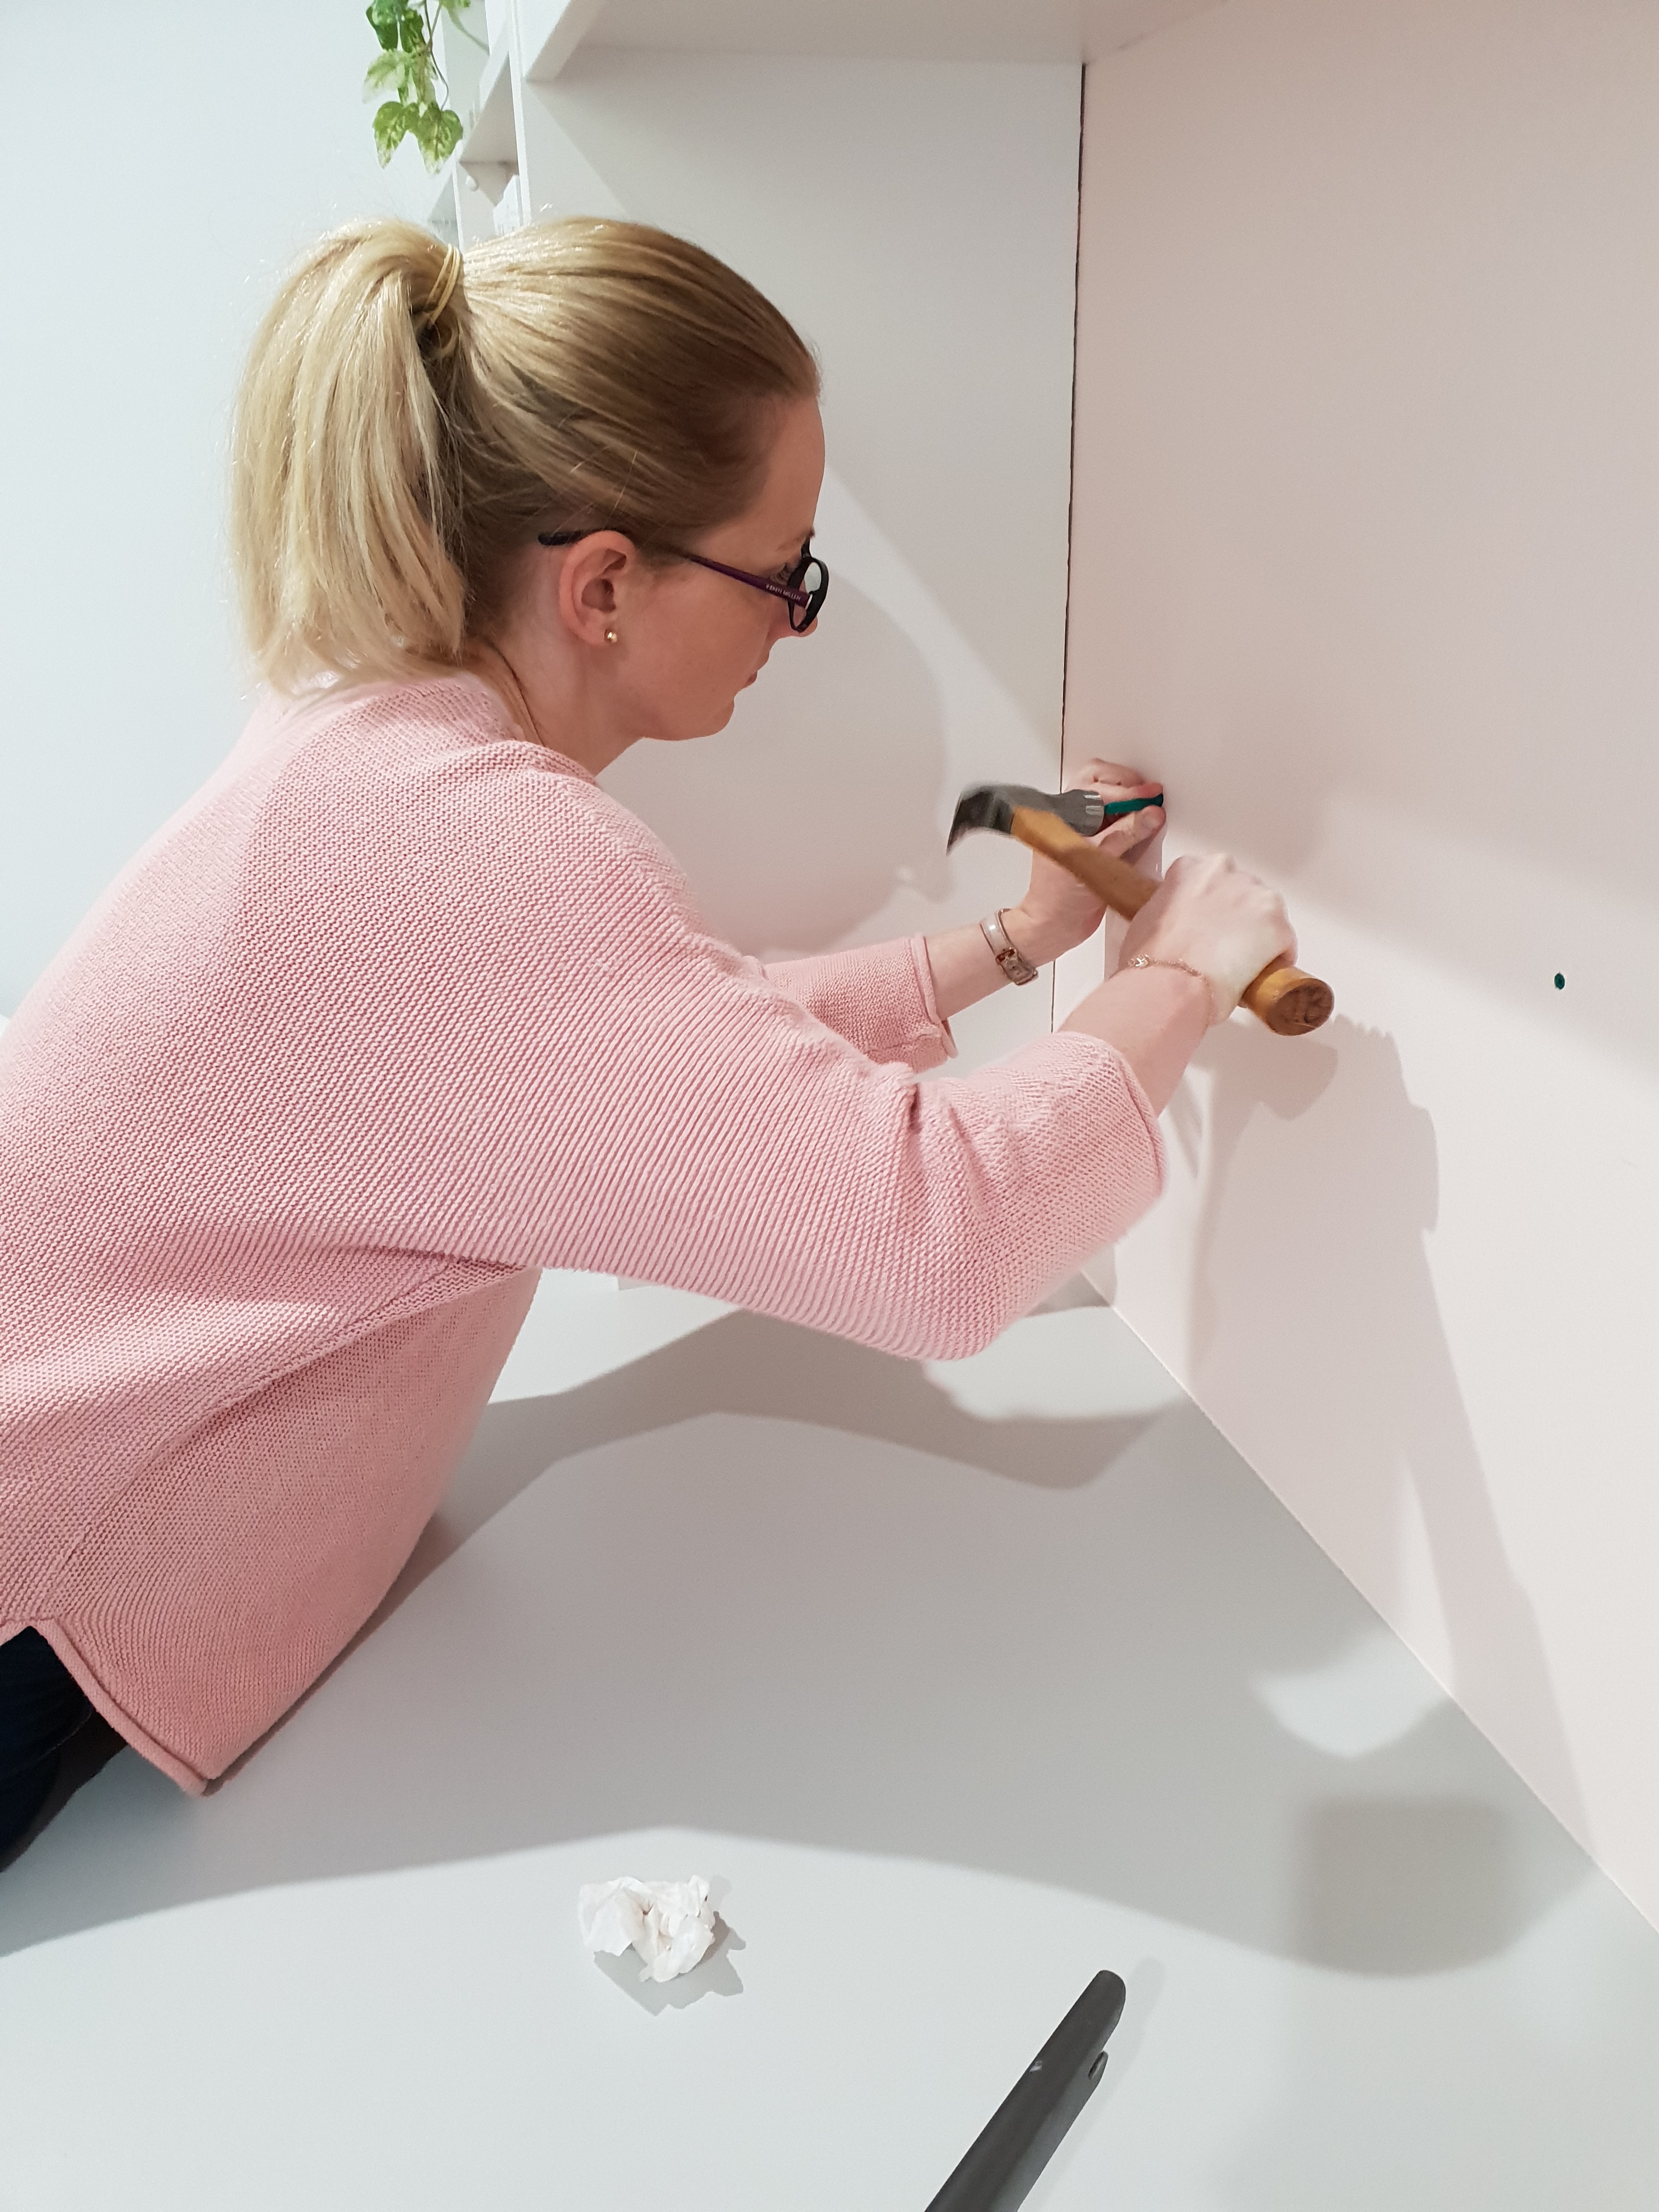
The walls needed some much needed refresh so I painted three of the walls white using White on White colour and I chose the feature wall as Whispering Peach at half strength. Hubby said any colour but pink this was the closest to pink without being pink but if I was to do it again I would go the full strength, I did give it about four coats as the wall was so small so is now close to what it would have at full strength. I was a little scared that it would be to much but now that it is on it is a real soft peach colour that feels calming and warm to walk into.

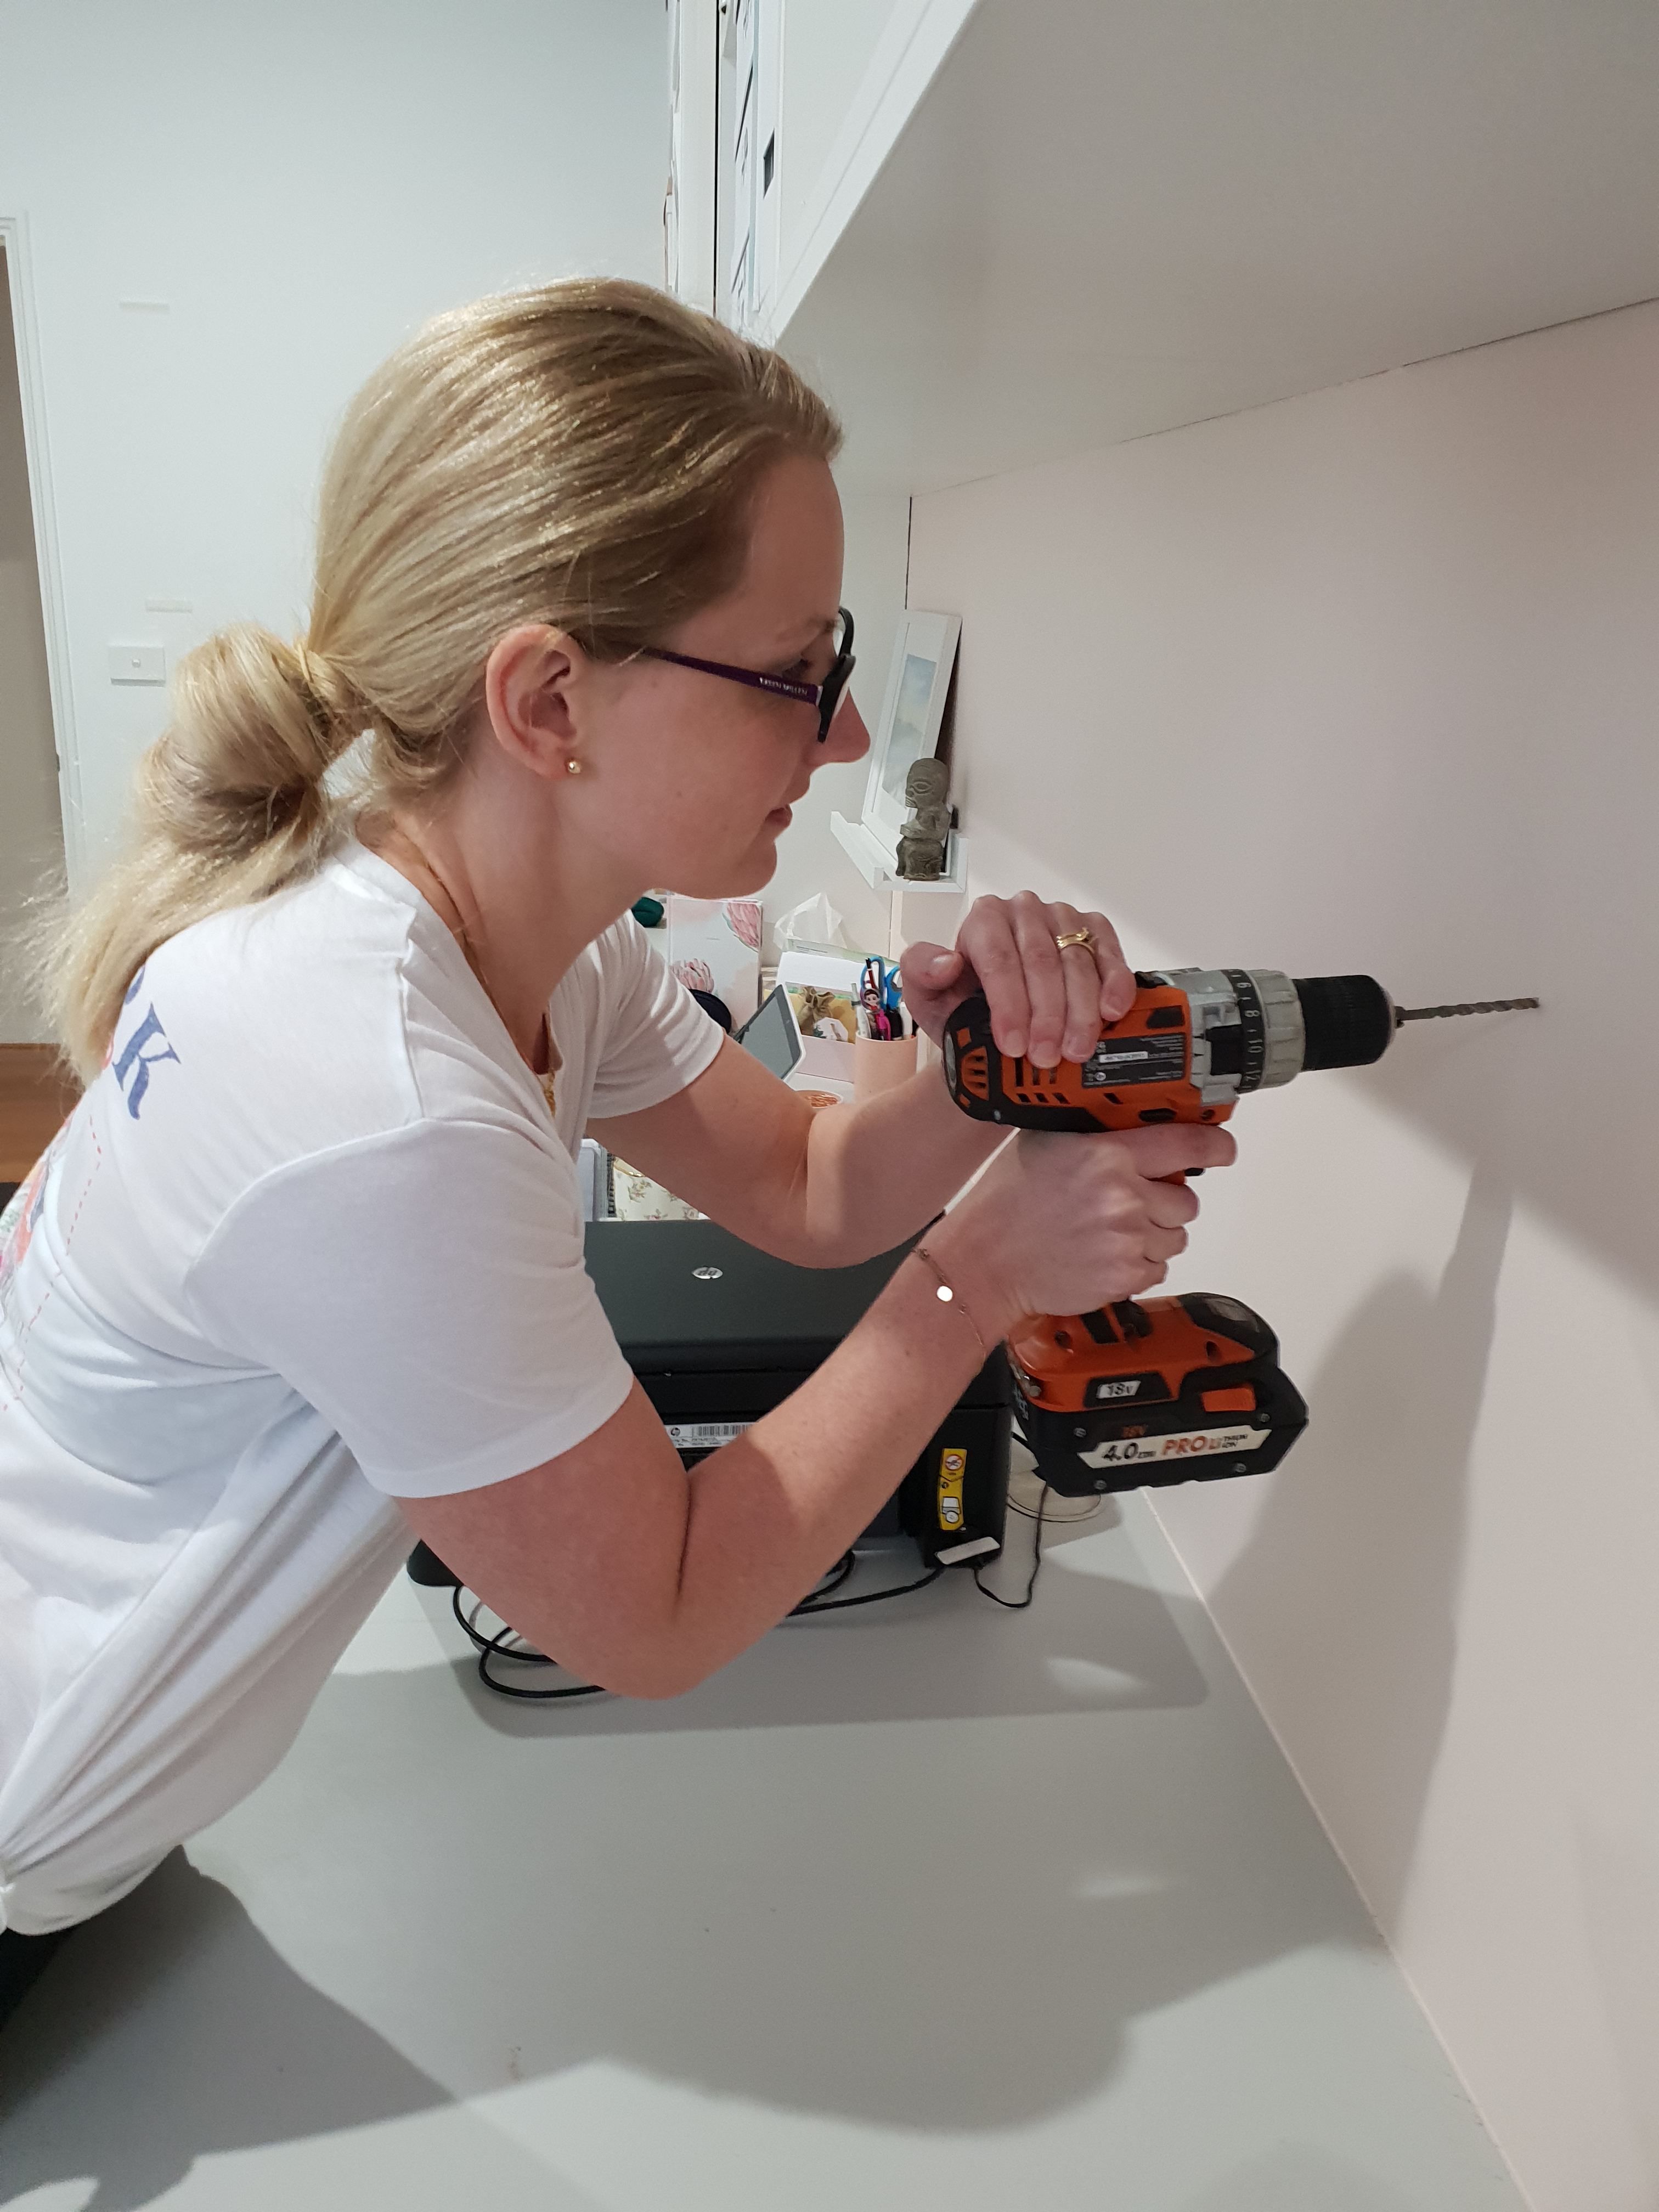
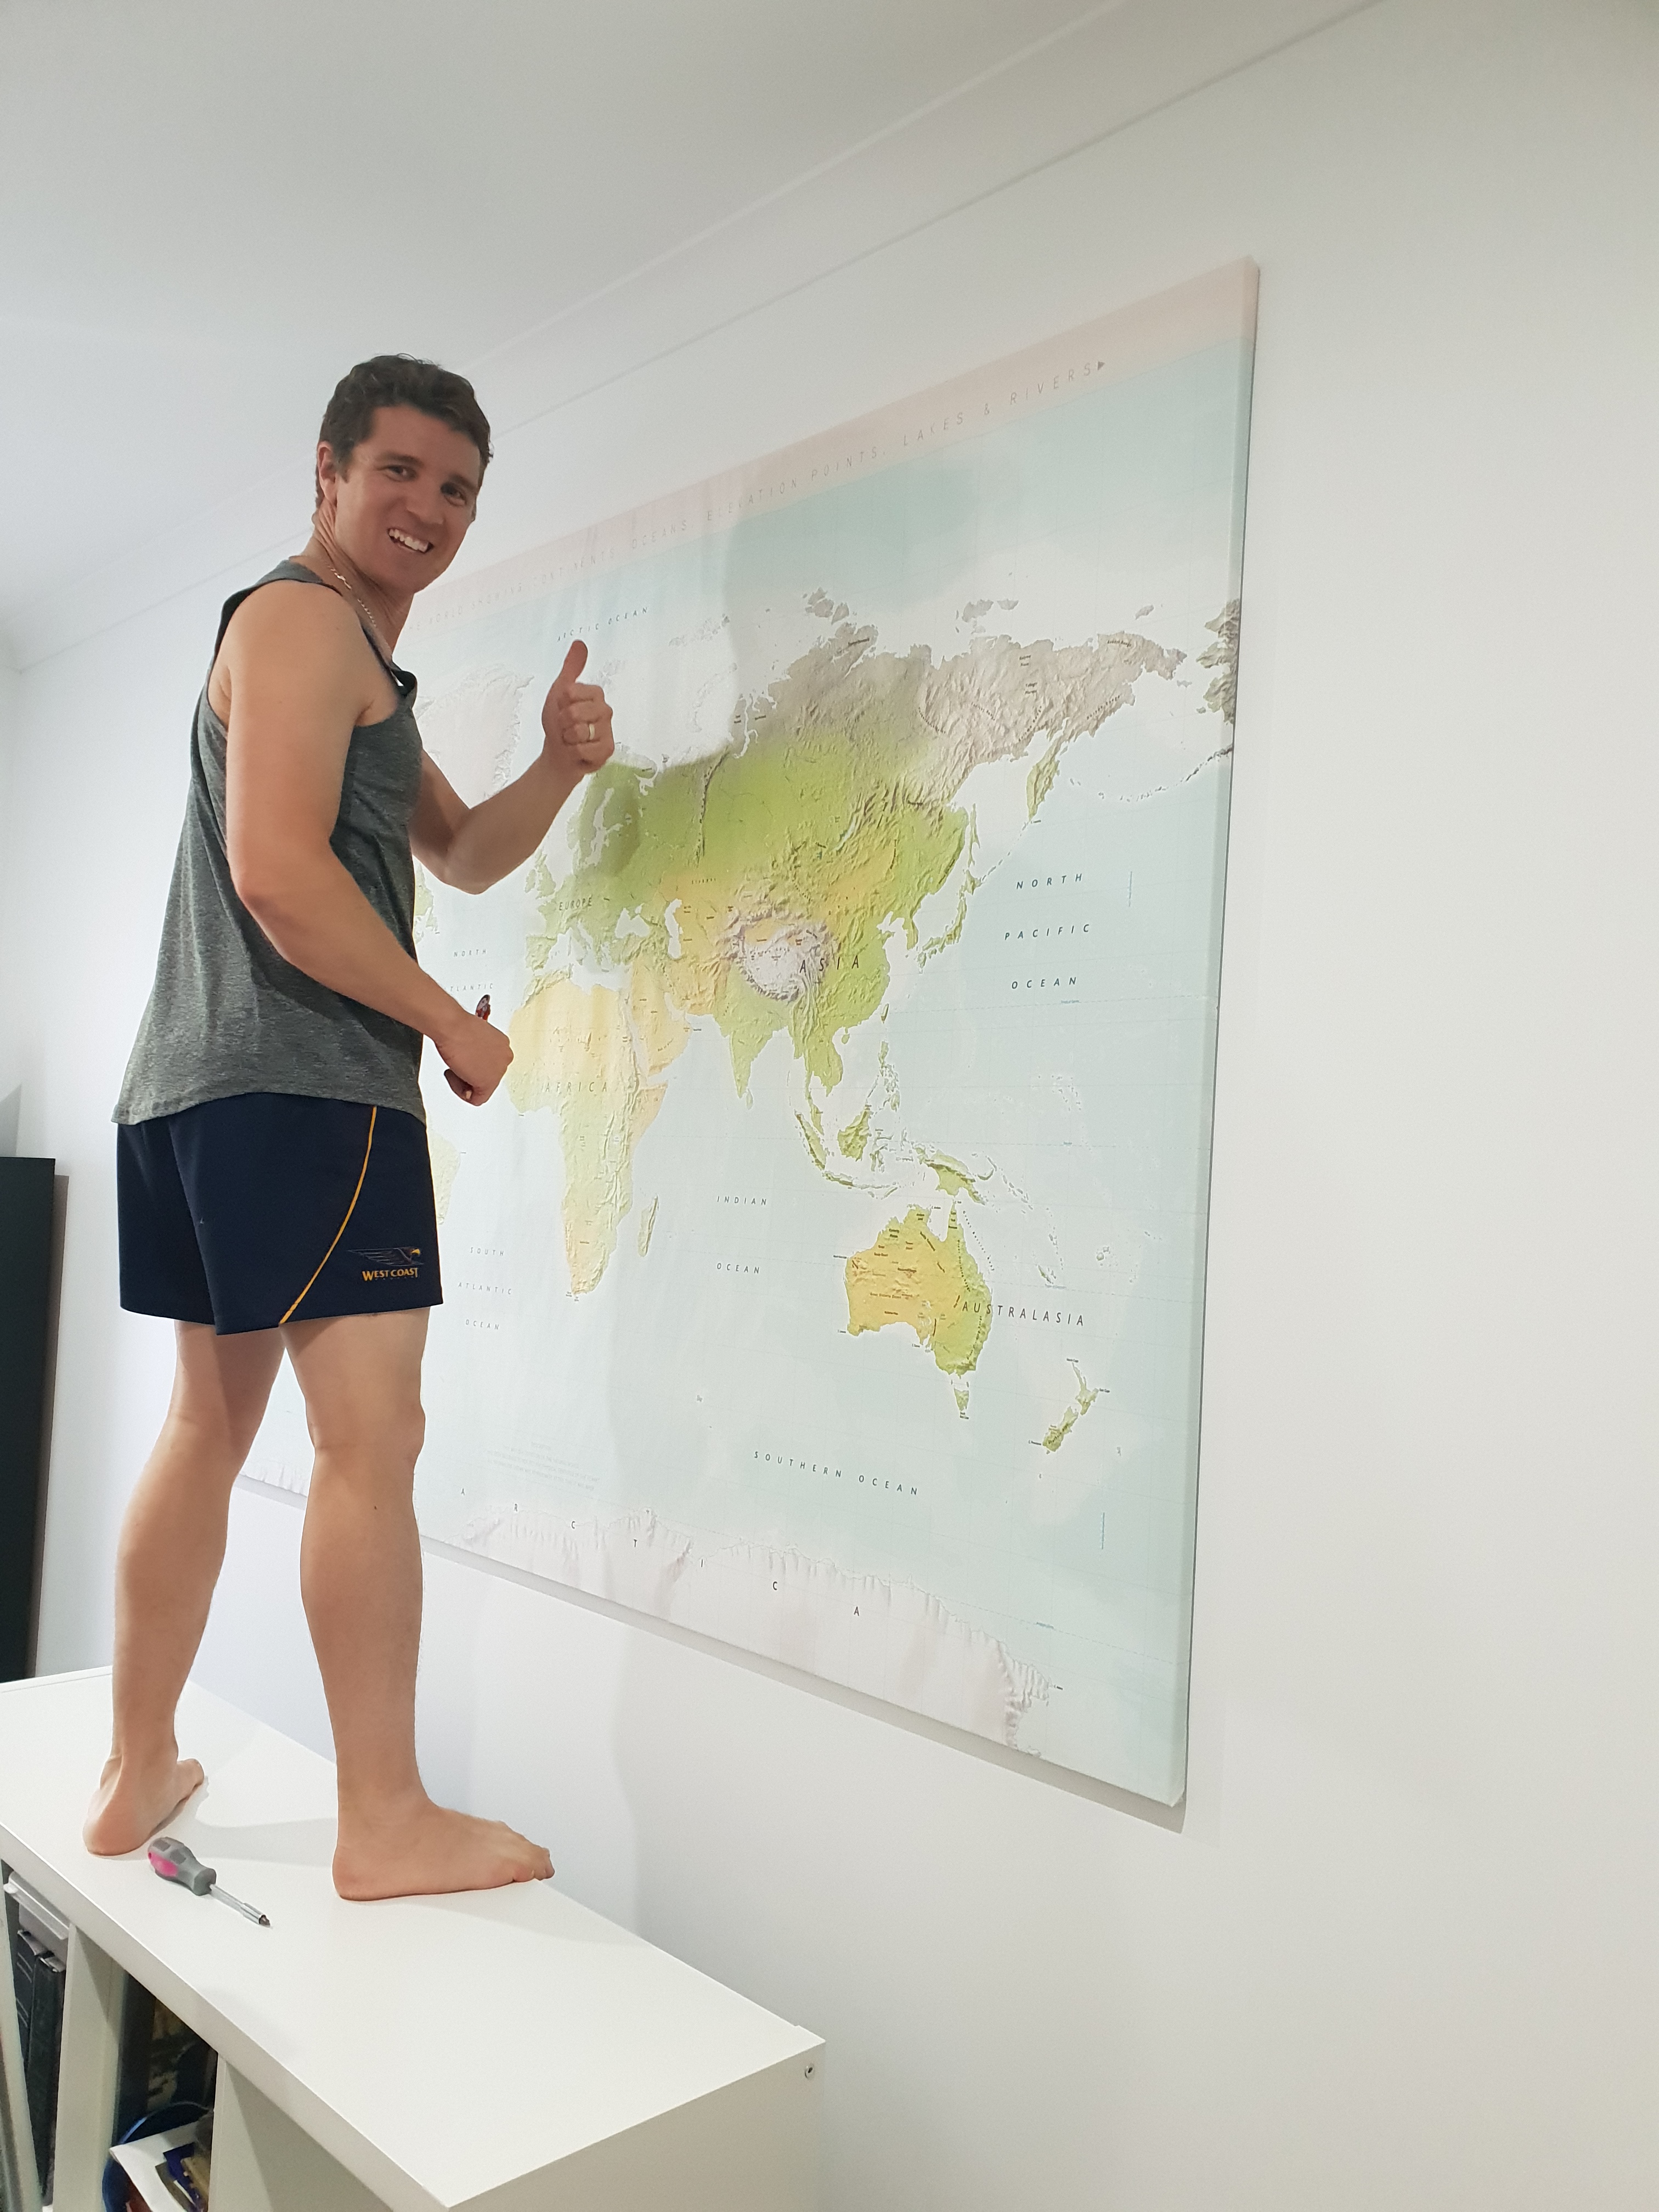
I can proudly say that I now know how to drill and hang up a shelf and picture on my own, after my patient and excellent teacher, hubby has taught me!
I hope you have enjoyed this blog and I hope it has given you some inspiration to start or finish something that you had wanted to do for a long time. If you have any questions feel free to leave them below or comment on my Instagram @mrsnicolebasham and I’ll be sure to answer.
Thank you again for reading,
This blog is in no way sponsored, all photos and wording is my own.


Laundry Makeover
The laundry WAS my least liked room in the house, mostly because it’s filled with washing 100% of the time. It’s the one chore that just never ends. No matter how quick you are at folding and putting away (and let me promise you I am not very quick) you can never NEVER be on…

Liana & Luca’s Cubby
A Bakery and a Cafe in one small house Yes, I am a little late to the game of the Kmart cubby house hack but I have had so much fun doing this little house up that I’m here to share it with you and hopefully sprinkle some cubby house inspo your way too. We…

Luca’s nursery
Time has flown, my little boy is 6 months already and with that he has outgrown his bassinet, the truth is he may have outgrown it a little while back but I have been in denial about moving him into his own room. I can honestly say that I just want to hold onto every…

I’m in love with this upgrade! It came out so good! Would love to have an office like this one day 🙂
LikeLike
Thank you so much, we have moved now and I do miss this space very much. So proud of it 🙂
LikeLike
Hi, where did you get the magazine holders?
LikeLike
Hi Ivy, The magazine holder are from Ikea
LikeLike