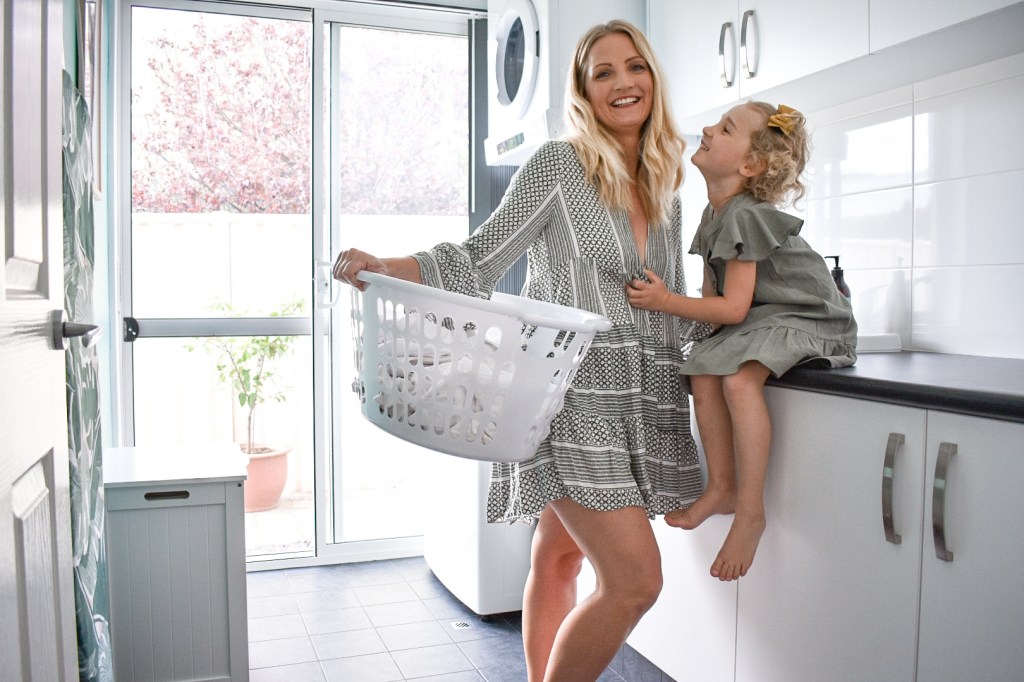
The laundry WAS my least liked room in the house, mostly because it’s filled with washing 100% of the time. It’s the one chore that just never ends. No matter how quick you are at folding and putting away (and let me promise you I am not very quick) you can never NEVER be on top of it, unless you become a nudist maybe… Now there’s a food for thought!


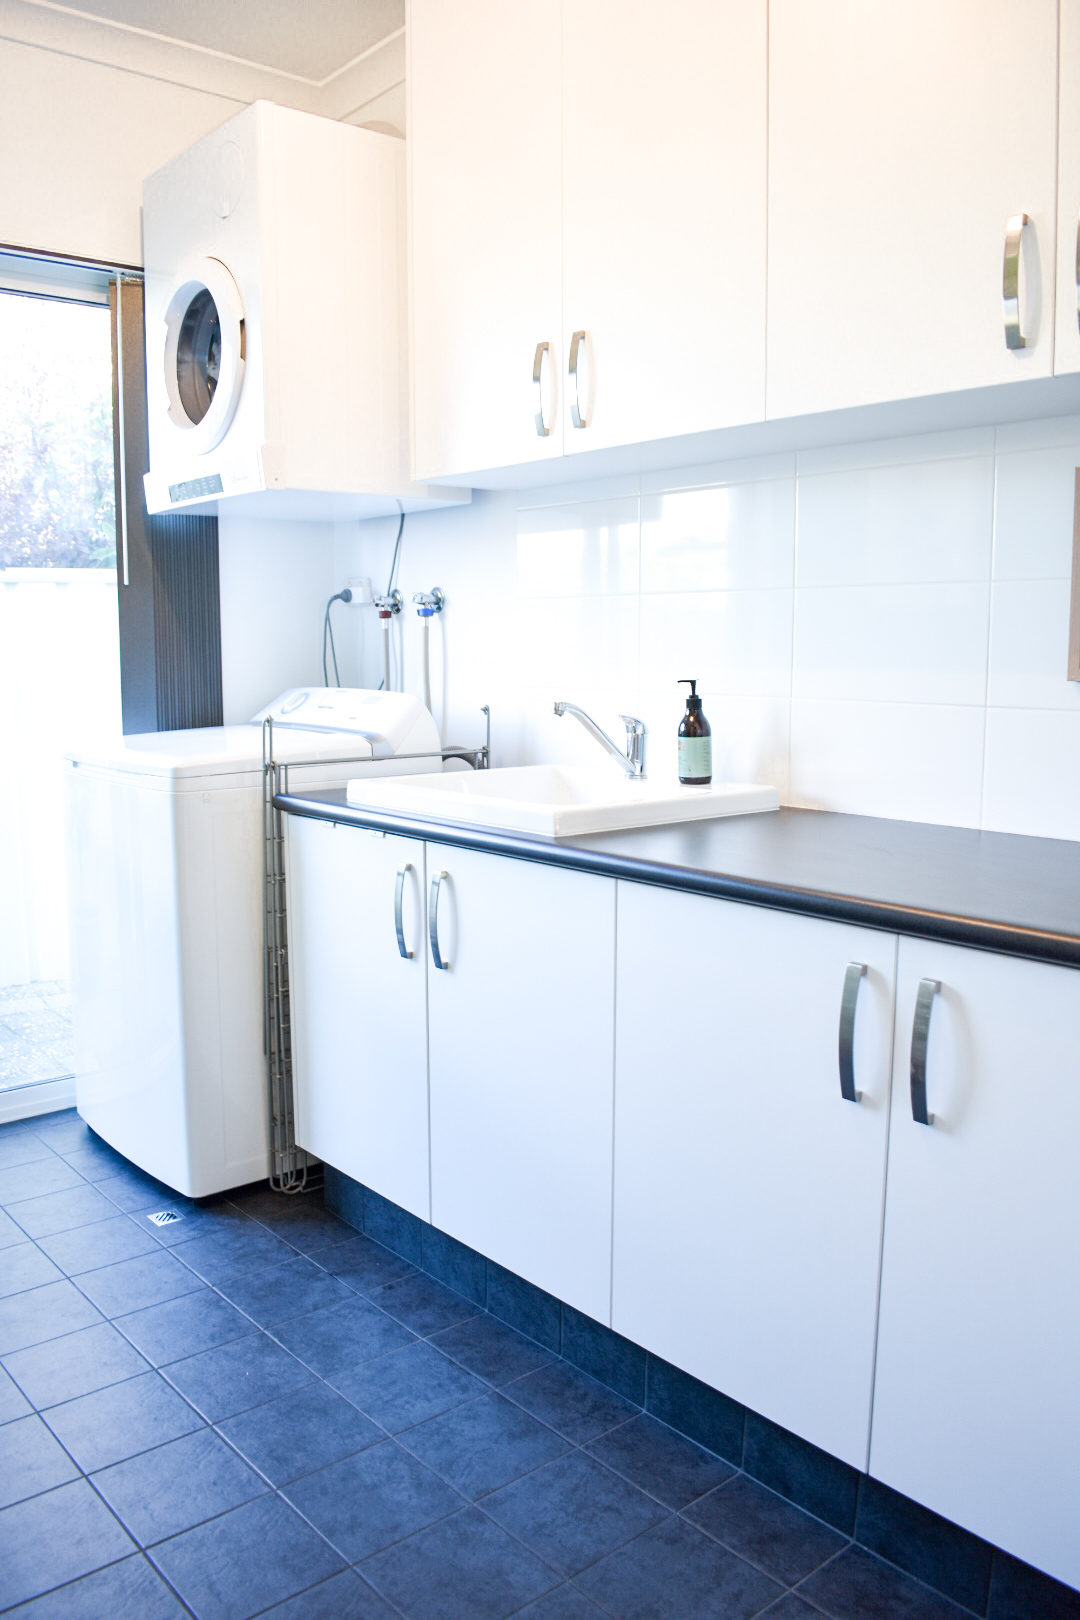
So I decided to do a small makeover to the laundry to make it a little more hyggelig (Danish word for cosy) and to make it organized and as practical as possible. My aim of the makeover was to make everything that you do in the laundry easy and quicker. Our shelves were stacked with a thousand bits and pieces and when we were after something it usually meant emptying most of it out to get to what we were after and most of the time we would find two of the same thing because we couldn’t find one last time or that we had none at all.
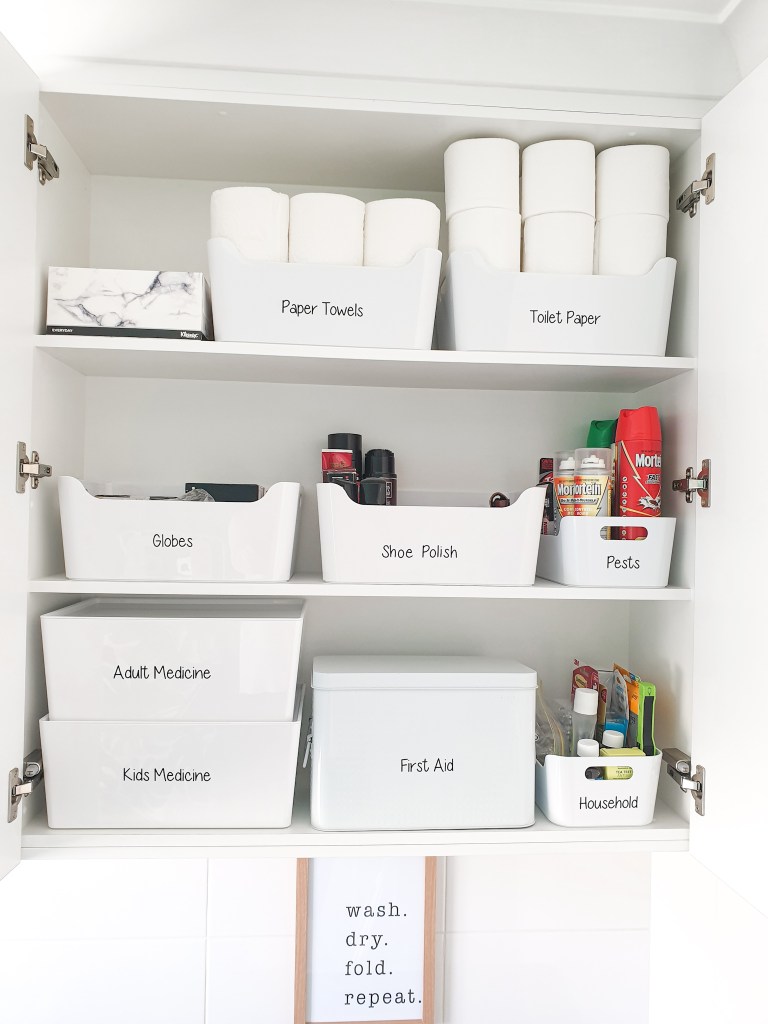
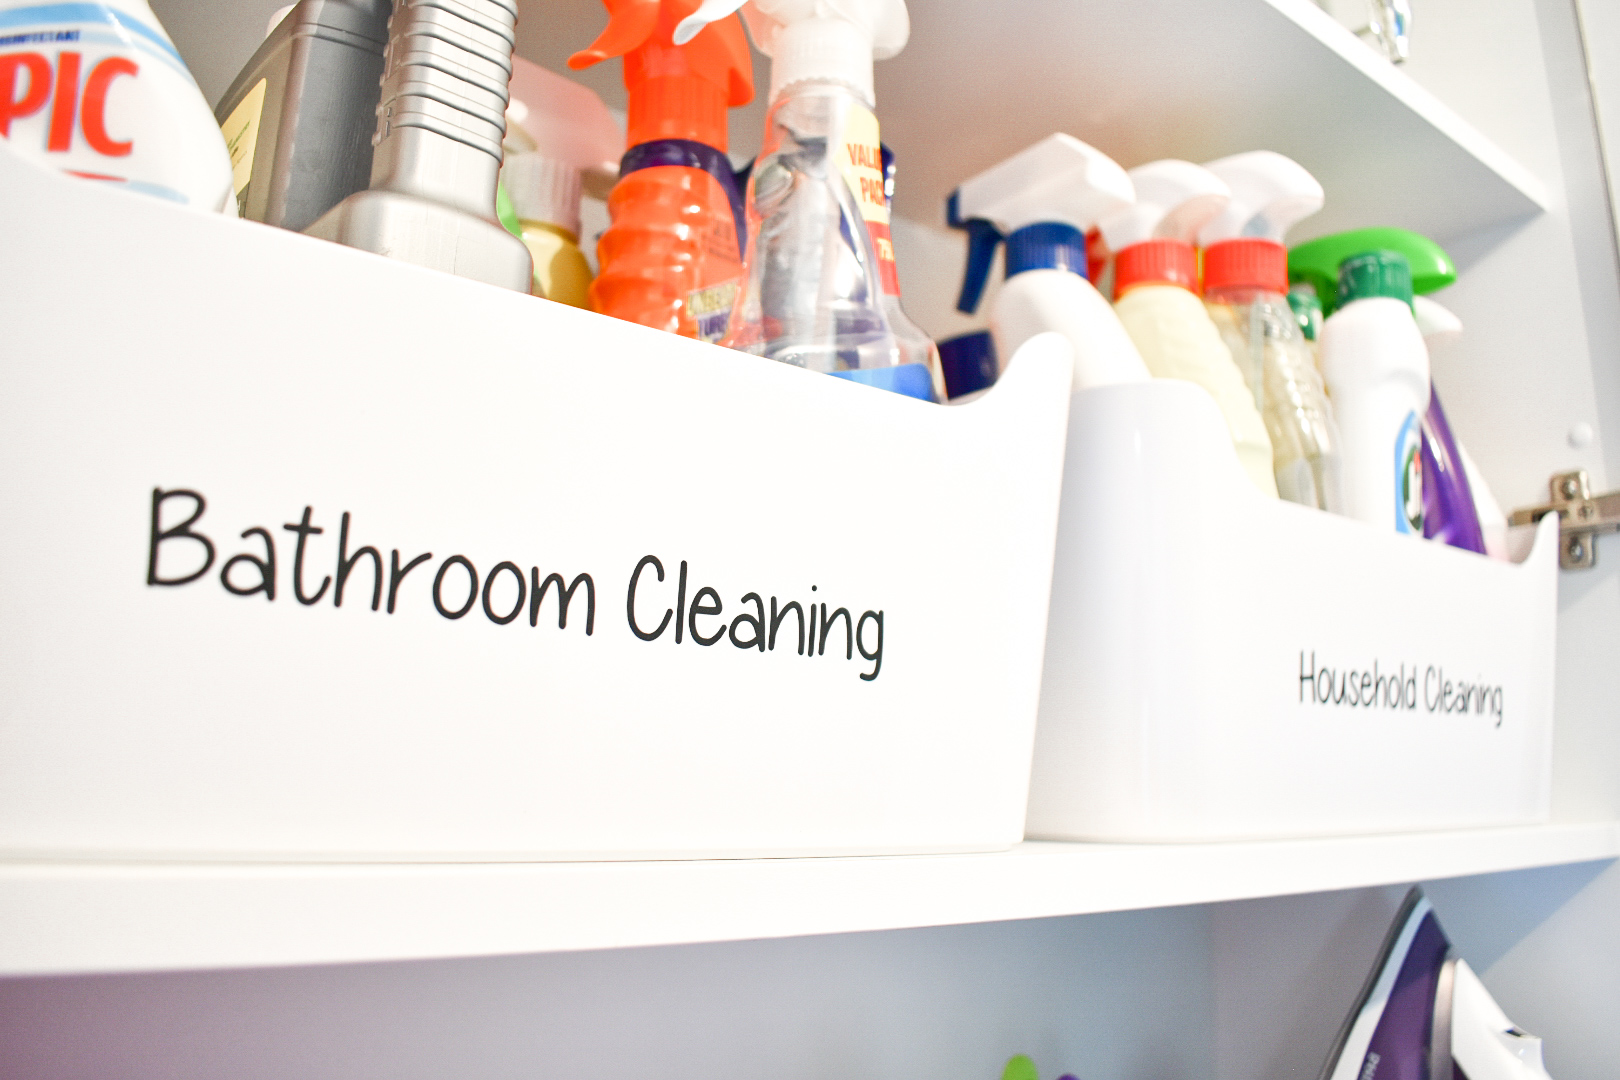
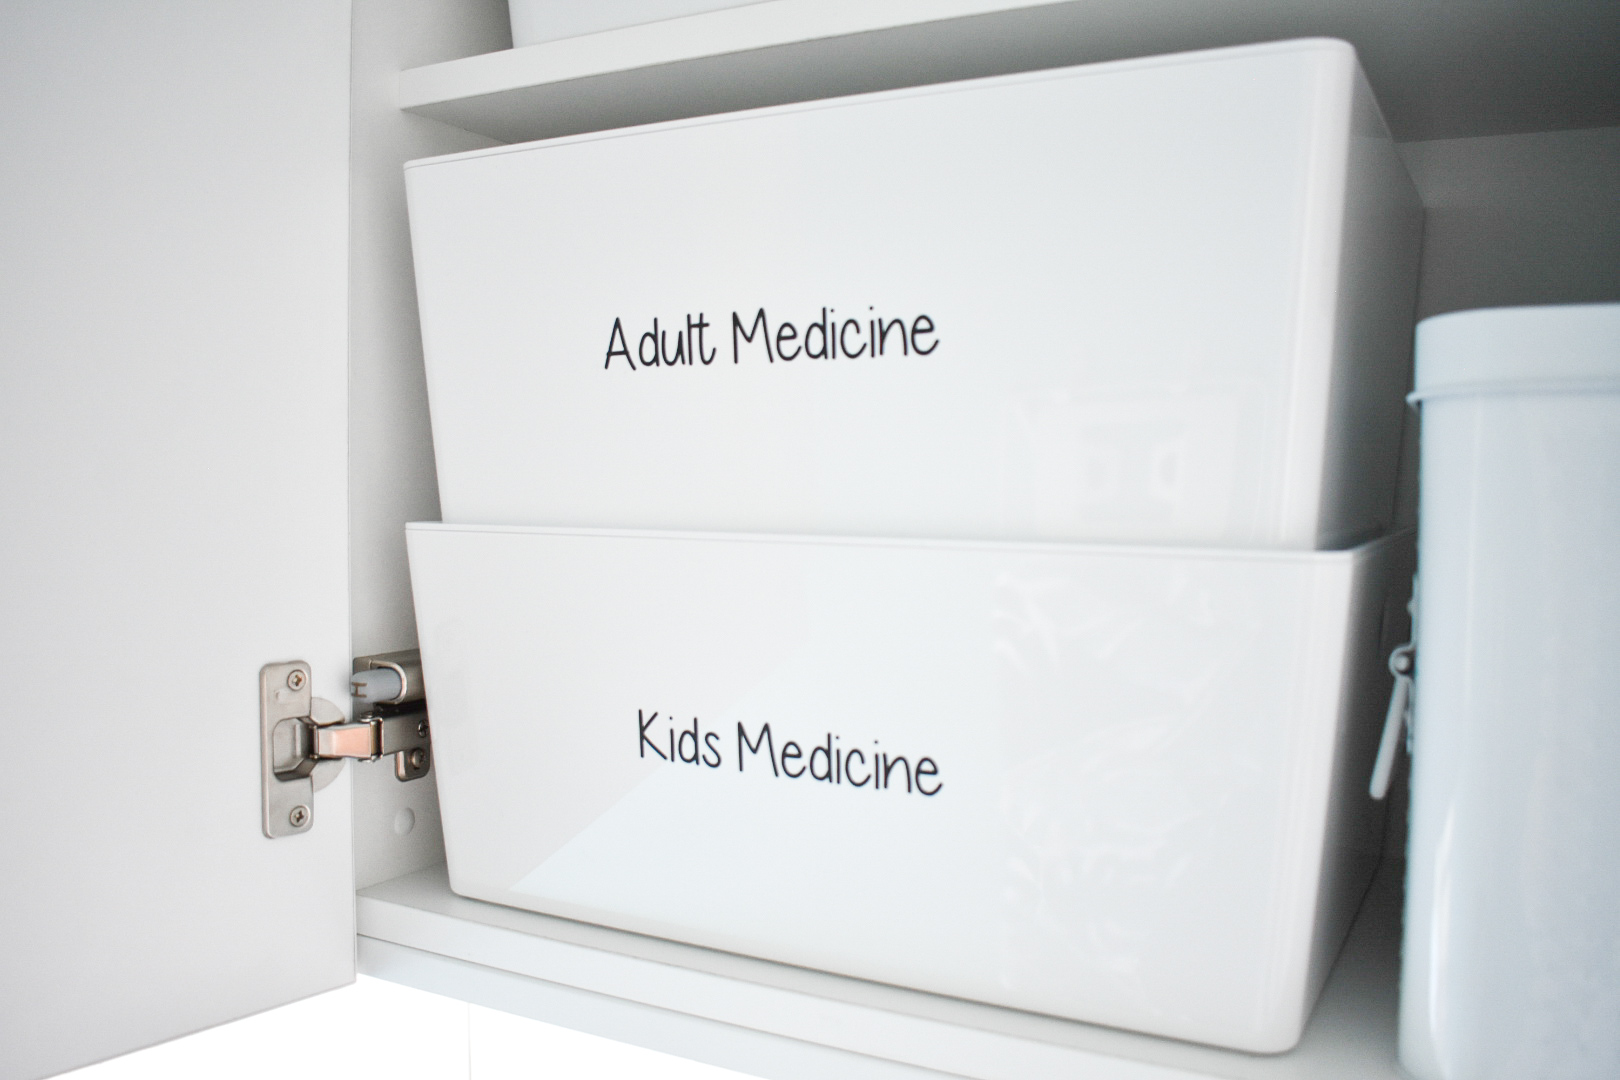
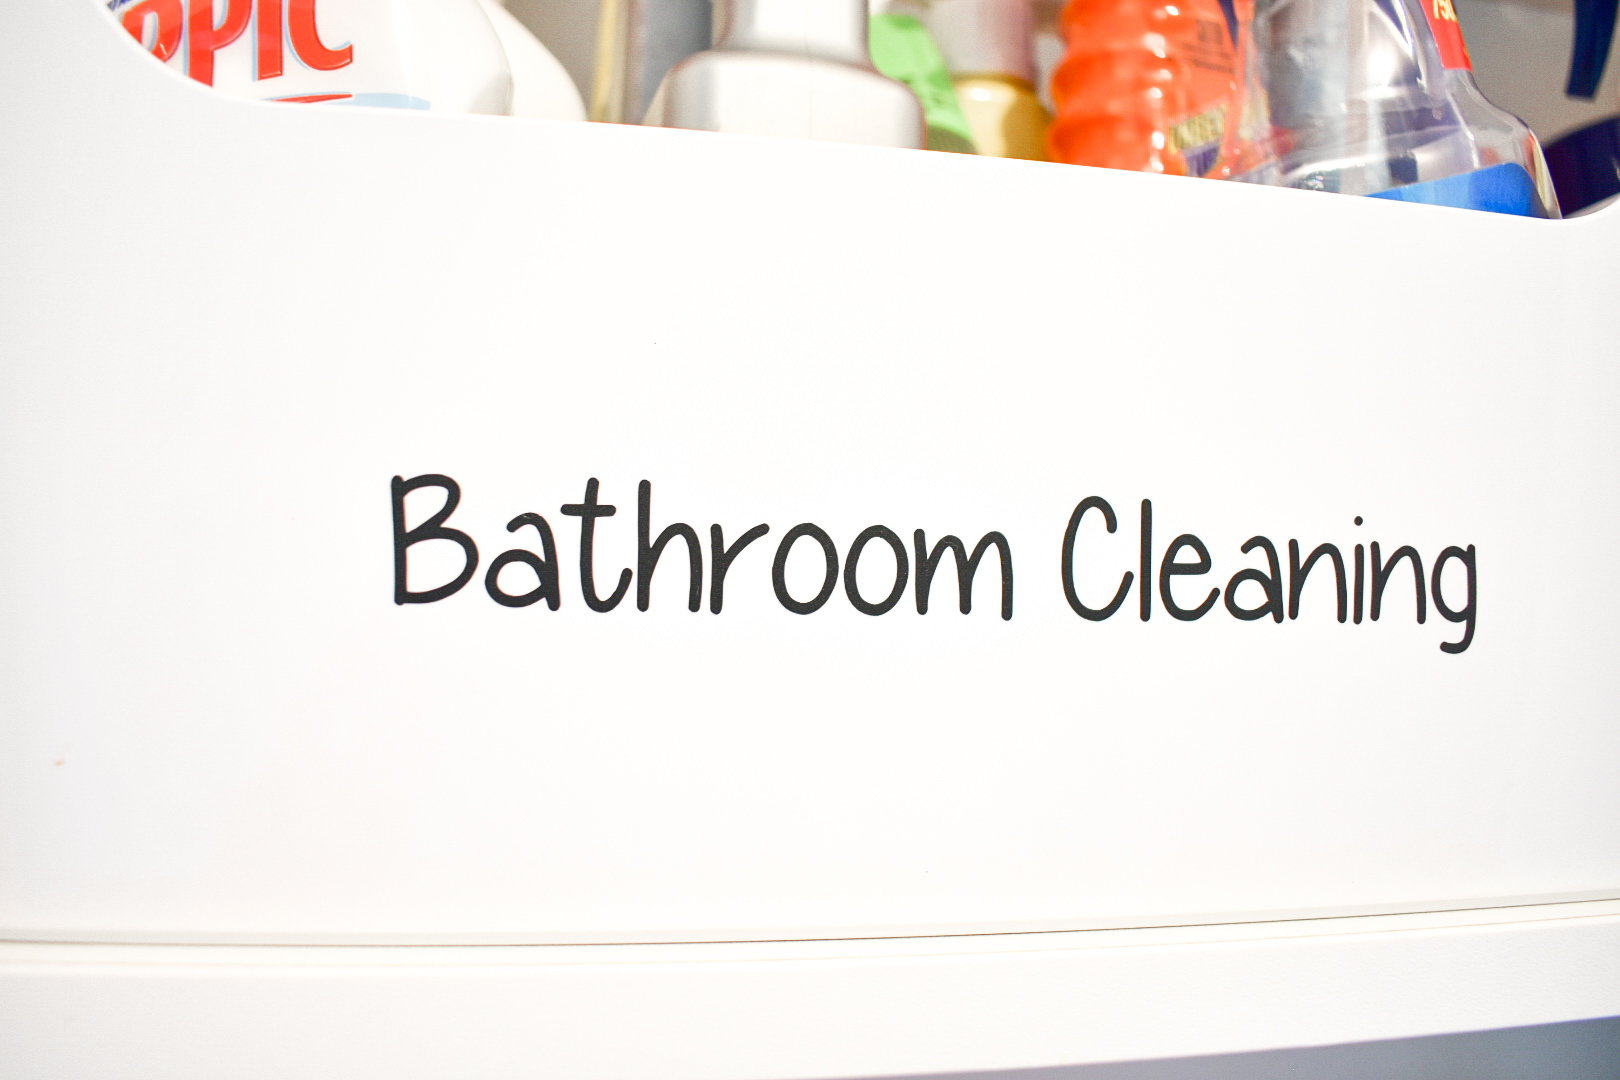
Not any more, have a look at it now and thanks to Rachel from Mint to be Designs everything is labelled. Everything now has a place and there is a place for everything.
Now I know what you are thinking, will this make me fold and put away my washing quicker? The answer is NO it won’t, but it will make you feel good when you walk into your space and especially when you open up those cupboards looking for something and knowing exactly where to look.

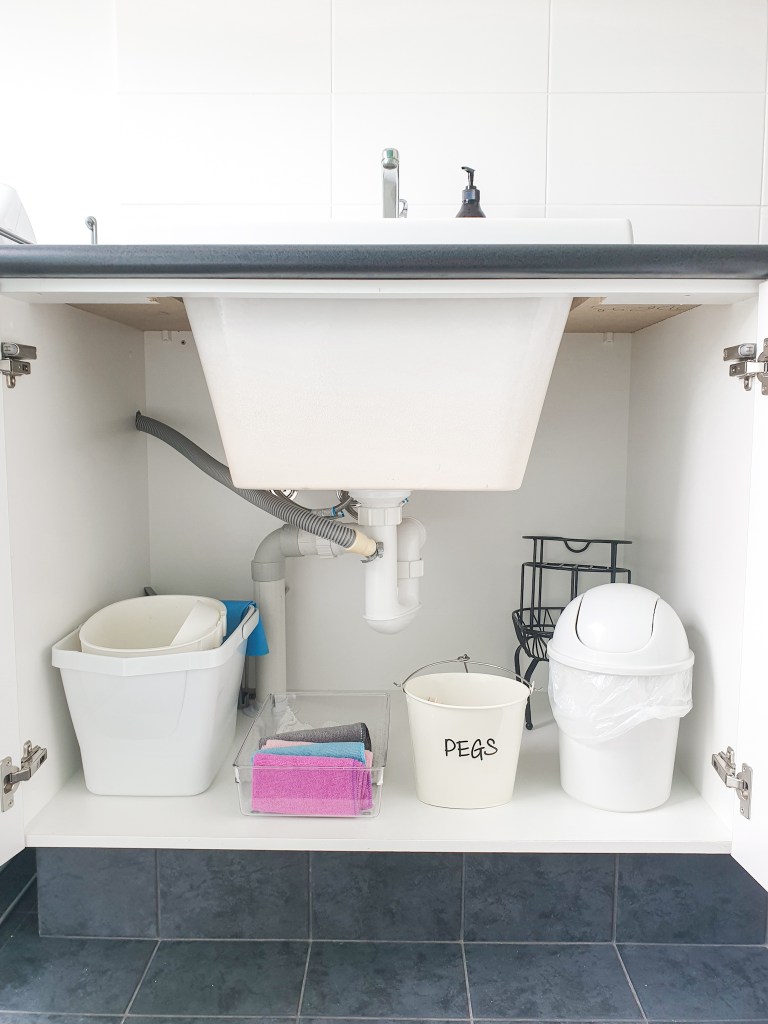
After 
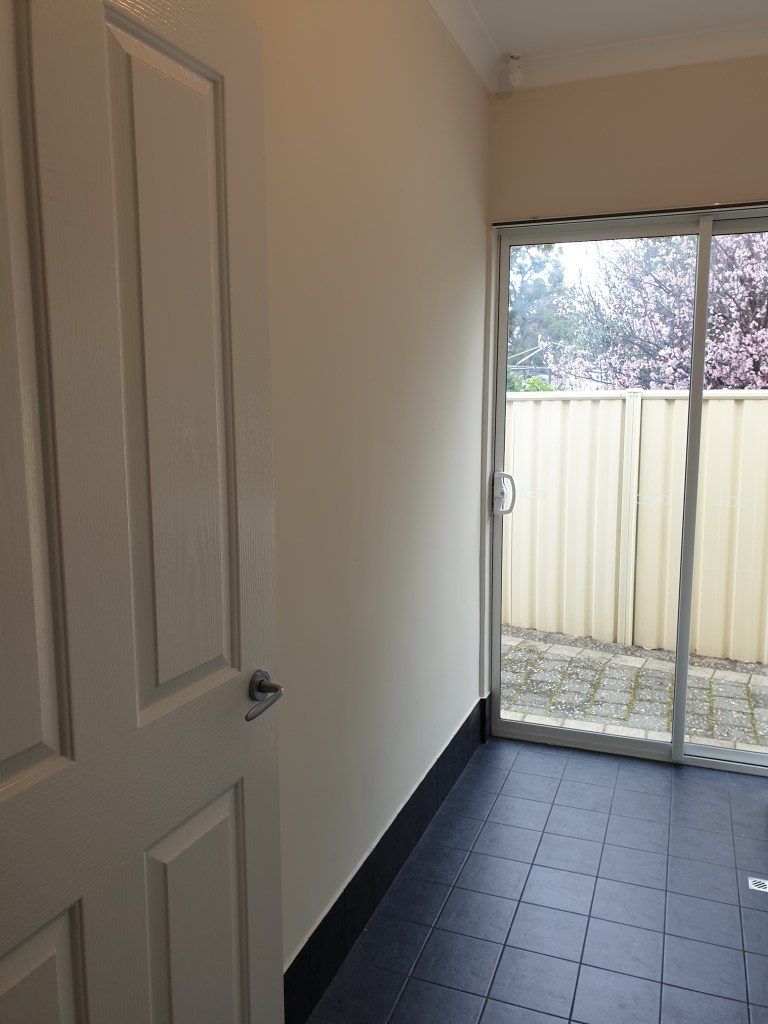
Before
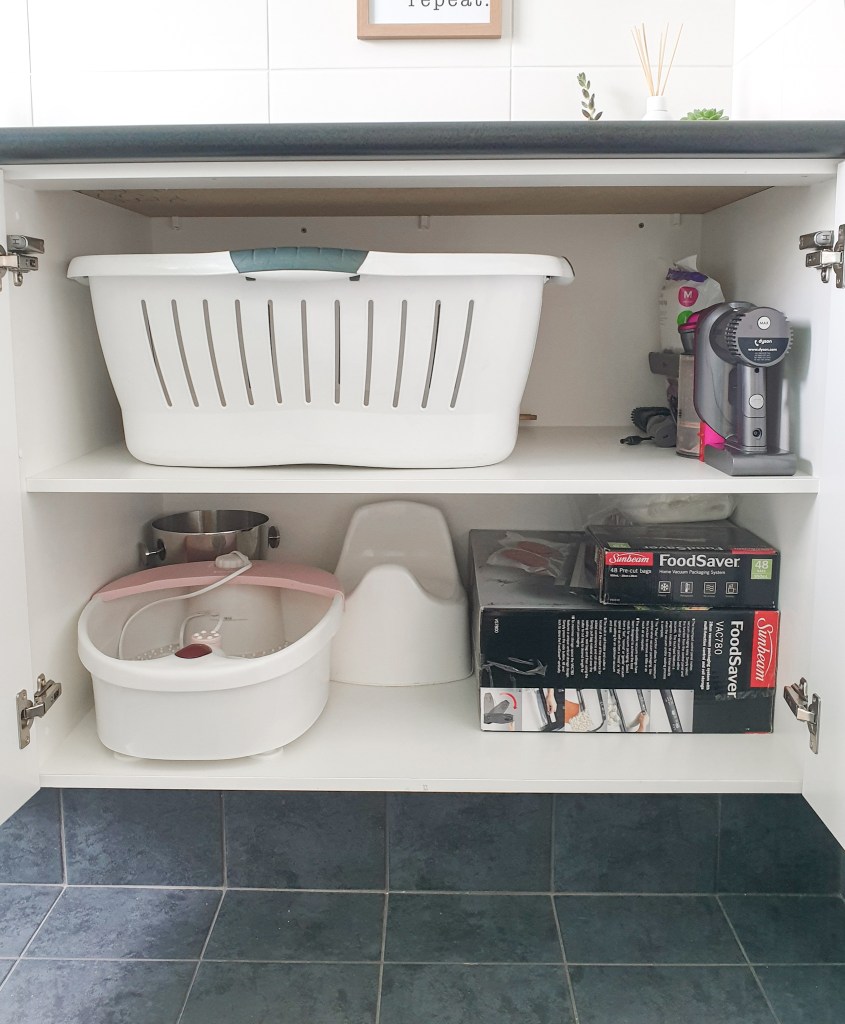
After 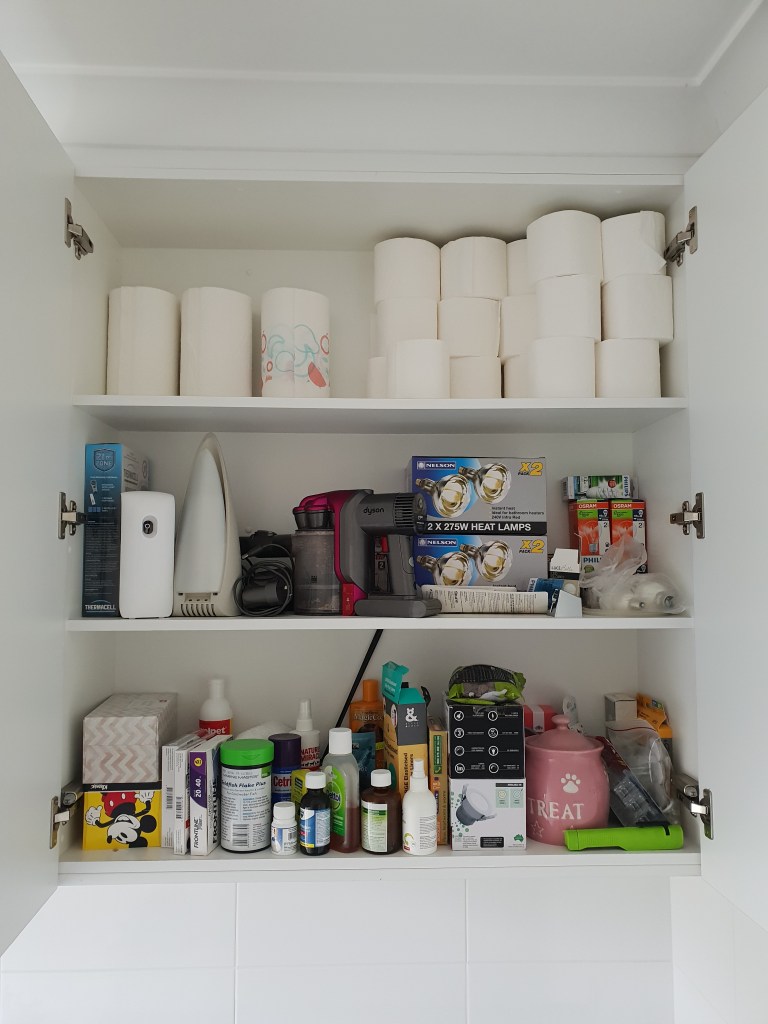
Before
After 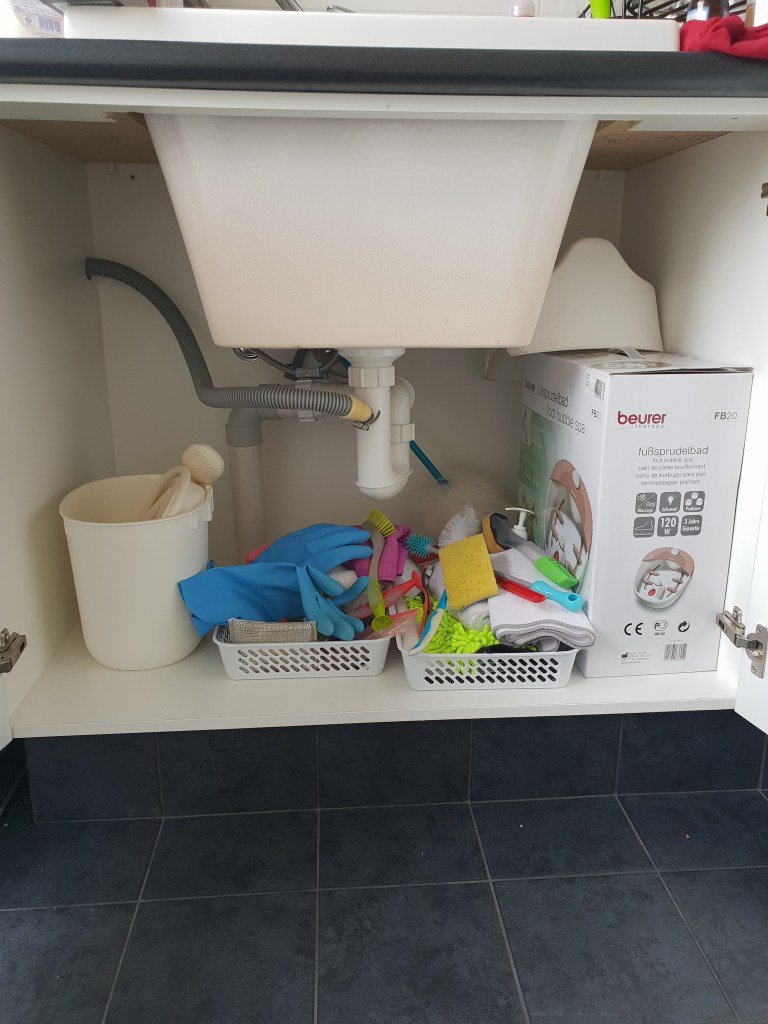
Before
After 
Before
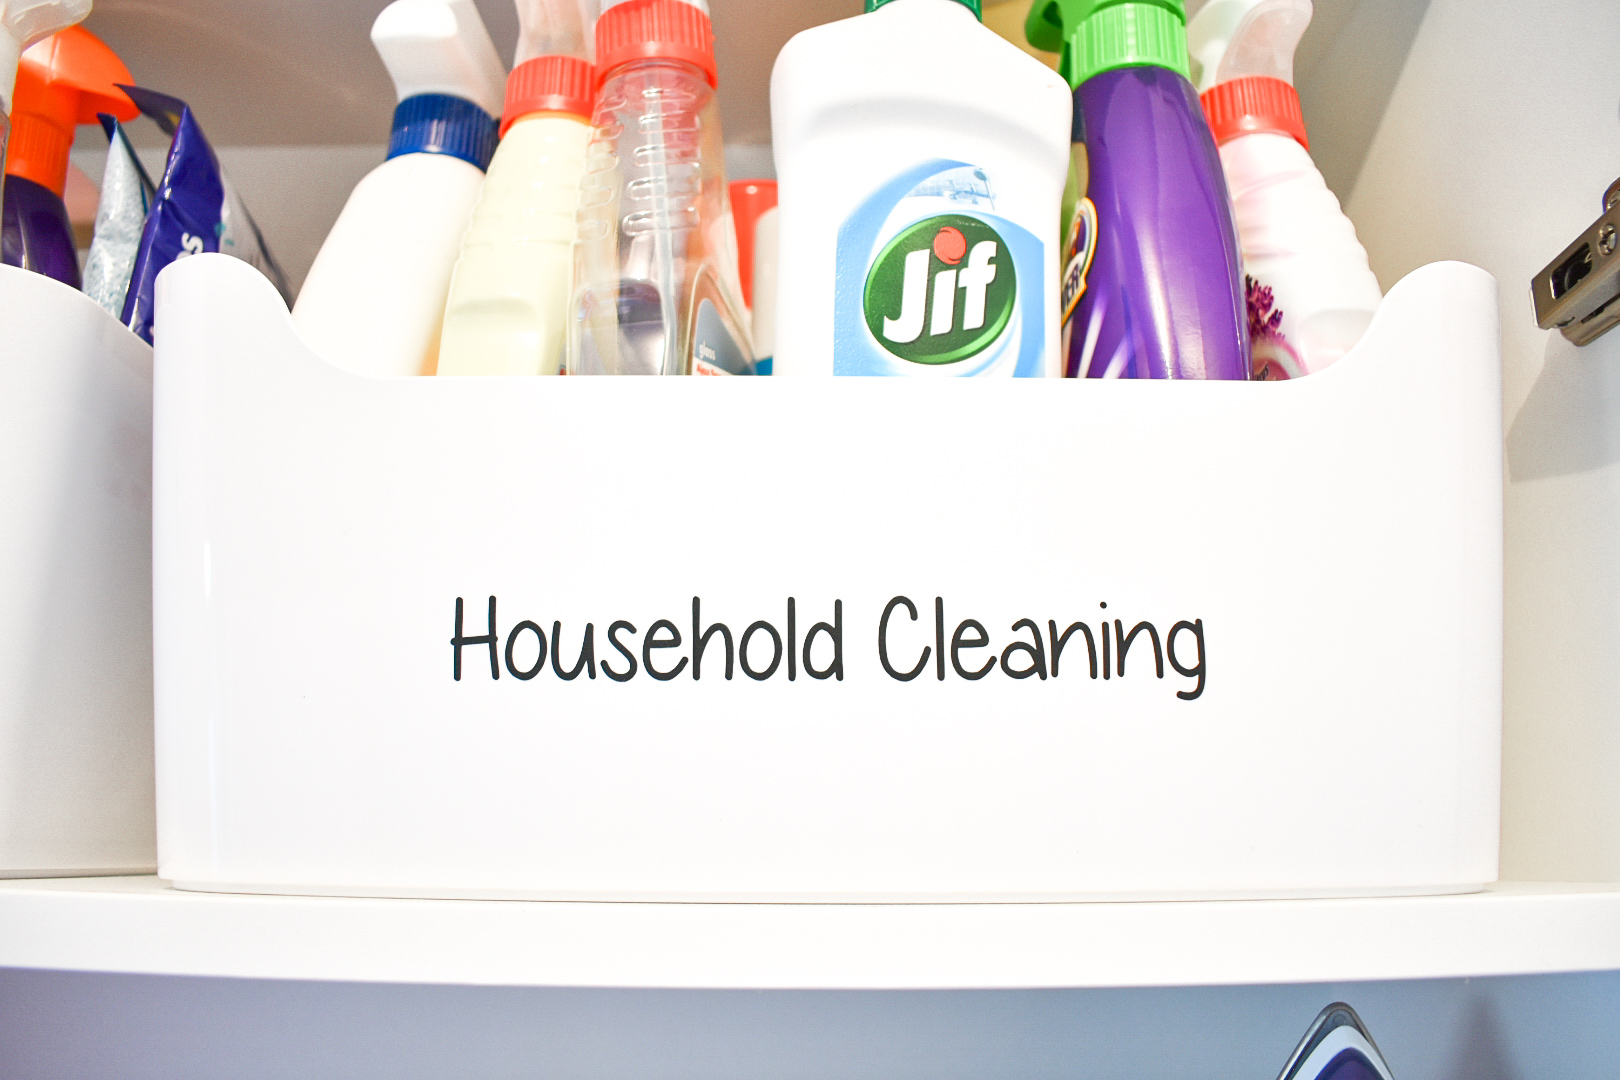
Firstly I de-cluttered everything as much as I could. I found I actually had so many cleaning products for the same things but didn’t want to just throw them out so I’m working through using what I have left and then my goal is to use more simple, eco friendly and harmless options to clean with.
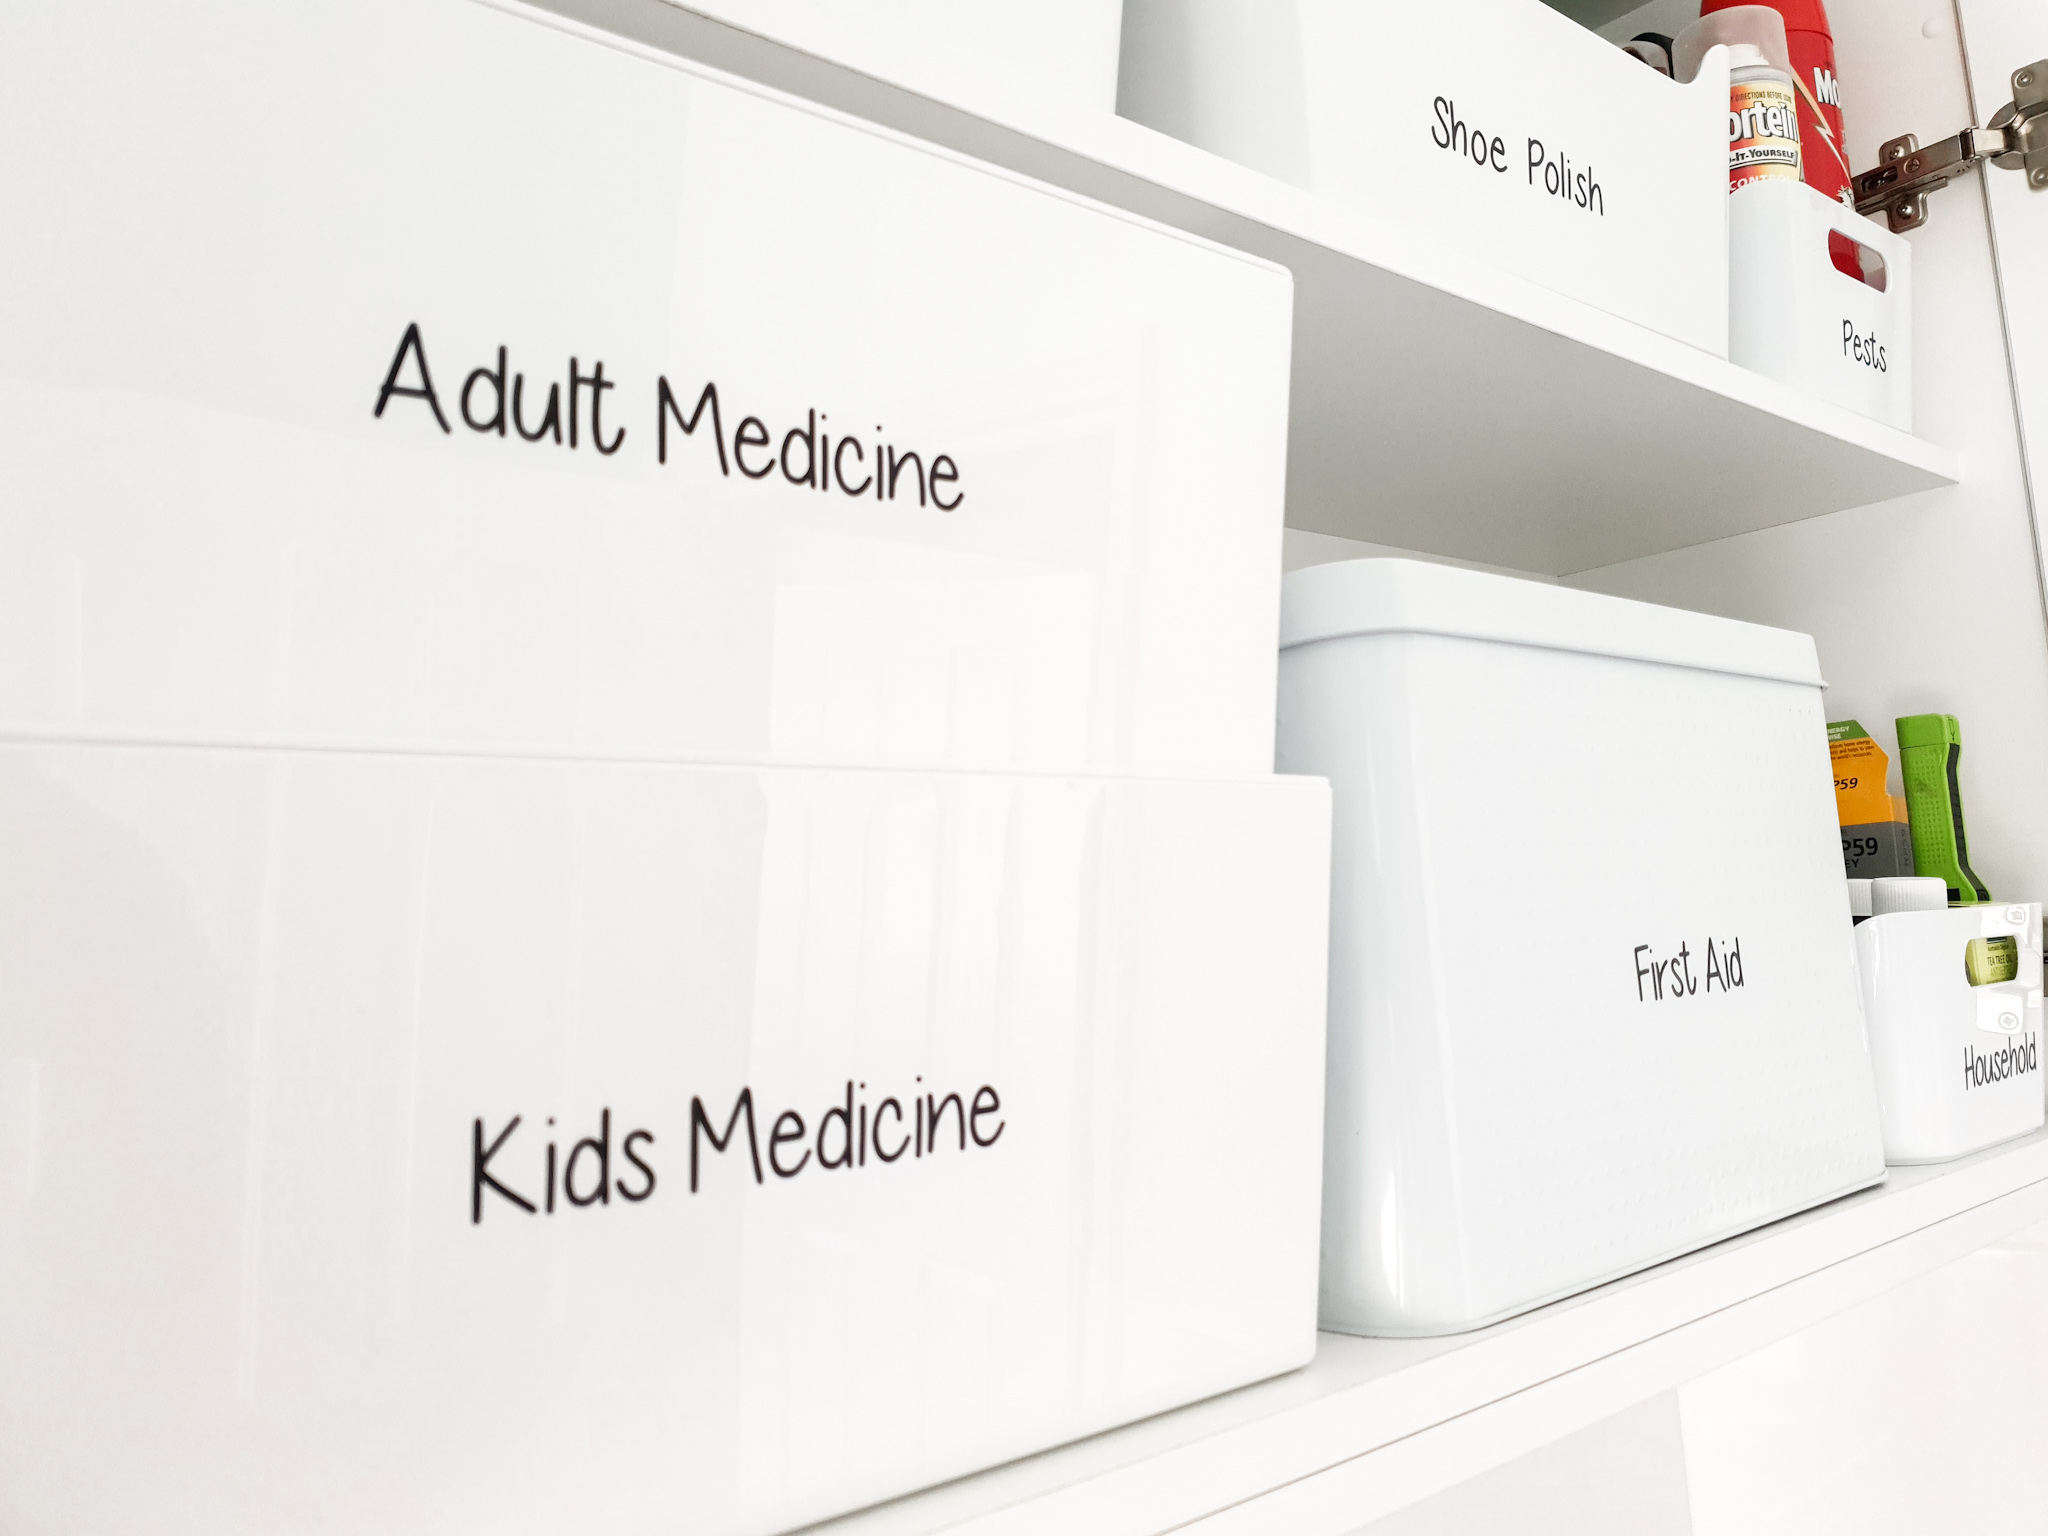
I placed everything into categories to see how many boxes/containers I needed, then went shopping. Mostly at Ikea for the white Variera box range.
I take photos and measurements before going to buy the containers especially when needing this many. You usually end up needing to go back or finding a different solution to fit certain items in.
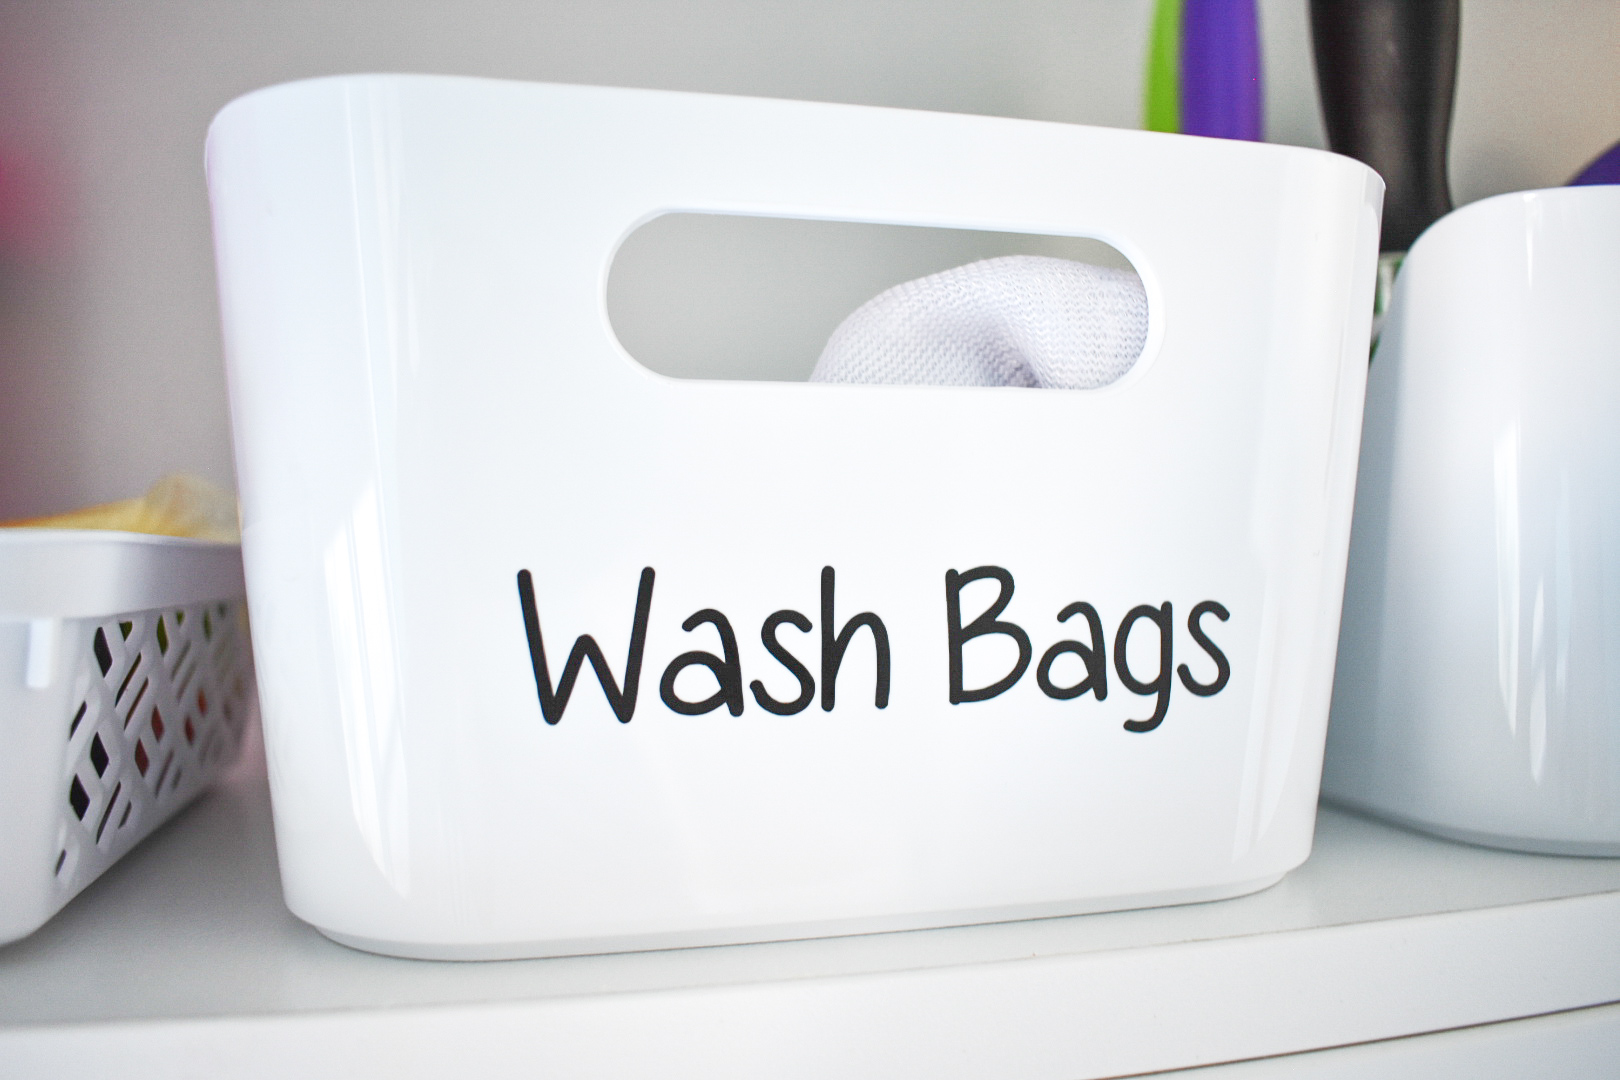
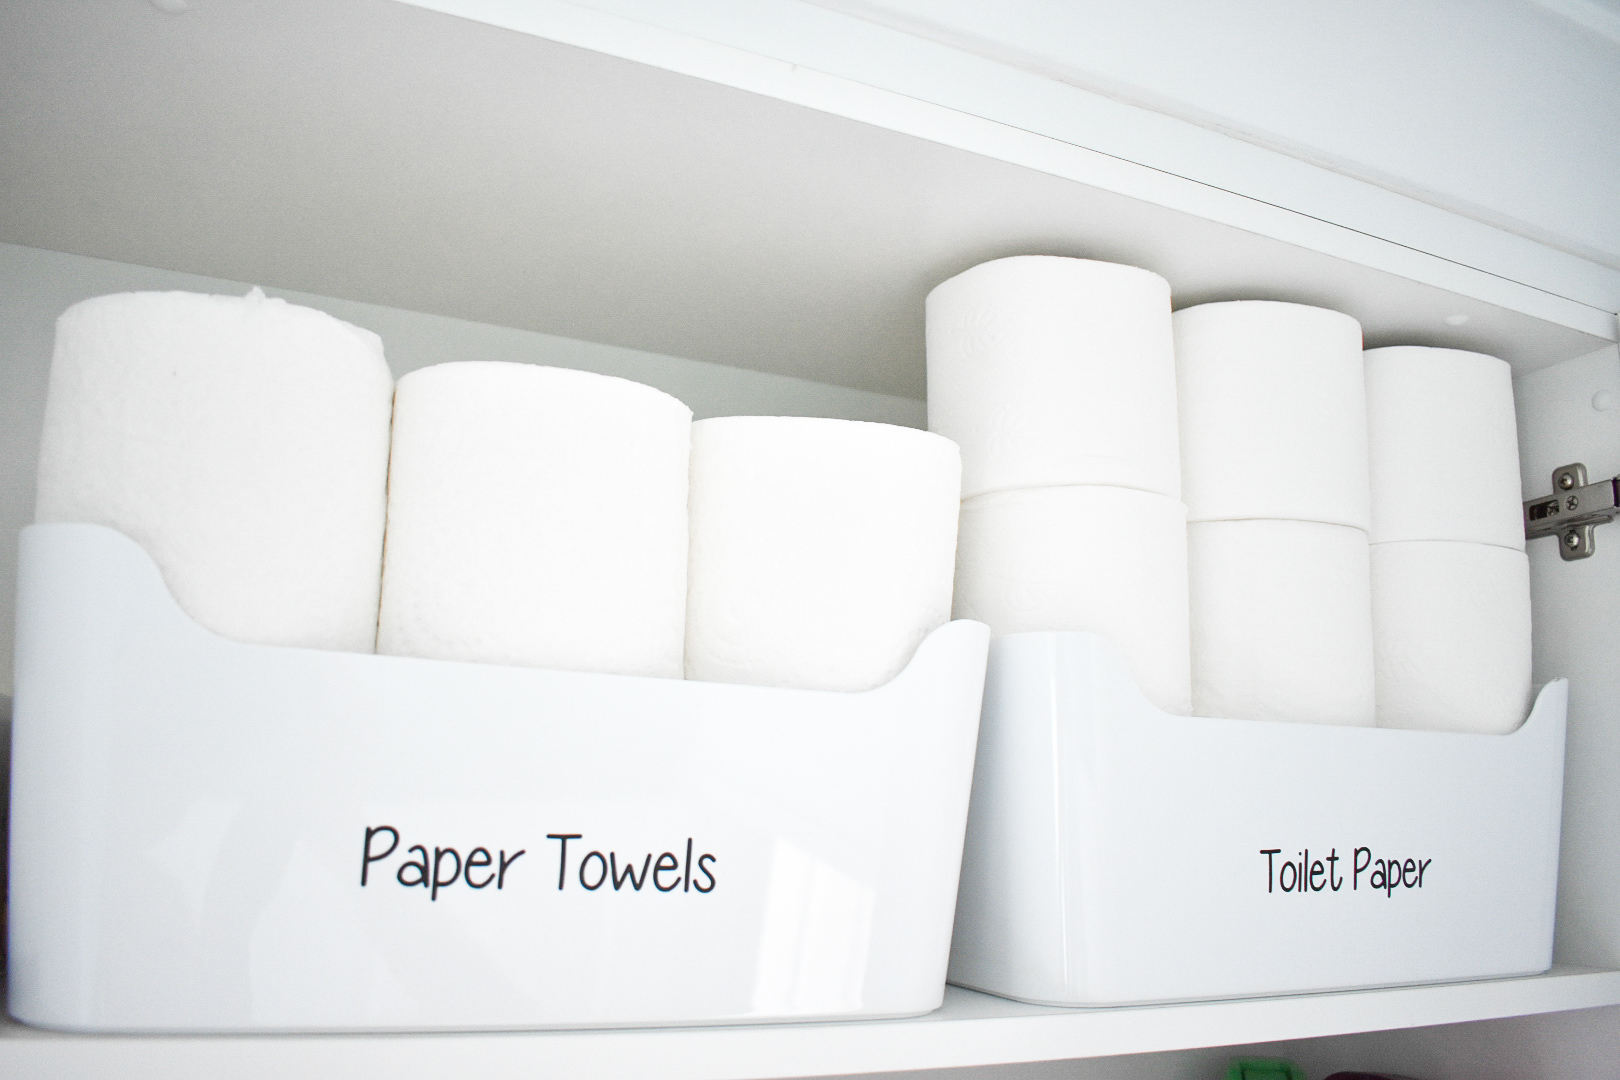
When you do have all your containers make sure you trial using it the way it is before ordering labels you may want to swap a few things around or end up combining certain items too. Once you are happy I highly recommend labeling your containers especially if your storage area is up high like mine that way you can see exactly where everything is.
My laundry labels are font number 7 from Mint to be Designs. They are super easy to apply and Rachel has a heap of fonts available including different coloured vinyls too. Plus Rachel is offering all my followers a 10% discount when you mention me.


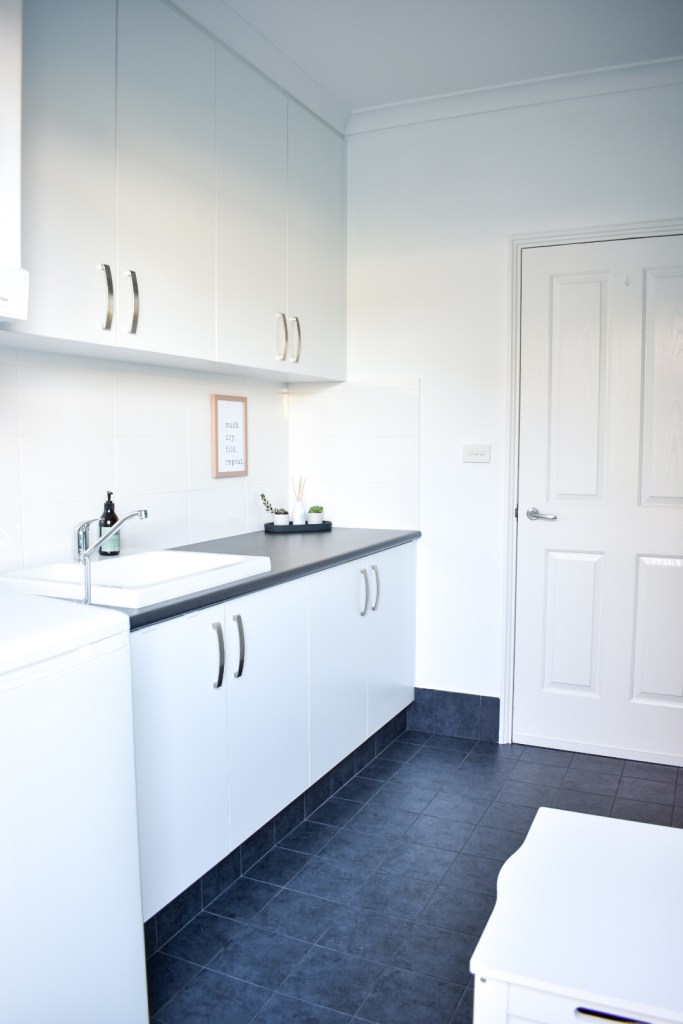
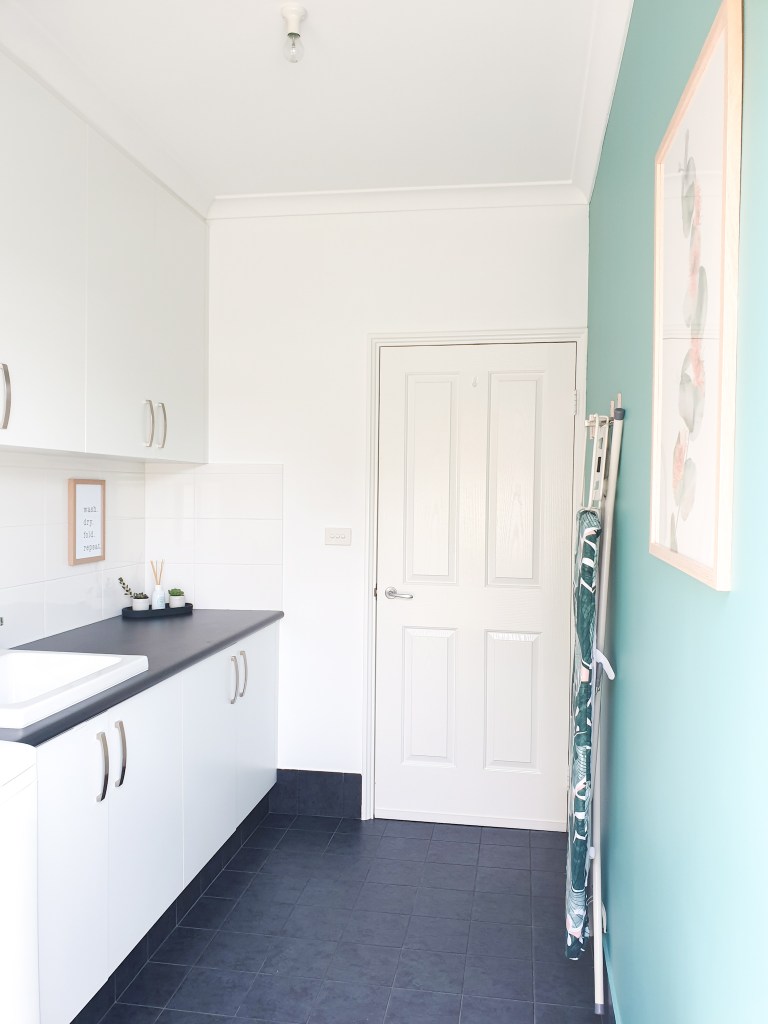
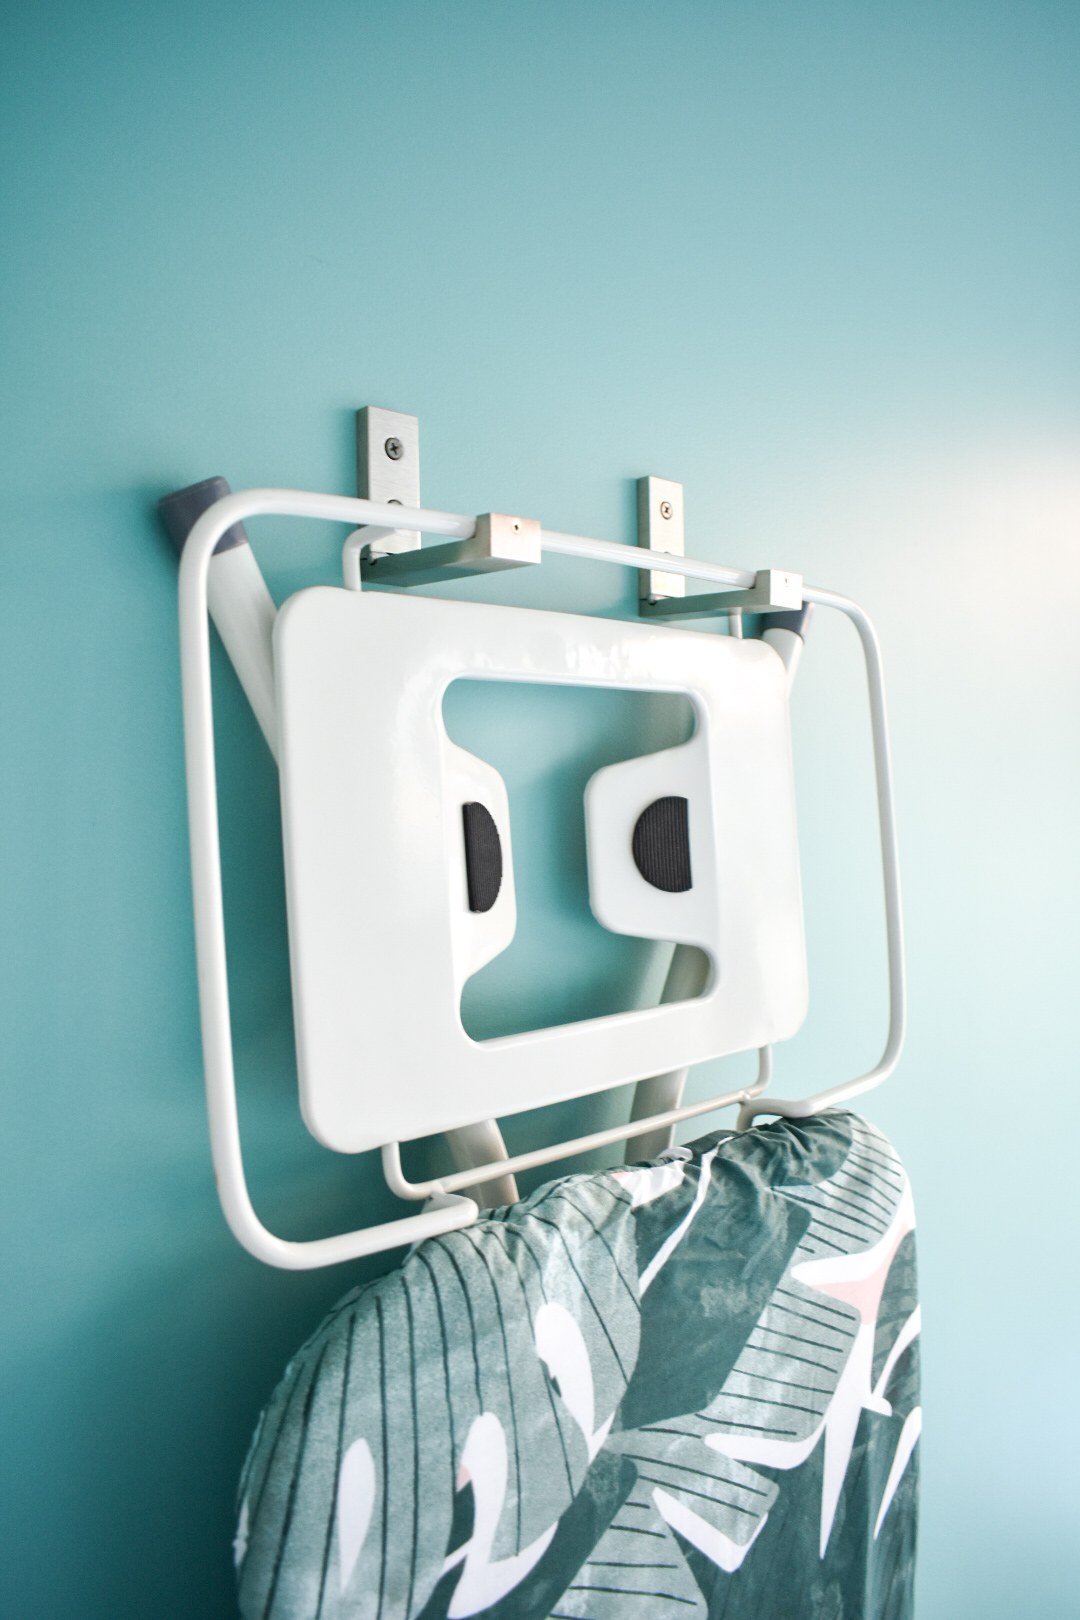
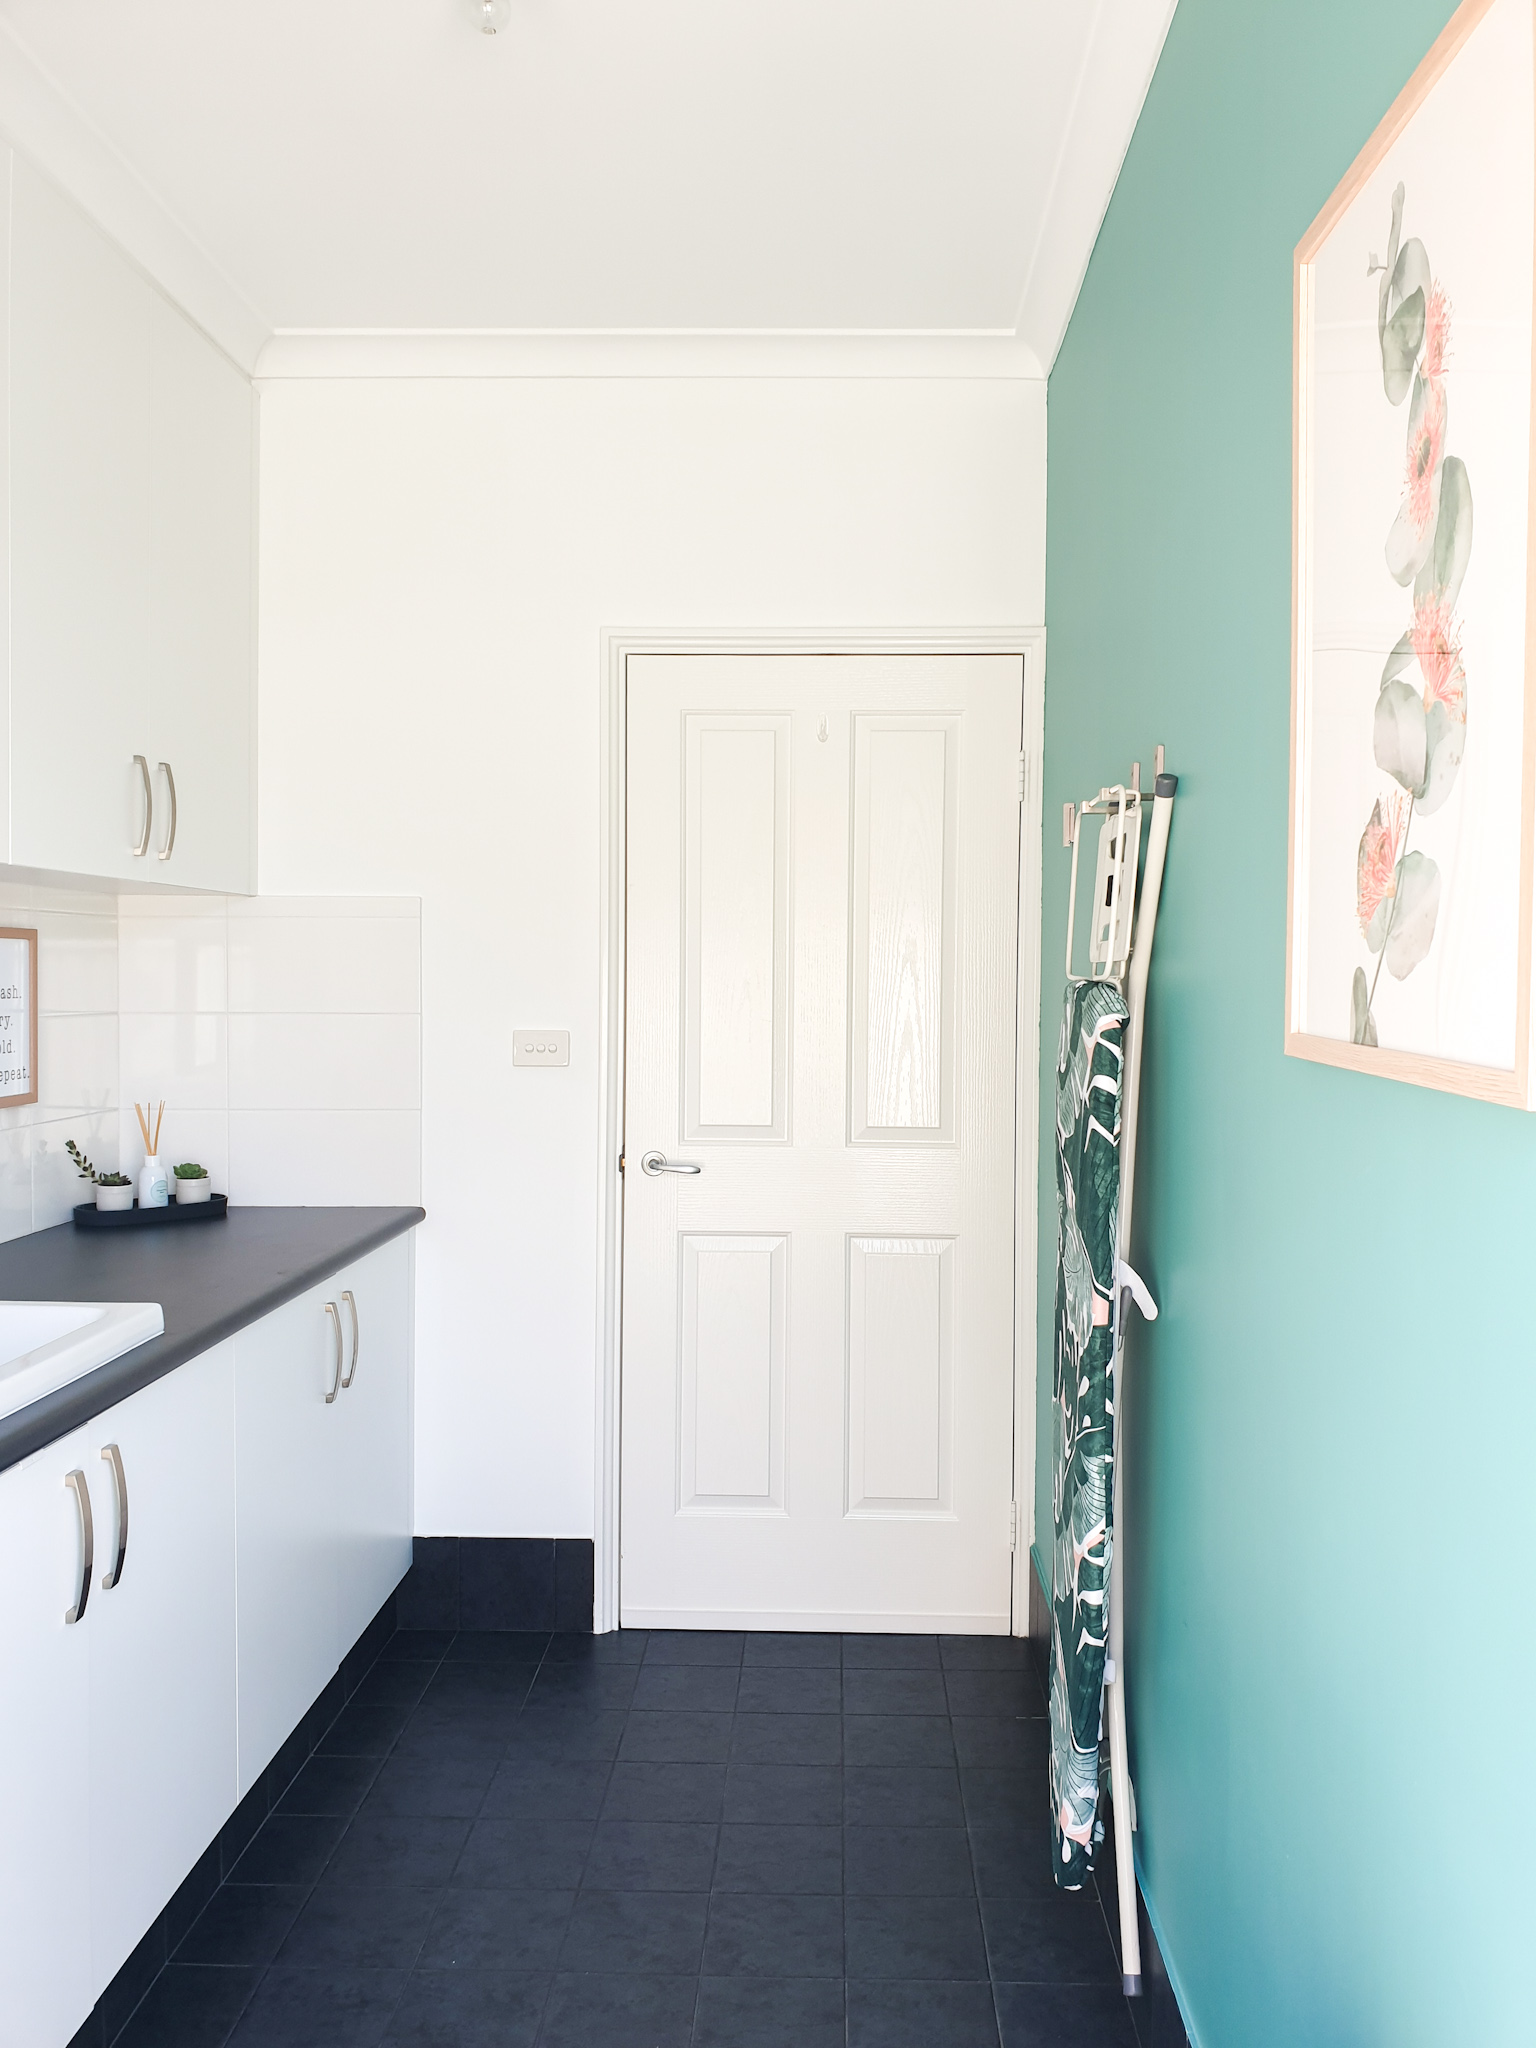
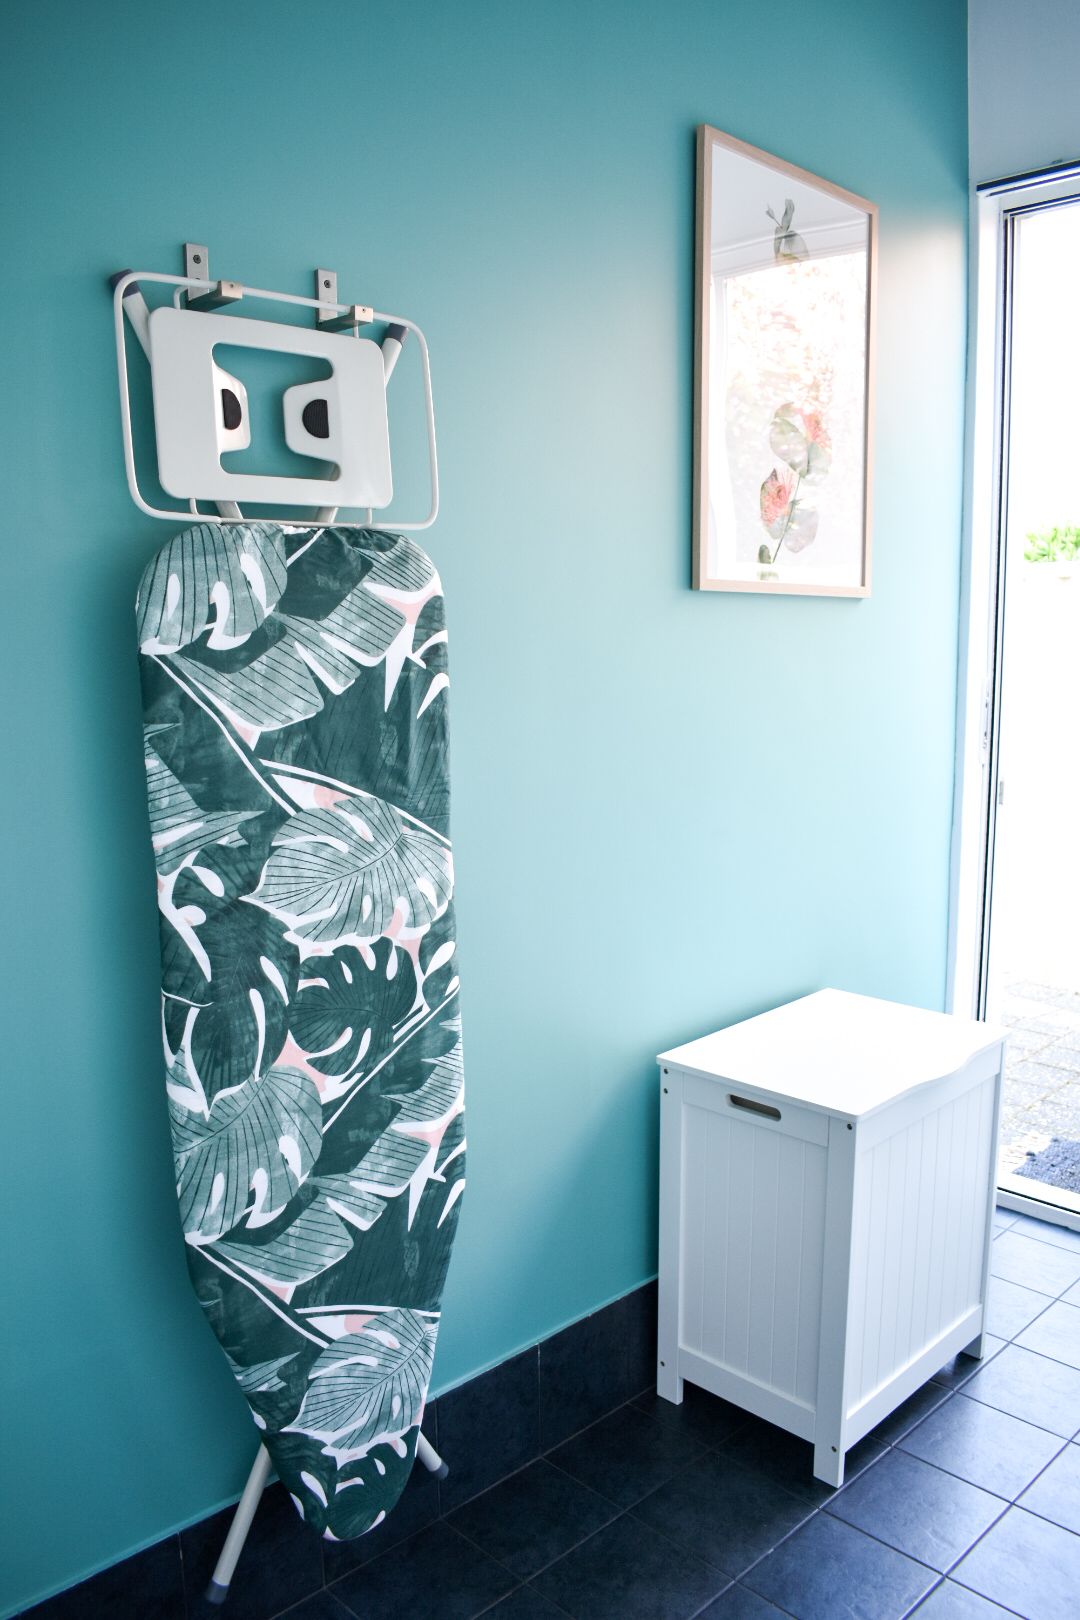
Our laundry walls needed a new coat of paint and I went a little out of my usual comfort zone of choosing white I wanted to add some colour and warmth (another word for hyggelig). I choose the colour Catalina Green and I’m so happy with it, the rest of the walls are White on White and the contrast with the colours next to each other is gorgeous.
After 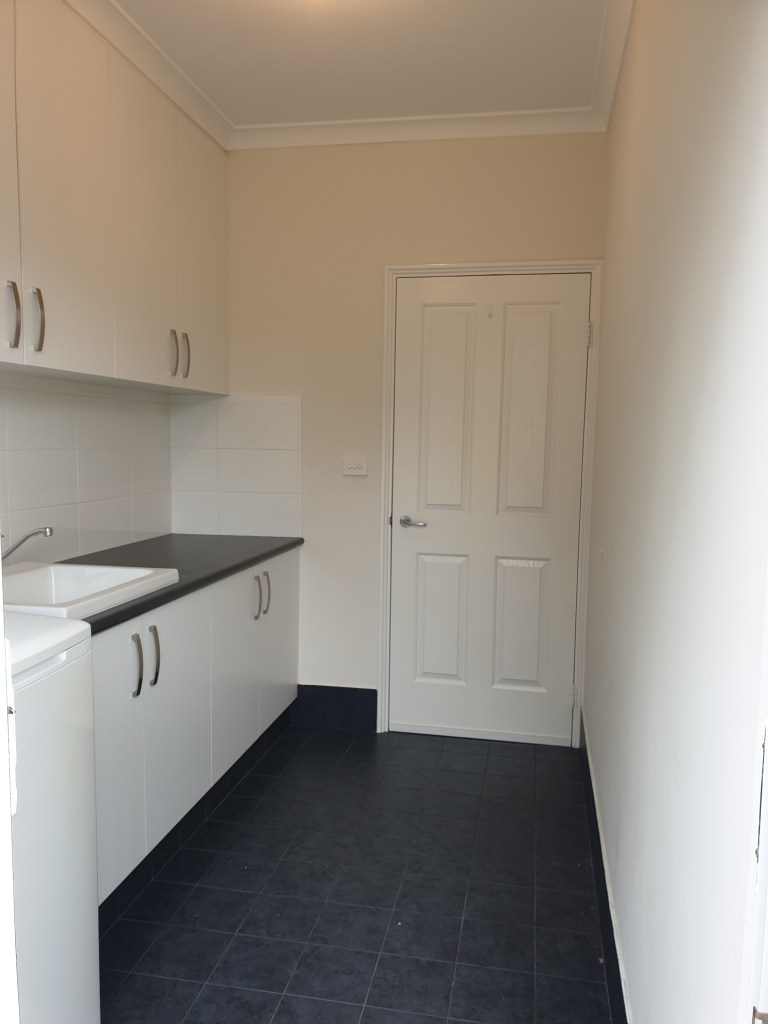
Before

After 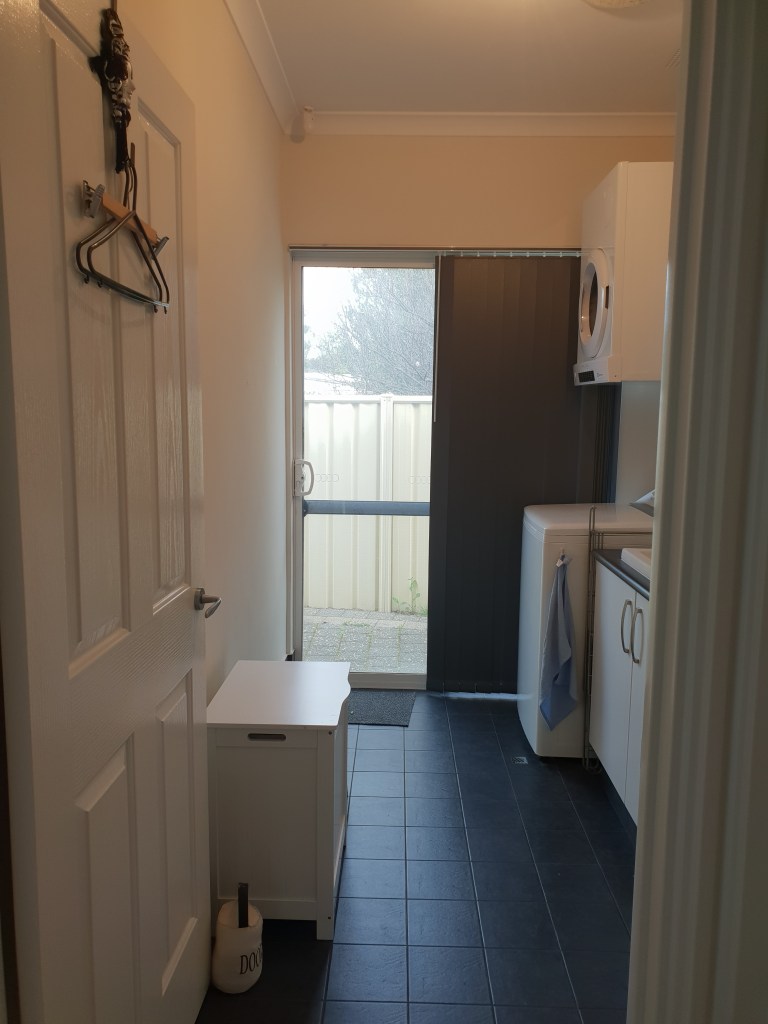
Before
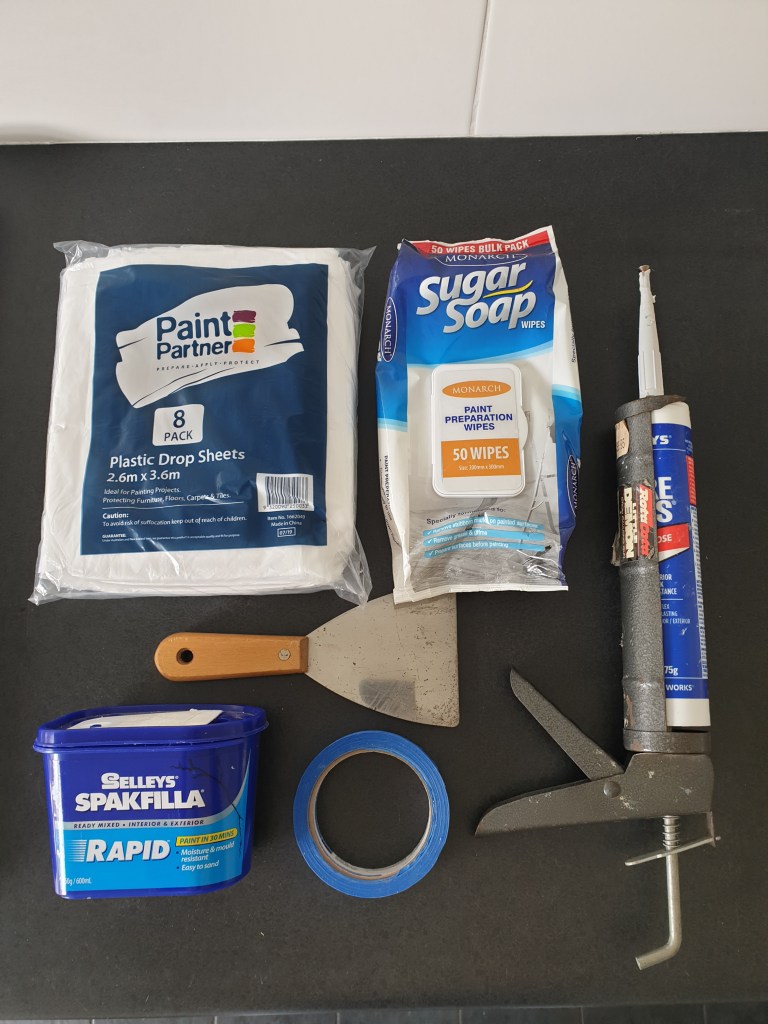
Tips on painting:
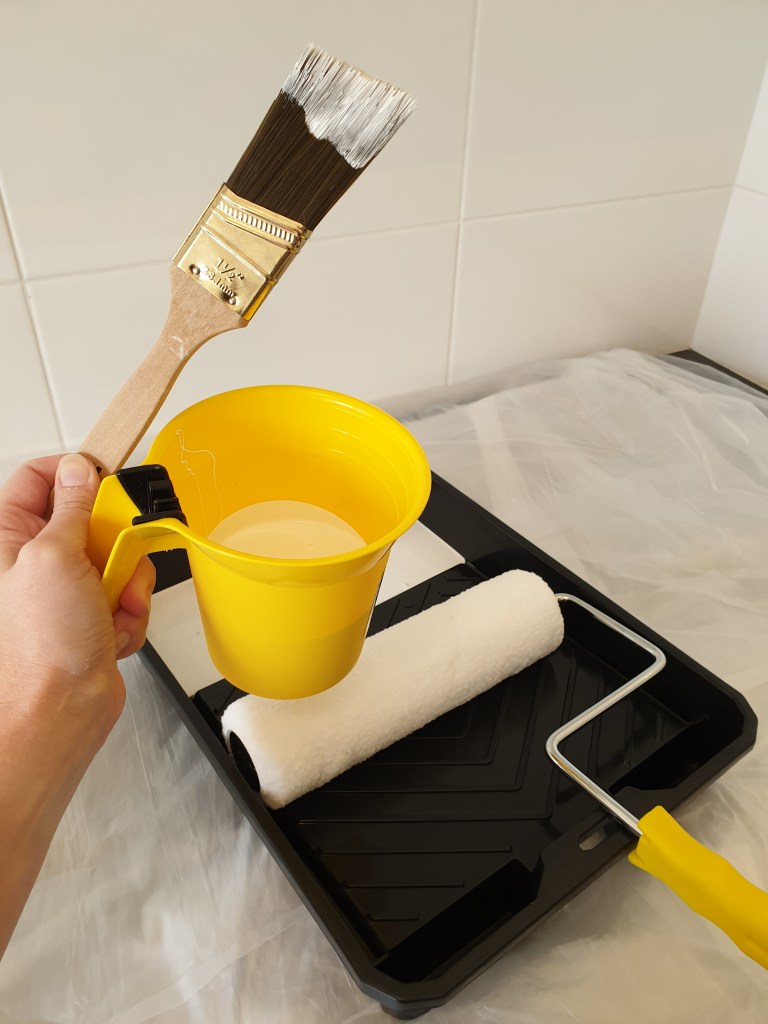
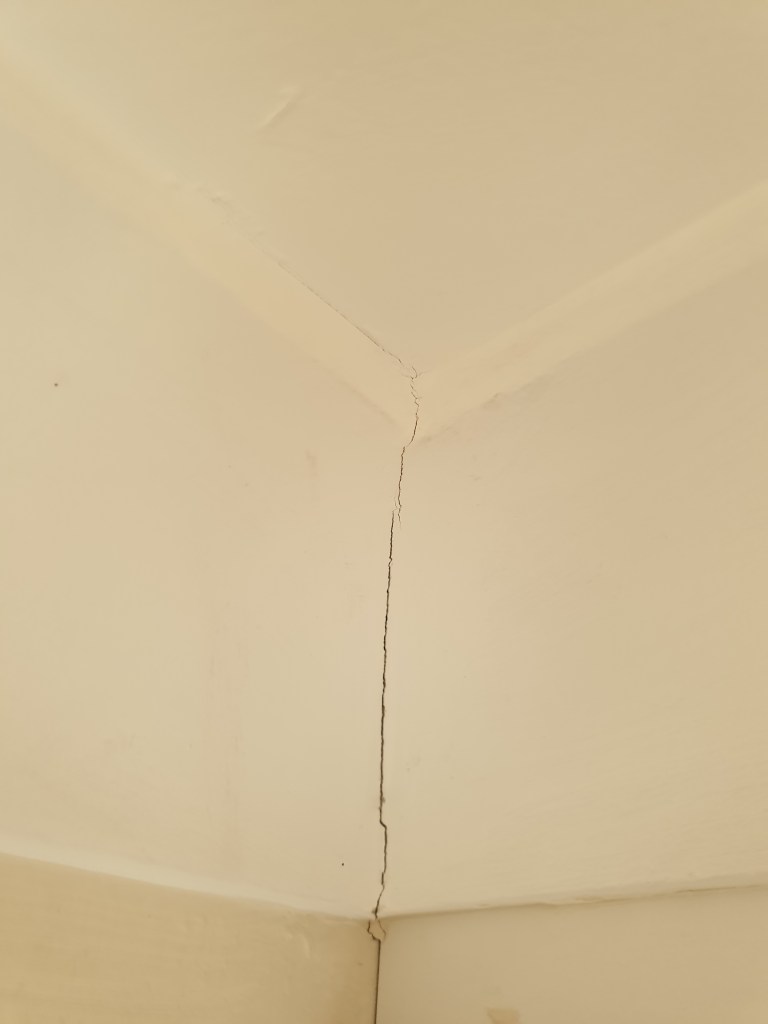
Preparation is key when painting. Firstly clear out the whole room. It’s important to wash down your walls, especially as this was the laundry, the amount of lint and dust that builds up will surprise you. I find it easiest to use the sugar soap wipes, super easy to wipe down all the walls. Then I prepare all the ceiling cornices, our house is 5 years old and a lot of our cornices have cracks. A little trick my mum taught me is to go along with no more gaps and a wet cloth and cover all the cracks. It comes up as new again. Fill any holes in the walls with filler and then finally prepare the painting area with masking tape and plastic sheets. This makes painting a lot quicker and stops getting paint on unwanted areas. Just make sure you don’t leave the masking tape on for too long as it might take the paint with it or take paint from the door frames etc. I’m all for making things easier and having the right tools for the job, so I highly recommend getting a little paint holder with a handle and paint brush holder, like the yellow one in the pic below.

Before 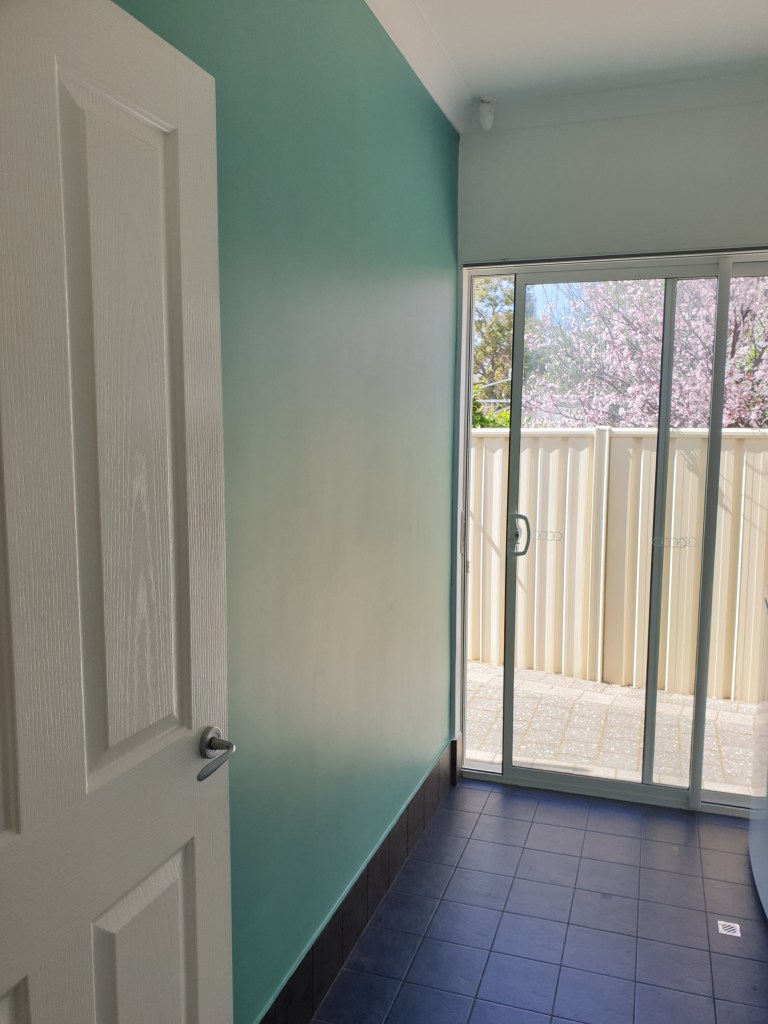
After 
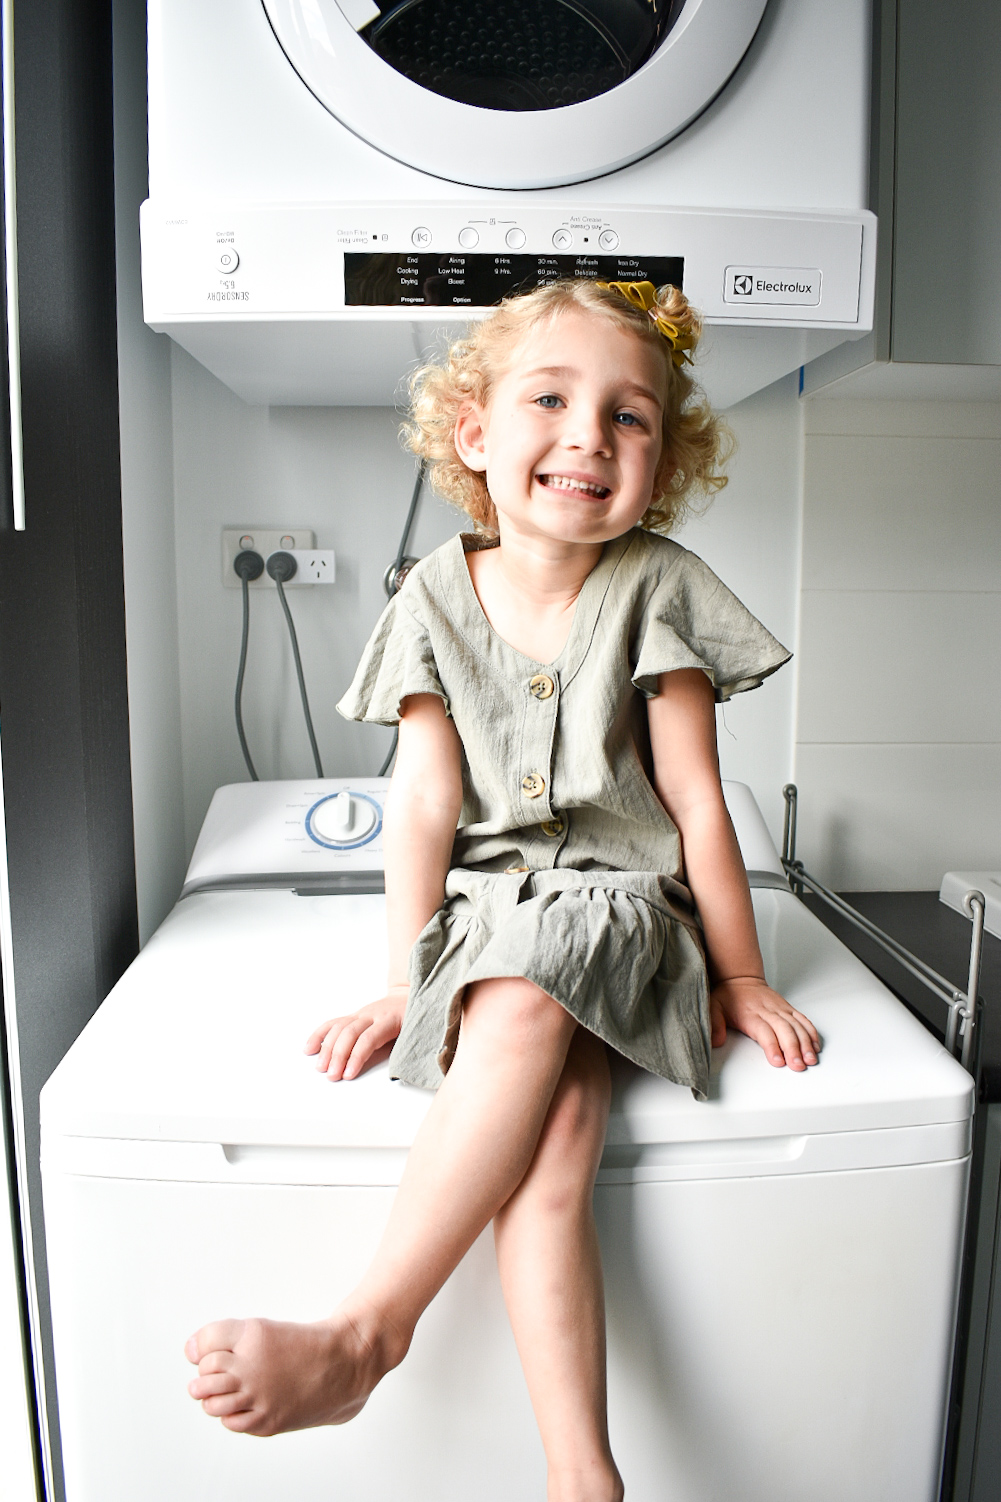
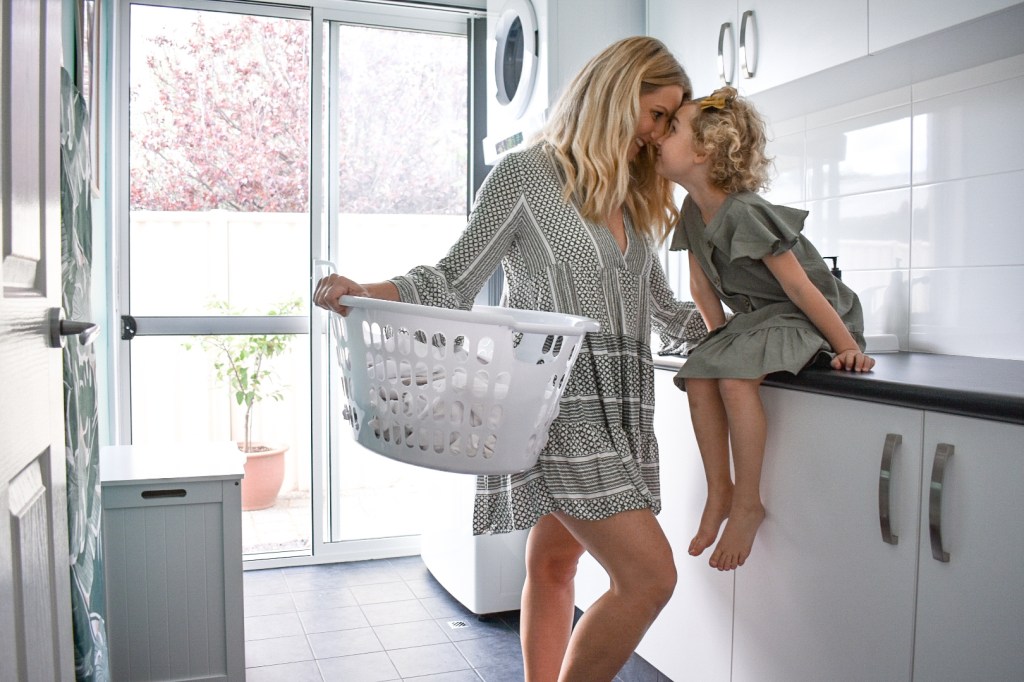
cheeky little helper 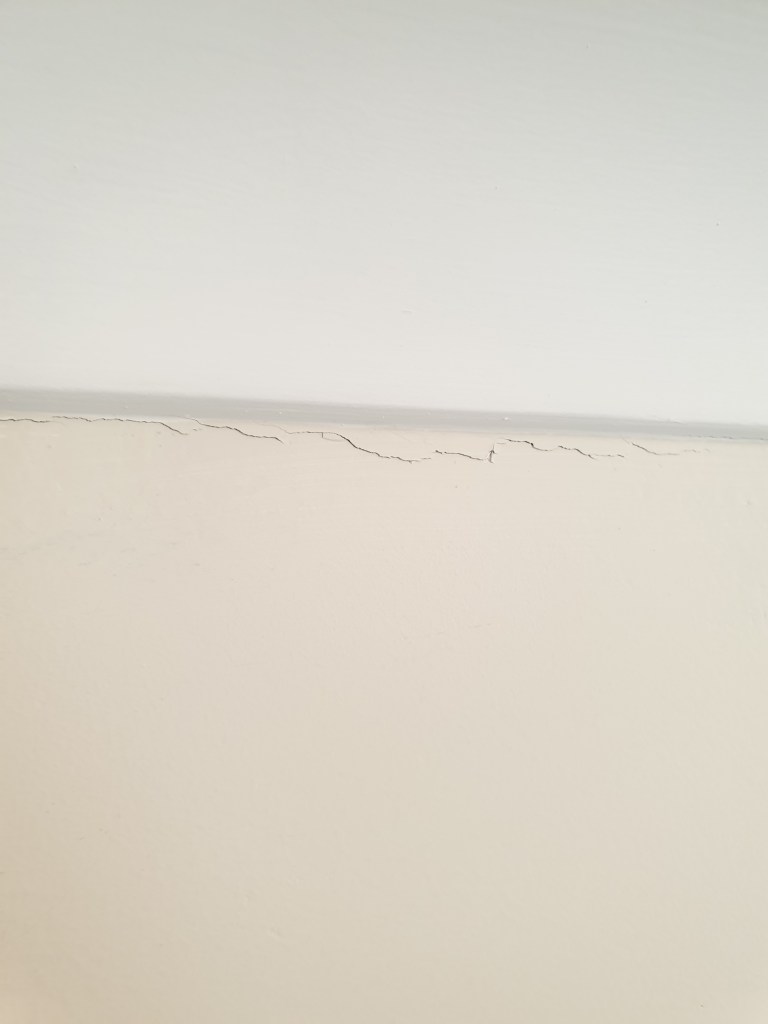

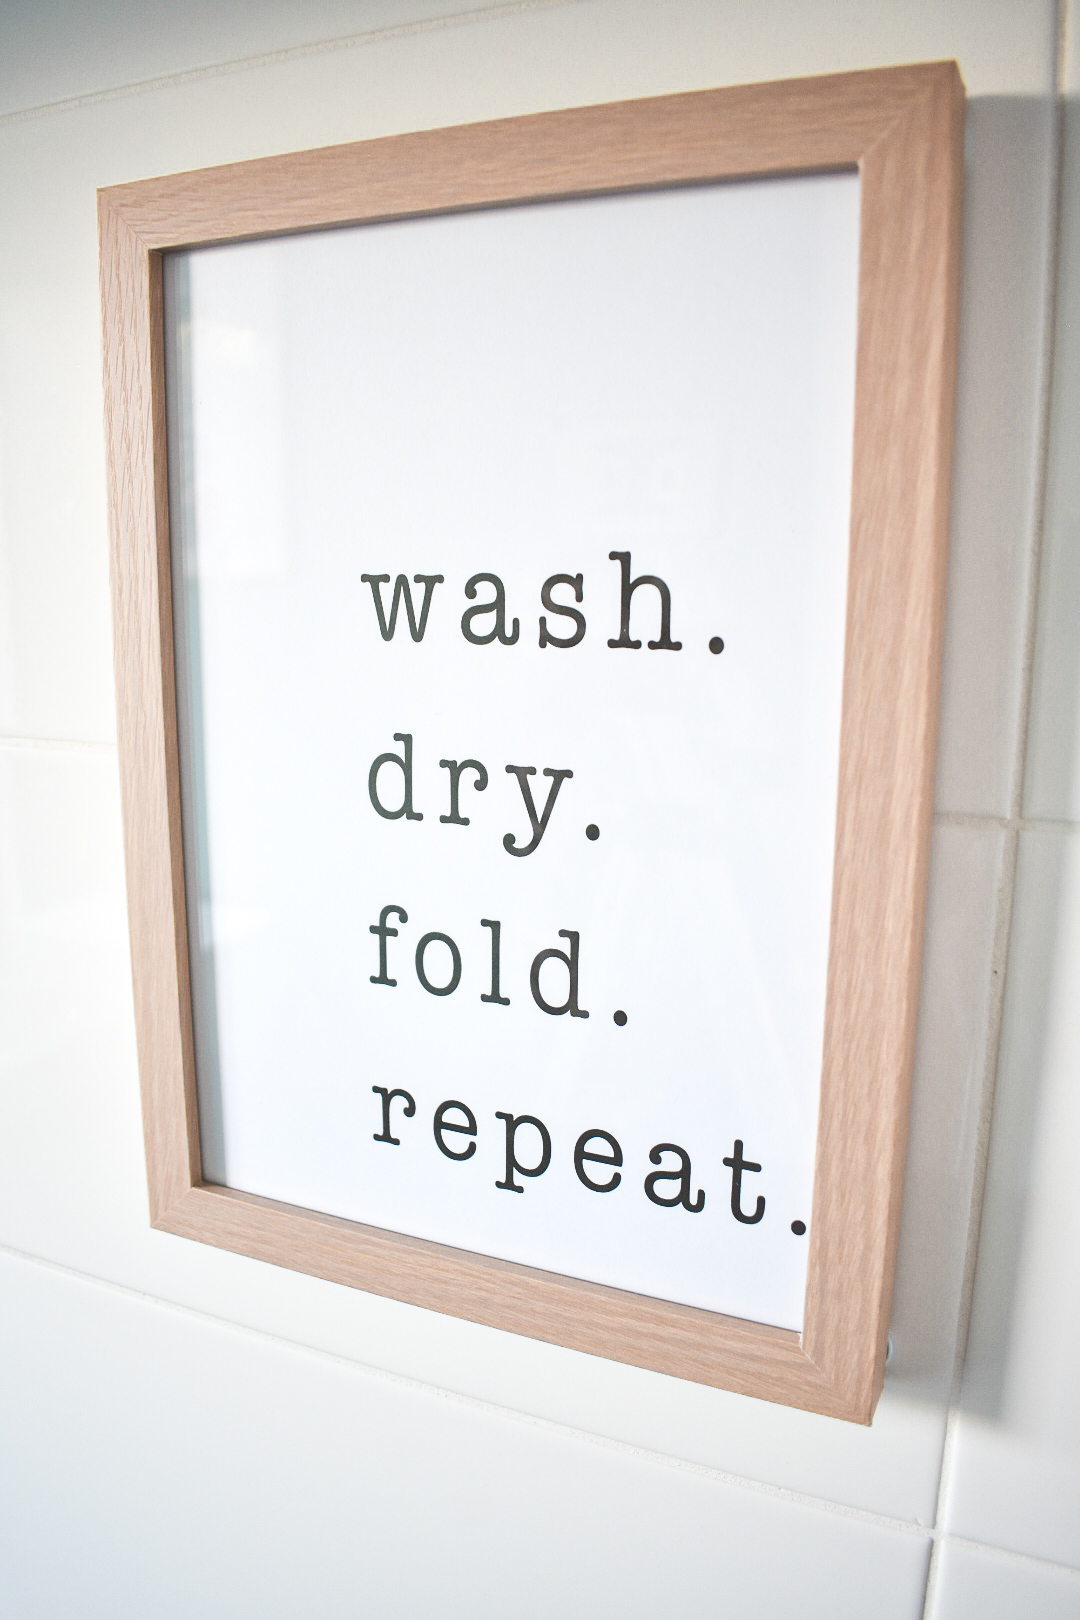
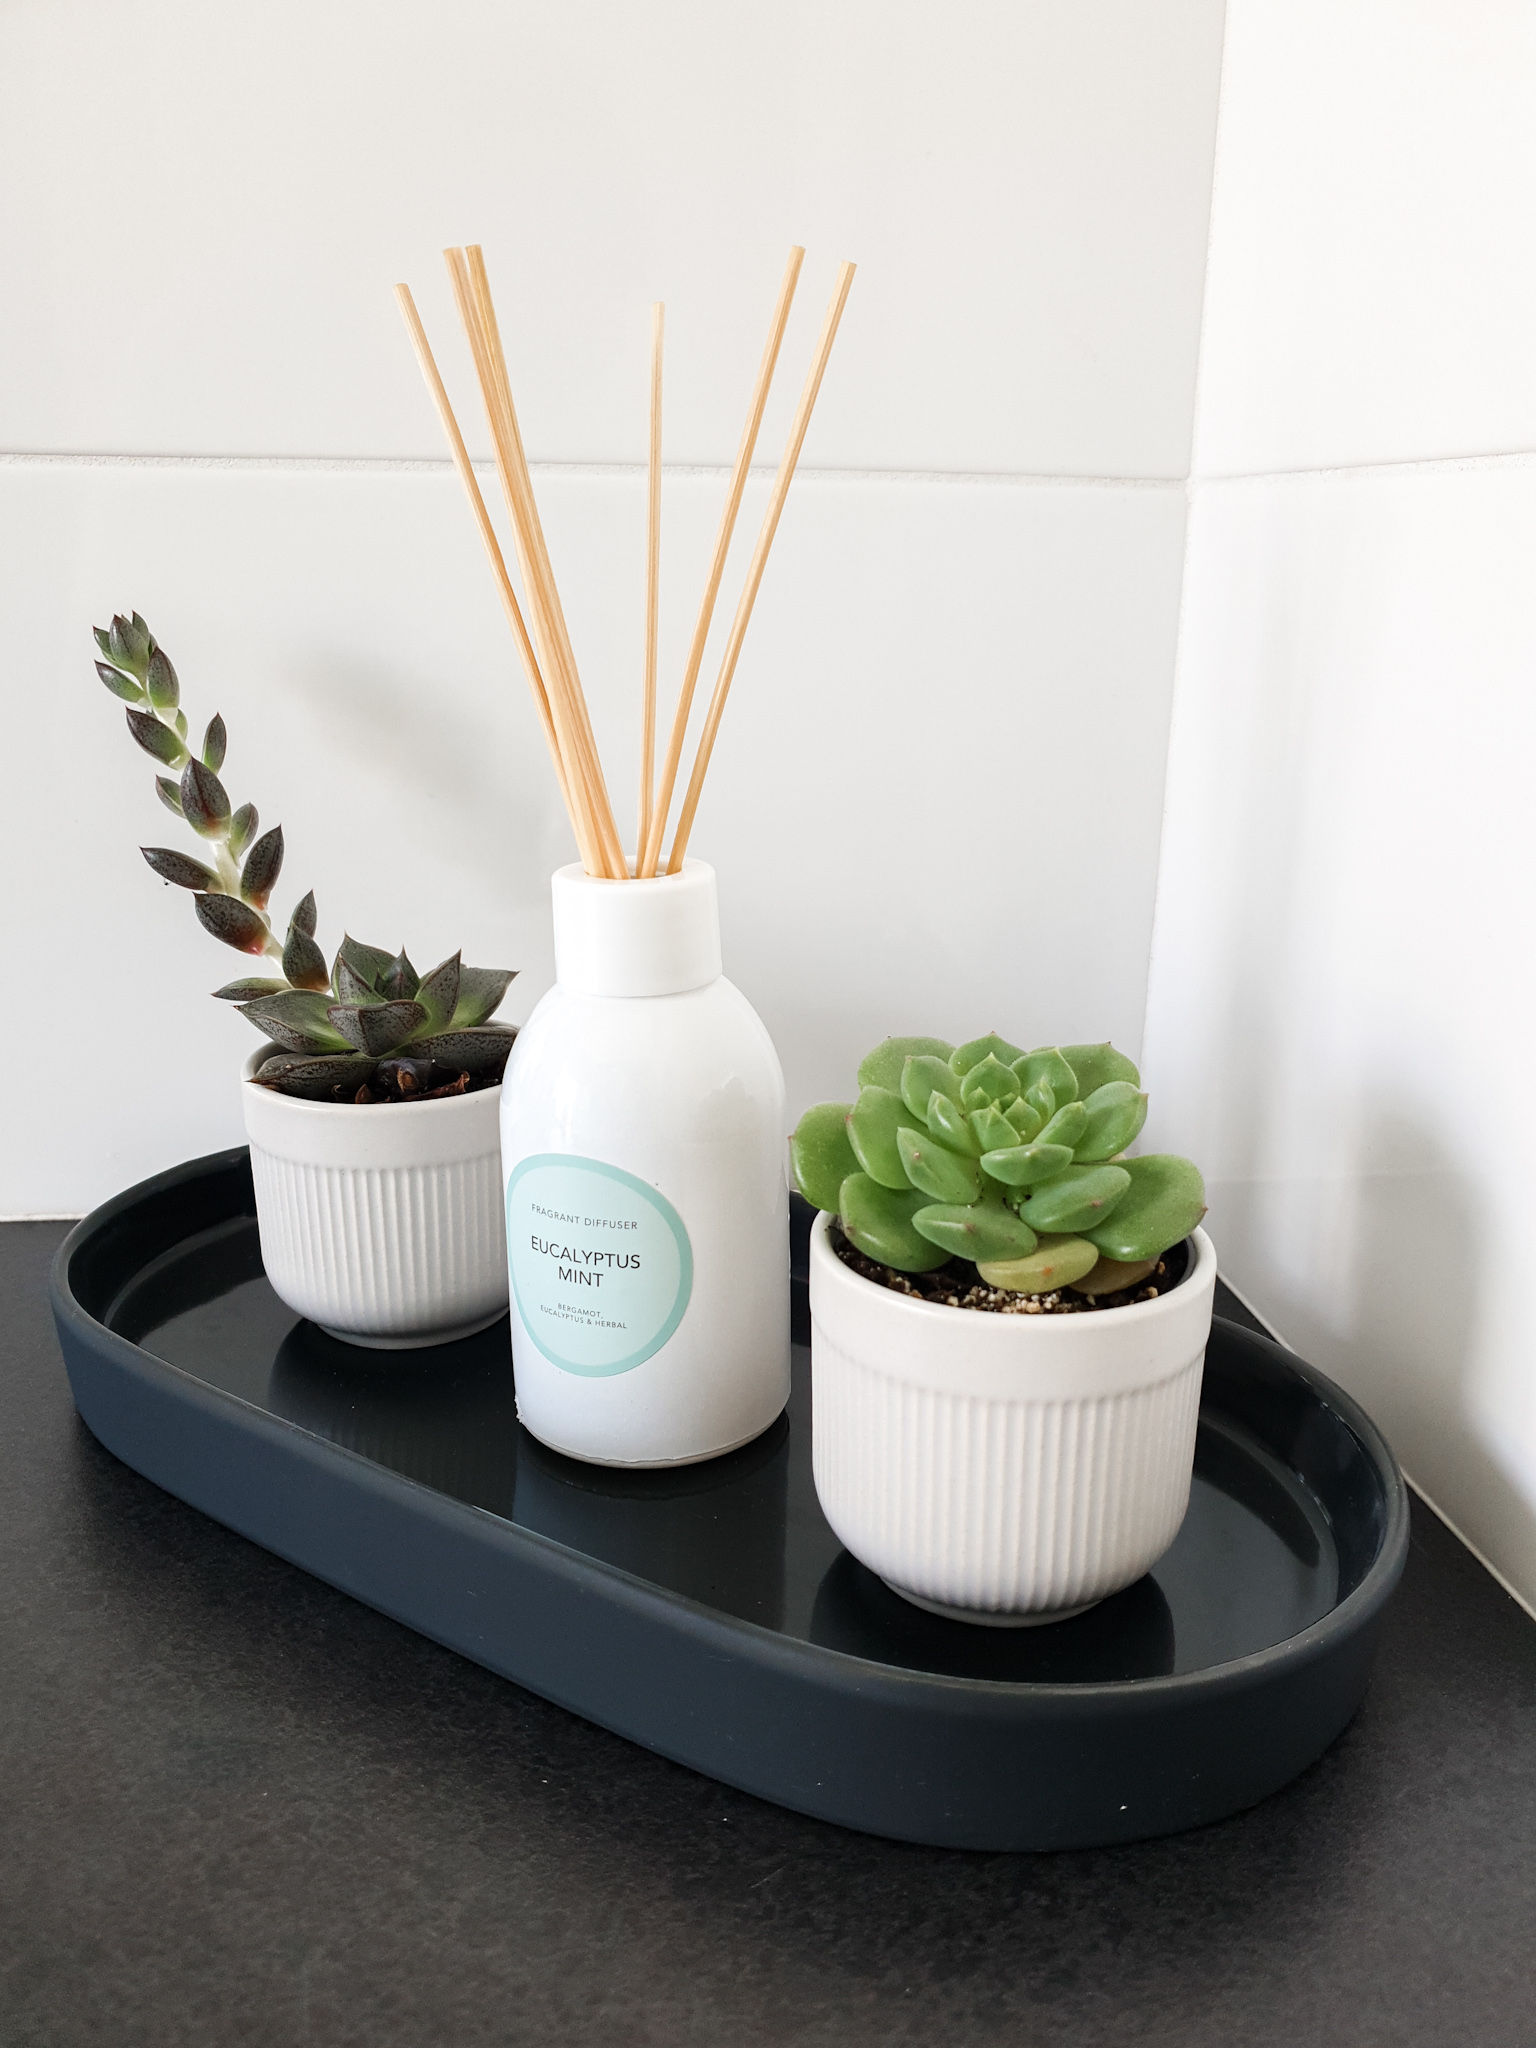
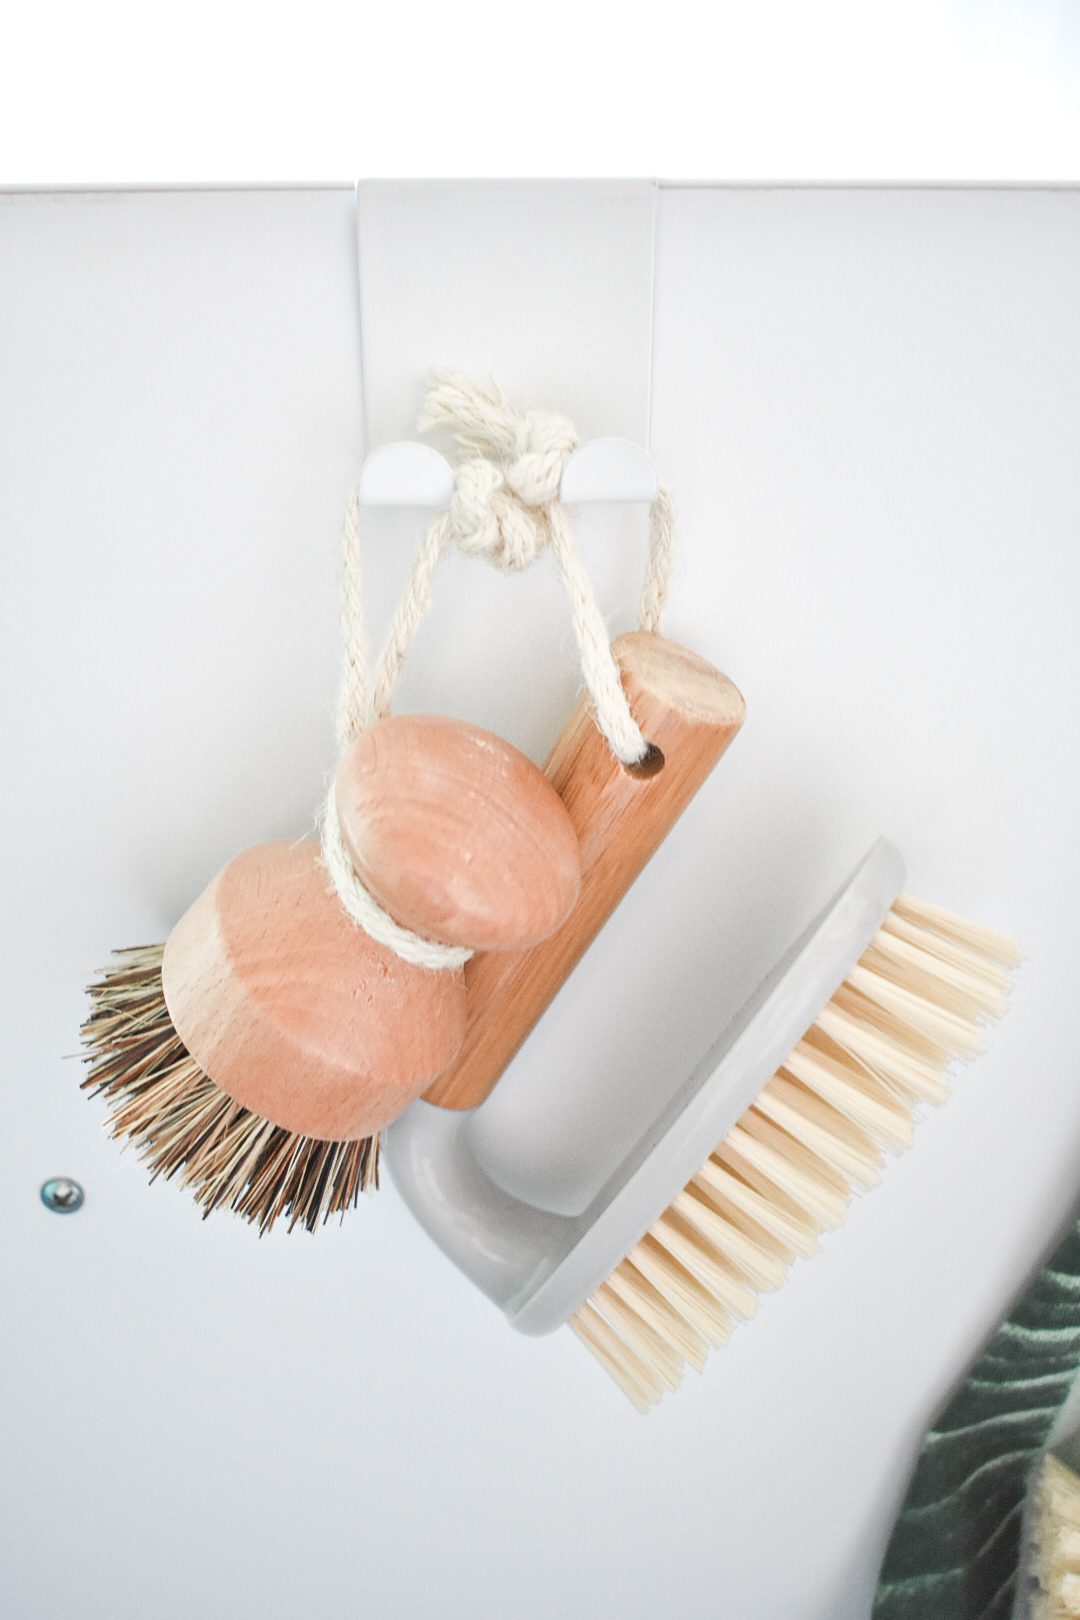
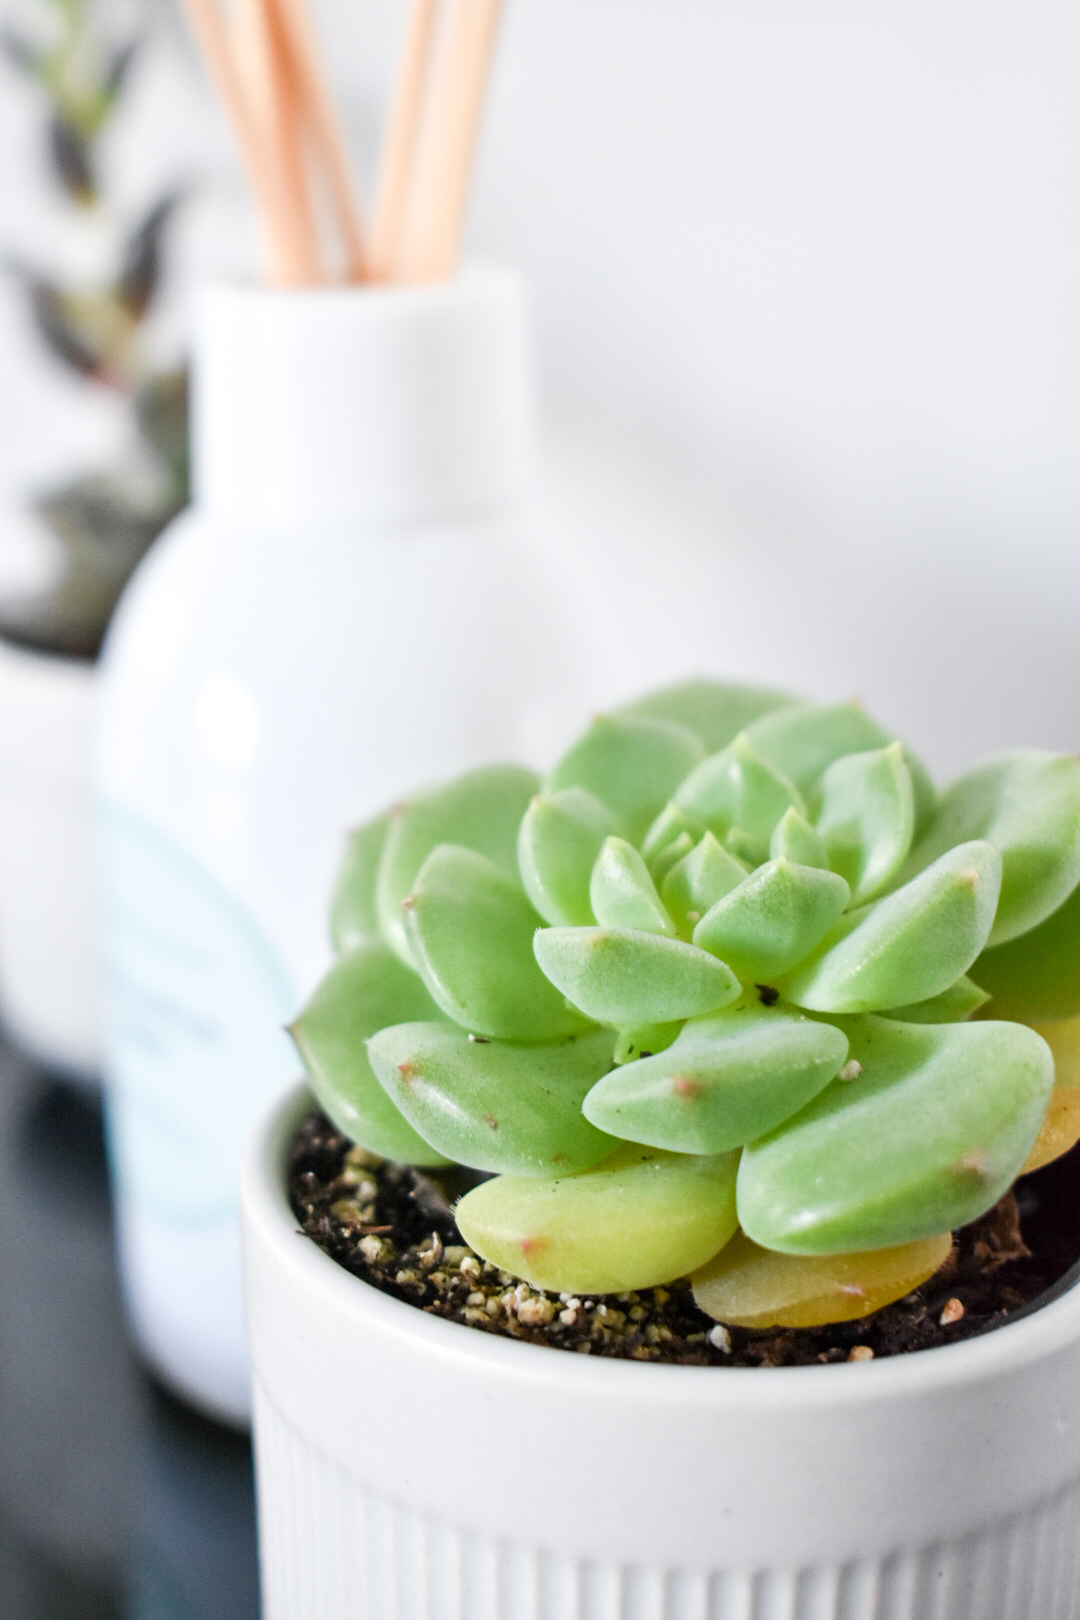
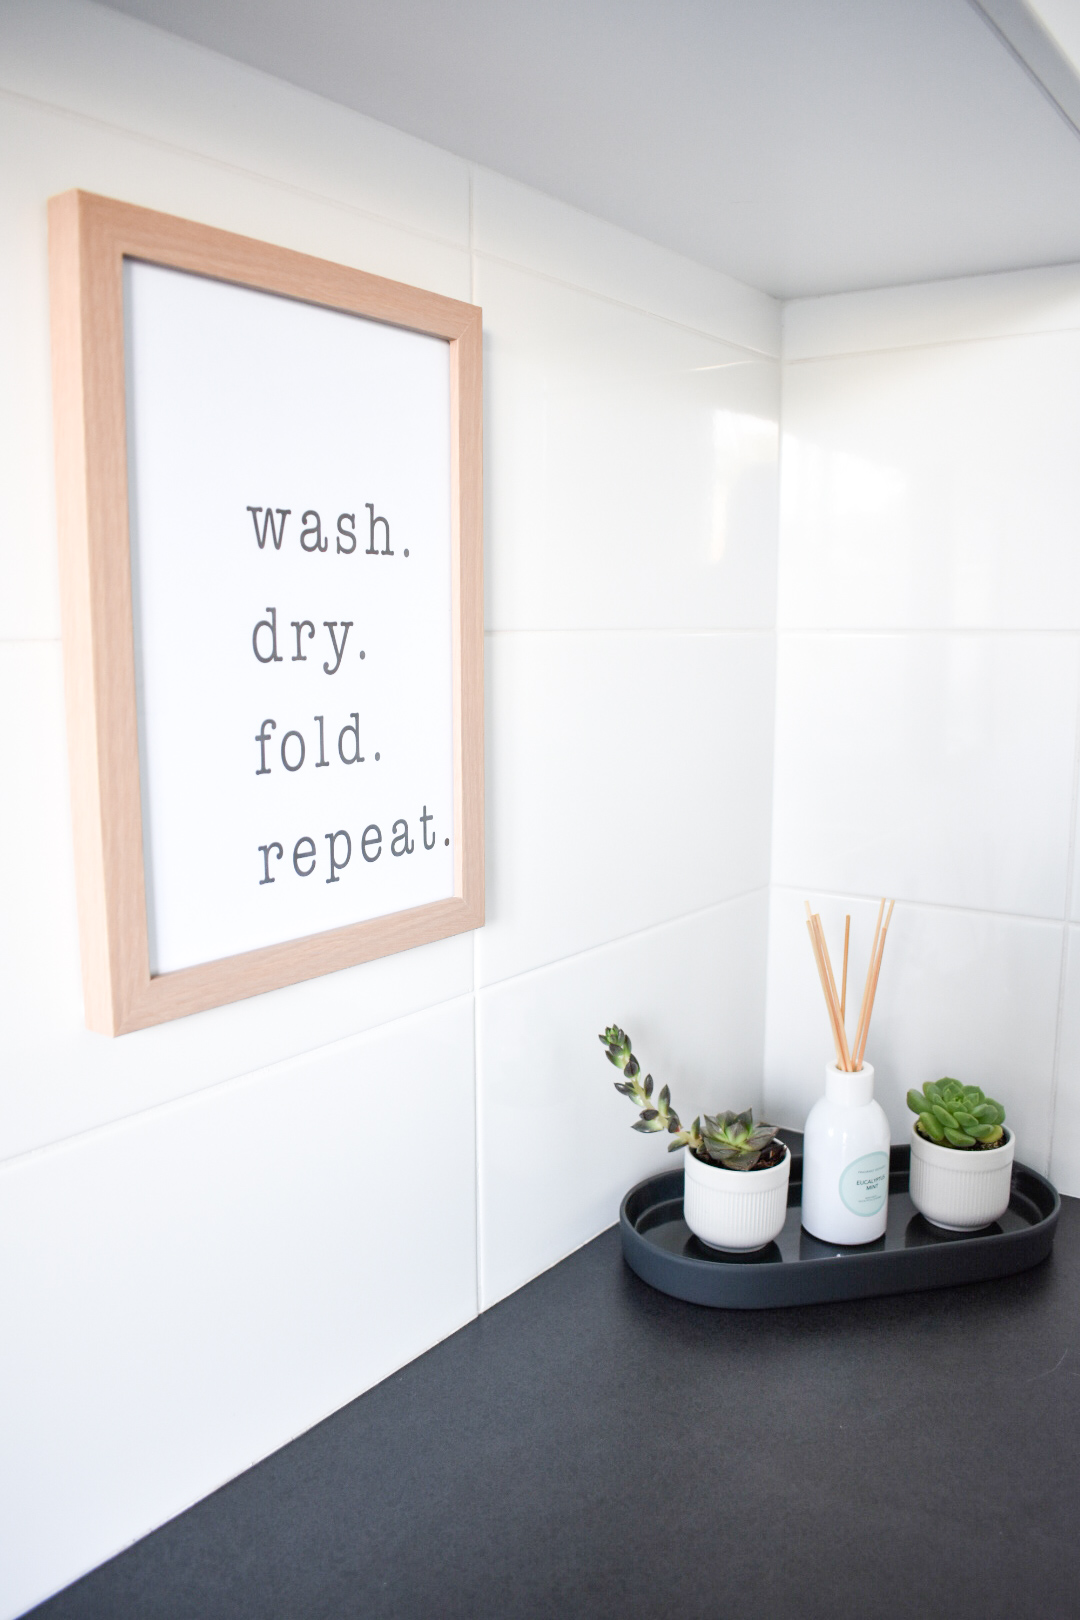
For the finishing touches I picked up a couple of pieces with the same colour as the feature wall in it to bring both sides of the laundry together as one room. eg The little mini succulents, diffuser, hanging wall art and I came across the perfect matching iron board cover in Kmart. To add a little more warmth and earthy feel I added the timber frames to both the hanging wall art and the wash, dry, fold, repeat print. Take the sample of your paint colour with you to easily match up or get the right contrast you are looking for.


Thank you for taking the time to read. I hope I’ve given you a little bit of inspiration, if you have any questions please pop them below or comment on my latest laundry pic on Instagram and I’ll try to reply asap.
This blog is in no way sponsored, all photos and wording is my own.

Office Organisation
When we built this house we put a lot of thought into designing our office. Hubby is a pilot and spends a lot of time in the office, and now with me writing this is where most of my time is spent when not doing the mum thing! We wanted a functional space as well…

Luca’s nursery
Time has flown, my little boy is 6 months already and with that he has outgrown his bassinet, the truth is he may have outgrown it a little while back but I have been in denial about moving him into his own room. I can honestly say that I just want to hold onto every…

Liana & Luca’s Cubby
A Bakery and a Cafe in one small house Yes, I am a little late to the game of the Kmart cubby house hack but I have had so much fun doing this little house up that I’m here to share it with you and hopefully sprinkle some cubby house inspo your way too. We…
